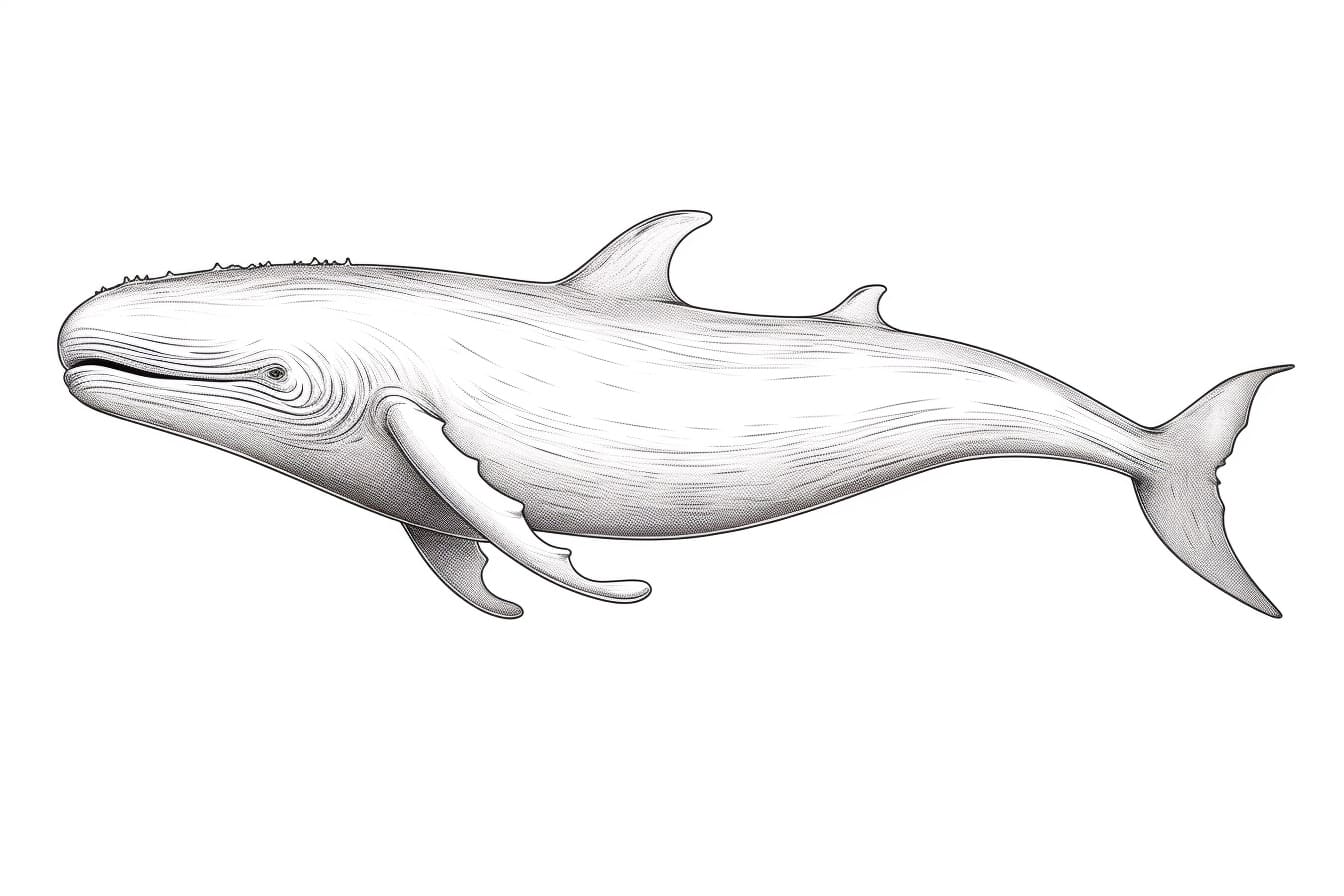
Welcome to this step-by-step tutorial on how to draw a sperm whale. Sperm whales are fascinating creatures known for their massive size and distinct shape. In this guide, we will break down the process of drawing a sperm whale into easy-to-follow steps. By the end of this tutorial, you will have created a realistic and impressive representation of this majestic marine mammal.
Materials Required
Before we dive into the drawing process, let’s gather the materials you will need. Here’s a list of things you’ll need for this tutorial:
- Drawing paper
- Pencil (preferably a 2B or 4B)
- Eraser
- Fine-tipped black marker or pen
- Colored pencils or markers (optional, for adding color to your drawing)
Now that we have all the necessary materials, let’s proceed to the step-by-step instructions.
Step 1: Basic Outlines
Start by lightly sketching a large oval shape in the center of your paper. This will serve as the body of the sperm whale. Next, draw a small oval shape near the front end of the larger oval for the head. Connect the head to the body using a curved line. This line represents the whale’s lower jaw.
Step 2: Adding Facial Features
Using the head as a reference point, draw a small eye on the left side of the head. Sperm whale eyes are asymmetrical, with the left eye larger than the right. Just above the eye, draw a curved line to create the blowhole. This is the opening through which the whale breathes. Now, add a small curved line for the mouth, slightly below the blowhole.
Step 3: Creating the Tail
Extend a long, slightly curved line from the back of the body to form the upper part of the tail. At the end of this line, draw two more lines that come together to create a triangular shape. This is the fluke, or the lower part of the whale’s tail.
Step 4: Adding Details to the Body
To create the texture of the whale’s skin, draw lines running horizontally along the length of the body. These lines should curve slightly to follow the shape of the body. Remember to keep these lines light and gentle to mimic the smoothness of the whale’s skin.
Step 5: Refining the Head
Add more details to the head by drawing a small triangular shape near the front of the lower jaw. This represents the whale’s teeth, which are only visible on the lower jaw. Next, draw a few curved lines on the head to suggest wrinkles and folds. These help give the whale a more realistic and textured appearance.
Step 6: Fins and Flippers
On the upper sides of the body, draw a triangular shape to represent the triangular dorsal fin. Sperm whales have a prominent dorsal fin located closer to the tail. Next, add the pectoral fins (flippers) to both sides of the lower body. These fins are smaller and more rounded compared to the dorsal fin.
Step 7: Finalizing the Tail
Add a series of curved lines along the tail to represent the texture and shading. The lines should follow the direction of the shape, curving slightly toward the outer edges. This will give the tail a sense of depth and dimension.
Step 8: Fine-Tuning and Inking
Take a moment to evaluate your drawing and make any necessary adjustments. If you’re satisfied with the overall appearance, use a fine-tipped black marker or pen to trace over the final lines. This will make your drawing more bold and defined.
Step 9: Adding Color (Optional)
If you want to add some color to your drawing, now is the time to do so. Sperm whales usually have a dark gray or black body, but you can experiment with different shades or even add a touch of blue to simulate the ocean environment. Use colored pencils or markers to carefully fill in the appropriate areas, ensuring you maintain the shadows and highlights created during the inking stage.
Conclusion
Congratulations! You have successfully learned how to draw a sperm whale. By following the step-by-step instructions provided in this tutorial, you have created a realistic representation of this magnificent whale. Remember, practice makes perfect, so don’t hesitate to try drawing the sperm whale multiple times to improve your skills. Enjoy the process and let your creativity soar!


