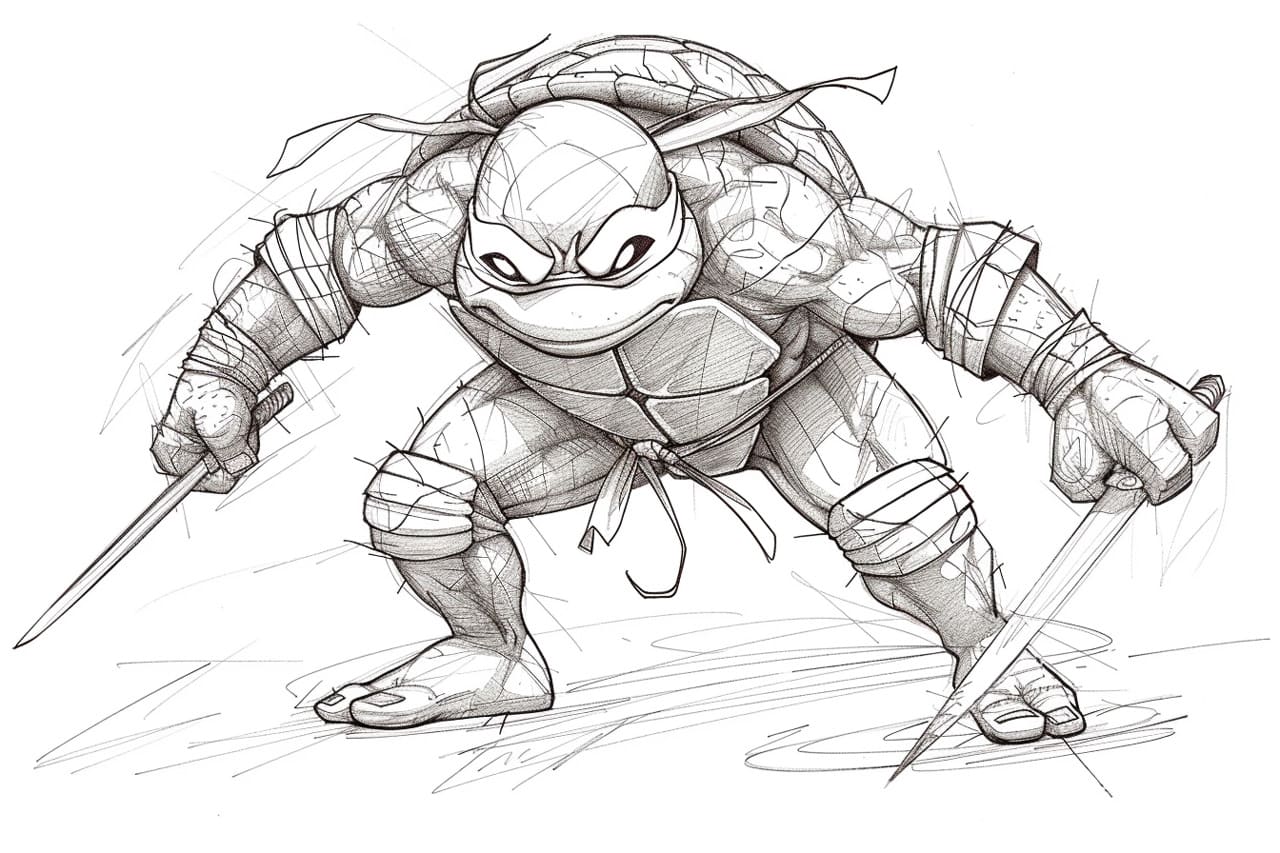
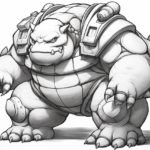
Welcome to this step-by-step guide on how to draw a Ninja Turtle. Whether you’re a beginner artist or someone looking to improve their drawing skills, this tutorial will provide clear and concise instructions to help you create your own amazing Ninja Turtle artwork. So grab your drawing supplies and let’s get started!
Materials Required
Before we dive into the drawing process, let’s gather the materials you’ll need:
- Paper: Choose a smooth and sturdy paper suitable for drawing. A sketchbook or drawing pad works well.
- Pencils: Get a range of pencils with different lead hardness, such as HB, 2B, 4B, and 6B. These will help you achieve different tones and textures in your drawing.
- Eraser: Have a soft eraser on hand to correct any mistakes or lighten areas of your drawing.
- Sharpener: Keep a pencil sharpener nearby to maintain a sharp point for detailed work.
- Colored pencils or markers (optional): If you want to add color to your finished drawing, have colored pencils or markers ready.
Now that we have all our materials ready, let’s begin!
Step 1: Basic Shapes
Start by sketching the basic shapes that will serve as the framework for your Ninja Turtle drawing. Begin with a large circle for the head. Then, draw a vertical line through the center of the circle to mark the turtle’s midline. Add two smaller circles on each side of the head for the eyes. Below the head, draw an oval shape for the body. Finally, sketch four small circles on each side of the body for the limbs.
Step 2: Guidelines
Next, let’s add some guidelines to help us position the facial features. Draw a horizontal line slightly below the center of the head circle. This line will help us place the eyes. Then, draw another horizontal line below the first one to mark the bottom of the eyes and the top of the turtle’s snout. Add a vertical line down the center of the face to indicate the Turtle’s nose and mouth area.
Step 3: Eyes and Mask
Now that we have the guidelines in place, let’s start adding some details to our Ninja Turtle. Begin by drawing the eyes within the small circles we sketched earlier. Make them round and expressive. Add a curved line above each eye to outline the Turtle’s mask. Connect these lines with a curved line below the eyes to form the bottom part of the mask.
Step 4: Mouth and Snout
Move on to the mouth and snout area. Use the vertical line as a guide to position the nose. Draw a triangular shape for the nose, with one point touching the vertical line. Add a curved line below the nose to indicate the opening of the mouth. On each side of the snout, draw a small oval shape to represent the nostrils.
Step 5: Shell
Let’s move on to the turtle’s distinctive shell. Begin by drawing a curved line around the top part of the body oval. This line will outline the upper edge of the shell. Then, add a series of curved lines within the oval to create the individual segments of the shell. Make sure the lines follow the contour of the oval and are evenly spaced.
Step 6: Limbs
Now it’s time to add some limbs to our Ninja Turtle drawing. Starting with the arms, sketch two curved lines on each side of the body, extending from the small circles we drew earlier. At the bottom of each arm, add a circle for the hand. Next, draw two curved lines extending from the bottom of the body oval to create each leg. Finish off the legs with another circle for the feet.
Step 7: Details and Accessories
To complete our Ninja Turtle drawing, let’s add some details and accessories. Start by adding lines within the eyes to indicate the pupils. Then, add a curved line within the mouth to suggest the tongue. To enhance the shell, draw curved lines within each segment to represent the outer texture. You can also add any additional accessories, like belts or weapons, to make your Ninja Turtle unique.
Step 8: Finalize and Refine
Take a step back and evaluate your drawing so far. Now is the time to refine and make any necessary adjustments. Use a darker pencil or pen to trace over the final lines, erasing any unwanted guidelines. Add shading and texture to give your Ninja Turtle depth and dimension. You can use hatching or cross-hatching techniques to create shadows and highlights.
Congratulations! You have successfully drawn a Ninja Turtle. With practice, you’ll be able to add your own creativity and style to future drawings. Enjoy the process and have fun experimenting with different techniques and mediums.
Conclusion
Drawing a Ninja Turtle is a fantastic way to sharpen your skills as an artist and explore your imagination. By following this step-by-step guide, you’ve learned the fundamentals of creating your own Ninja Turtle artwork. Remember to practice regularly and experiment with different styles to truly make the character your own. So grab your art supplies and start drawing your favorite Ninja Turtle today!

