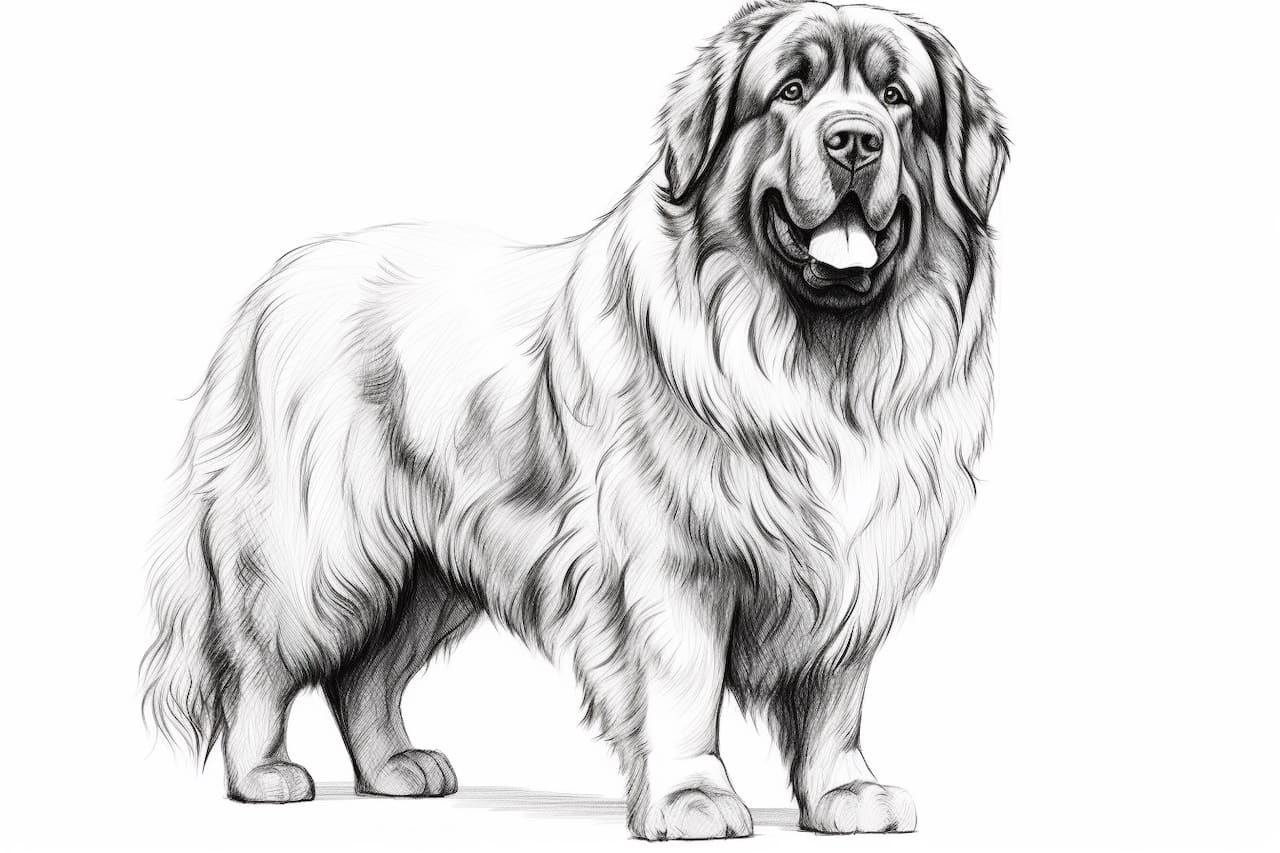
Welcome to this step-by-step tutorial on how to draw a Newfoundland! If you are a dog lover or an aspiring artist, you’ve come to the right place. The Newfoundland is a large and gentle breed known for its strength, intelligence, and loyalty. In this tutorial, we will guide you through the process of drawing a Newfoundland dog from start to finish. So grab your pencils, paper, and let’s get started!
Materials Required
Here are the materials you will need to draw a Newfoundland:
- Drawing paper
- Pencils (preferably graphite pencils of varying hardness, such as HB, 2B, and 4B)
- Eraser
- Pencil sharpener
- Blending stump (optional, for shading)
Make sure you have these materials ready before you begin. Now, let’s move on to the step-by-step instructions for drawing a Newfoundland.
Step 1: Start with Basic Shapes
To begin, lightly sketch a large oval shape for the body of the Newfoundland. This oval should be slightly tilted to one side to give a more dynamic pose. Next, add a smaller oval shape above the body to represent the head. Connect the two shapes with a curved line for the neck.
Step 2: Outline the Body
Using the basic shapes as a guide, start outlining the body of the Newfoundland with more defined lines. Pay attention to the shape of the body and the position of the limbs. Newfoundland dogs have a thick, muscular body, so make sure to capture that in your drawing.
Step 3: Draw the Facial Features
Now it’s time to focus on the face of the Newfoundland. Start by drawing two almond-shaped eyes. Add small dots inside the eyes to represent the pupils. Then, draw a triangular shape for the nose, and a line underneath it for the mouth. Newfoundland dogs have droopy jowls, so make sure to emphasize that in your drawing.
Step 4: Add the Ears and Fur
Next, draw the Newfoundland’s ears on either side of the head. These ears are long and usually hang down. Pay attention to the shape and size of the ears as they can vary among individual dogs. Once you have the ears in place, start adding the fur to the body. Newfoundland dogs have a thick double coat, so use short, curved lines to represent the fur texture.
Step 5: Define the Features
Now it’s time to refine your drawing by adding more details. Start by adding fur details to the face, such as the eyebrows and the beard. Pay attention to the direction of the fur and add texture accordingly. Next, draw the Newfoundland’s paws, making sure to capture the shape and size accurately.
Step 6: Shading and Depth
To give your drawing more depth and dimension, it’s time to add shading. Start by identifying the light source in your drawing. This will determine where the highlights and shadows should be. Use your pencils of varying hardness to create gradients and smooth transitions between light and dark areas. Remember to blend the shading using a blending stump or your finger for a more realistic look.
Step 7: Final Details
In this final step, focus on adding any remaining details to your drawing. Add texture to the fur by using short, overlapping lines. Pay attention to the folds and wrinkles in the Newfoundland’s skin, especially around the neck and jowls. Don’t forget to add some whiskers around the mouth area. Take your time, and don’t rush the process. Remember, practice makes perfect!
Conclusion
Congratulations on completing your drawing of a Newfoundland dog! We hope you enjoyed this tutorial and that it helped you develop your drawing skills. Drawing animals can be challenging, but with practice and patience, you can achieve great results. Remember to take breaks, step back, and observe your drawing from different angles to ensure accuracy. So keep practicing, and soon you’ll be able to draw not only Newfoundlands but a variety of animals with ease.