Drawing animals can be a fun and rewarding activity. In this step-by-step tutorial, you will learn how to draw a snail. Snails are fascinating creatures known for their spiral shells and slow movements. By following these instructions, you’ll be able to capture the unique characteristics of a snail in your artwork. So let’s get started!
Materials Required
Before we begin, gather the following materials:
Now that you have everything you need, let’s proceed to the drawing process.
Step 1: Draw the Shell
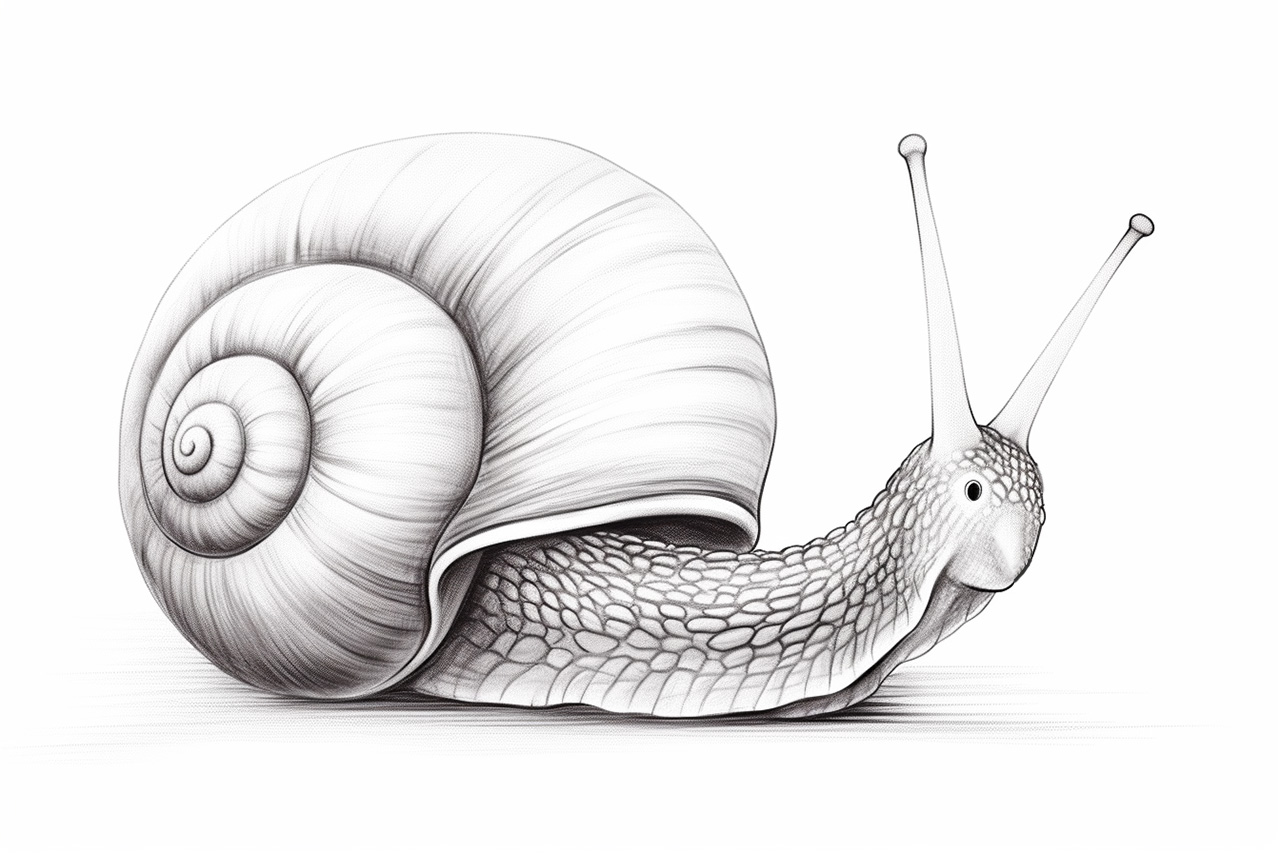
To start, draw a curved line that looks like an elongated letter “C” for the snail’s shell. Make sure the curve is not too steep, as snail shells tend to have a gradual slope. It should be slightly wider at the bottom and narrower at the top.
Step 2: Add the Opening
Next, draw a smaller curved line within the shell to create the opening. The opening should be circular or oval-shaped and positioned towards the top of the shell. It doesn’t have to be perfectly symmetrical since snail shells can have variations in shape.
Step 3: Draw the Body
From the bottom of the shell, extend two lines downward to create the snail’s body. These lines should curve slightly and become narrower as they continue, resembling the shape of a cone. Leave a small gap at the bottom to indicate where the snail’s foot will be.
Step 4: Sketch the Eye Stalks
On top of the snail’s head, draw two long, thin, curved lines. These lines will represent the eye stalks. The eyes themselves will be drawn later. The eye stalks should be evenly spaced and extend slightly above the top of the shell.
Step 5: Draw the Eye
At the top of each eye stalk, draw a small circle to represent the snail’s eyes. Snail eyes are usually located at the tips of their stalks, allowing them to see in multiple directions. Add a smaller circle inside each eye to represent the iris.
Step 6: Add the Mouth
Beneath the snail’s eyes, draw a small curved line to create the mouth. Snails have simple mouths that are often positioned near the center of their bodies. The mouth should be positioned slightly above the snail’s foot.
Step 7: Sketch the Tentacles
On either side of the snail’s mouth, draw two more curved lines. These lines will serve as the snail’s tentacles. Snail tentacles are shorter and thicker than their eye stalks. They should curve slightly and have a rounded tip.
Step 8: Draw the Foot
Now it’s time to add the snail’s foot. From the bottom of the body, draw a curved line that extends outward. The foot should be wider at the front and gradually taper towards the end. It should resemble a rounded shape, similar to the snail’s body.
Step 9: Add Shell Details
To make the snail’s shell more realistic, let’s add some details. Start by drawing a spiral pattern on the shell. Begin in the center and draw a curved line that wraps around the shell, gradually making it smaller as you go outward. Additionally, you can add some texture to the shell by drawing small, curved lines within the spiral.
Step 10: Refine and Finalize
Now that you have drawn the basic structure of the snail, it’s time to refine and finalize your drawing. Carefully go over each line, making them more defined and confident. Erase any unnecessary guidelines and adjust any proportions if needed. If you like, you can also use colored pencils or markers to add color to your snail.
Conclusion
Congratulations! You have successfully learned how to draw a snail. By following these step-by-step instructions and using your creativity, you have created a charming representation of this unique creature. Remember to practice regularly to refine your skills and explore different artistic styles. Have fun drawing!