Drawing a city at twilight can be a beautiful and captivating experience. The soft glow of city lights against the darkening sky creates a unique serene and vibrant atmosphere. In this tutorial, we will explore how to capture the essence of a city at twilight through drawing. So grab a pencil and read on to learn how to draw a city at twilight!
Materials Required
- Drawing paper
- Pencils (2B, 4B, 6B)
- Eraser
- Blending stumps
- Colored pencils or markers (optional)
- Reference photo of a cityscape at twilight
Step 1: Sketch the Outline
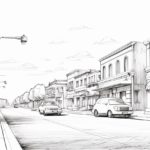
Begin your cityscape journey by gently sketching the fundamental shapes and outlines that compose the urban landscape. Capture the essence of the city’s skyline, marking the profiles of towering buildings, the winding paths of streets below, and the distinctive silhouettes of any significant landmarks. This initial stage is about laying the groundwork, focusing on the contrast of the city’s architecture against the softening light of twilight. Keep your lines light and adaptable, allowing for adjustments as your vision takes shape.
Step 2: Add Details
With your city’s skeleton in place, it’s time to breathe life into it by infusing your drawing with details that define its character. Delve into the architectural nuances of each building, from the ornate to the modern, and sketch the subtle yet significant elements like windows, doorways, and decorative trim. Incorporate the lively elements of street scenes—vehicles, street lamps, and perhaps the distant figures of city dwellers. Employ a range of pencil grades here to introduce a rich tapestry of textures and contrasts within your urban scene.
Step 3: Create Depth and Perspective
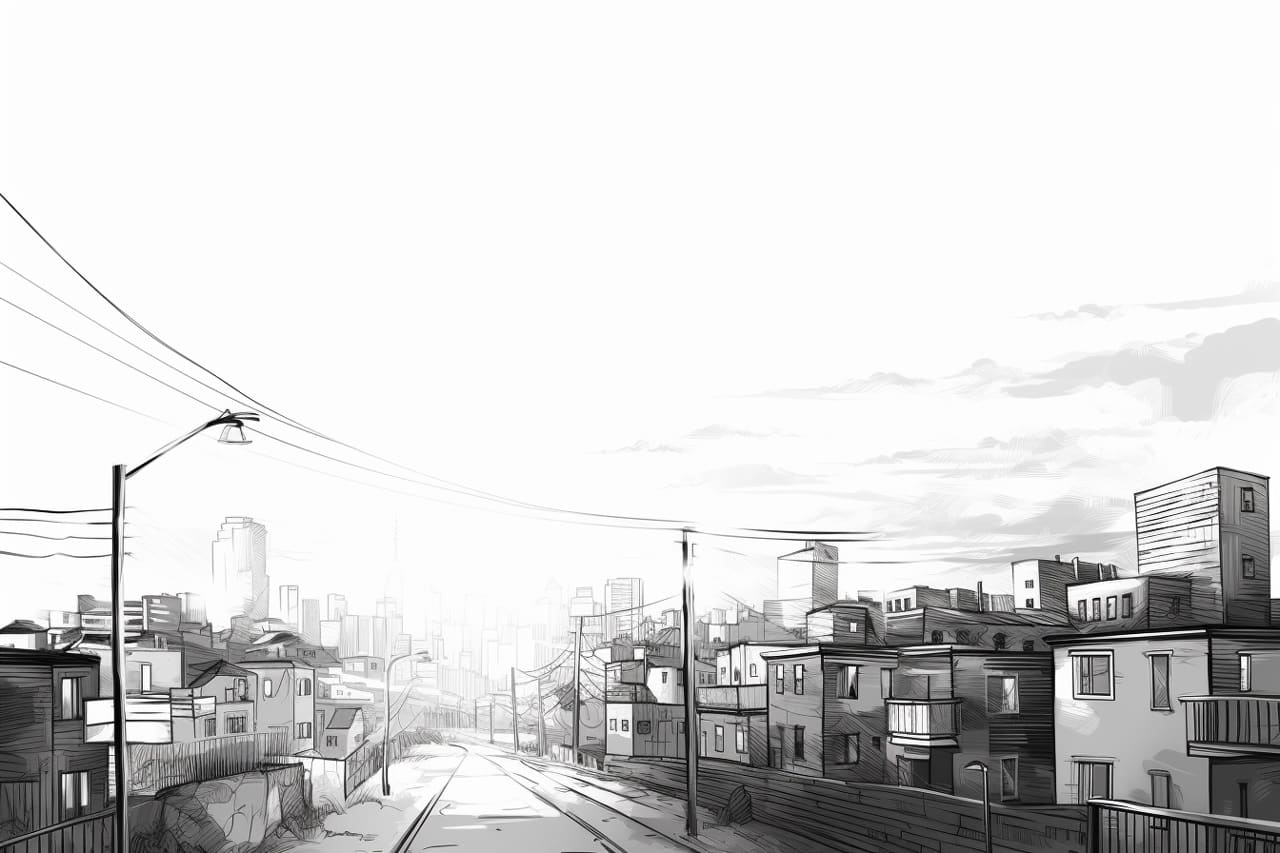
The magic of a cityscape lies in its depth and perspective, which give it a sense of realism. Achieve this by varying the pressure of your pencil strokes—lighter for the distant architectural elements fading into the twilight, and bolder for the features in the forefront. Experiment with shading techniques such as cross-hatching or stippling to enhance the three-dimensional feel and suggest the bustling atmosphere of urban life. This step is crucial for drawing the viewer into the scene, making them feel as if they’re standing within the city itself.
Step 4: Focus on Lighting
Twilight brings a unique interplay of light and shadow to the city, transforming ordinary scenes into something extraordinary. Concentrate on how the diminishing natural light interacts with the artificial lights beginning to punctuate the cityscape. This contrast is not only beautiful but also tells the story of the transition from day to night. Utilize a blending stump or your finger to soften and blend your pencil marks, creating realistic gradients that mimic the gentle fading of light and the emergence of shadows.
Step 5: Add Color (Optional)
For artists wishing to push their cityscape into a vibrant spectacle, adding color can bring a new dimension to the twilight scene. Choose your mediums—whether colored pencils, watercolors, or markers—to layer hues that reflect the warmth of the setting sun against the cool blues and purples of the approaching night. Approach color application with restraint, allowing the colors to gradually build up and blend into one another, mirroring the natural gradation of the sky and the eclectic lights of the city. This final touch can transform your drawing from a simple sketch to a compelling depiction of city life at twilight.
Conclusion
Drawing a city at twilight offers a unique opportunity to explore light, perspective, and atmosphere in your artwork. By following these steps and experimenting with different techniques, you can create a stunning cityscape that captures the beauty of twilight. So, grab your pencils and paper, and start drawing your own city at twilight masterpiece today!