Greetings aspiring artists! In this step-by-step guide, we will explore the exciting world of ninja drawing. Whether you are a beginner or have some experience with drawing, this tutorial will help you master the art of how to draw a ninja in a clear, clean, and concise style. So grab your pencils, paper, and let’s get started!
Materials Required
Before we dive into the steps of drawing a ninja, let’s gather the materials you will need:
- Drawing paper
- Pencils (preferably HB, 2B, and 4B)
- Eraser
- Ruler
- Fine-tip markers or pens (optional for inking)
- Colored pencils or markers (optional for coloring)
Now that we have everything we need, let’s begin our artistic journey!
Step 1: Basic Shape of the Body
To start drawing a ninja, we’ll begin by sketching the basic shape of its body. Draw an oval in the center of the paper to represent the head. Then, draw the torso as a rectangle below the head. Next, sketch the arms and legs as simple lines extending from the torso. Remember to keep the lines light and loose, as we will refine them later.
Step 2: Adding Details to the Head
Now that we have the basic body shape, let’s add some details to the ninja’s head. Draw two vertical lines inside the oval to mark the position of the eyes. Add a horizontal line below the eye level to guide the placement of the nose and mouth. Feel free to adjust the proportions as you see fit, depending on the expression you want your ninja to have.
Step 3: Outlining the Body
In this step, we’ll outline the ninja’s body by refining the initial sketch. Start by adding muscle definition to the arms and legs. Use curved lines to indicate the shape of the muscles and exaggerate their size to emphasize the ninja’s strength. Next, add more volume to the torso by drawing the outline of the chest and waist. Pay attention to the proportions and ensure that the limbs are not too short or too long.
Step 4: Sketching the Ninja’s Outfit
A ninja is often recognized by their distinct outfit. Let’s sketch the ninja’s attire in this step. Begin with the headband by drawing a long, curved line across the forehead and connecting it to the sides of the head. Next, draw the mask by adding two triangular shapes that cover the lower half of the face. For the clothes, draw loose and flowing lines to represent the ninja’s robes. These lines should follow the shape of the body and create a dynamic and agile look.
Step 5: Adding Features and Accessories
To give our ninja character more personality, let’s add some features and accessories. Draw the eyes, nose, and mouth within the guidelines we established earlier. Experiment with different eye shapes to create different expressions, such as a determined or mysterious look. Feel free to add a scar, bandana, or other details to make your ninja unique. Additionally, you can draw a katana or other ninja weapons in the ninja’s hands or strapped to their back.
Step 6: Refining the Details
Now that we have the main elements of our ninja drawing in place, it’s time to refine the details. Go over your initial sketches, focusing on the smaller aspects such as the facial features, hands, and folds in the clothing. Make sure your lines are clean and smooth, erasing any unnecessary guidelines as you go. Pay extra attention to the ninja’s face, as it is often the focal point of the drawing.
Step 7: Inking (Optional)
If you prefer a more defined and finished look, you can ink your ninja drawing. Grab your fine-tip markers or pens and carefully outline the pencil lines. When inking, use confident and deliberate strokes to create a bold and professional appearance. Take your time and be patient, as inking requires precision to avoid mistakes. Once the ink is dry, you can erase the pencil lines, leaving only the clean, finished ink lines.
Step 8: Adding Color (Optional)
If you want to add some color to your ninja drawing, now is the time! Using colored pencils or markers, fill in the different areas with the colors of your choice. Remember to consider light and shadow to add depth and realism to your artwork. Experiment with color schemes and try different techniques to enhance the overall composition of your drawing.
Conclusion
Congratulations on completing your ninja drawing! By following these step-by-step instructions, you have learned how to draw a ninja from basic shapes to a finished illustration. Remember to practice regularly and use your creativity to explore different ninja poses, backgrounds, and styles. Happy drawing!
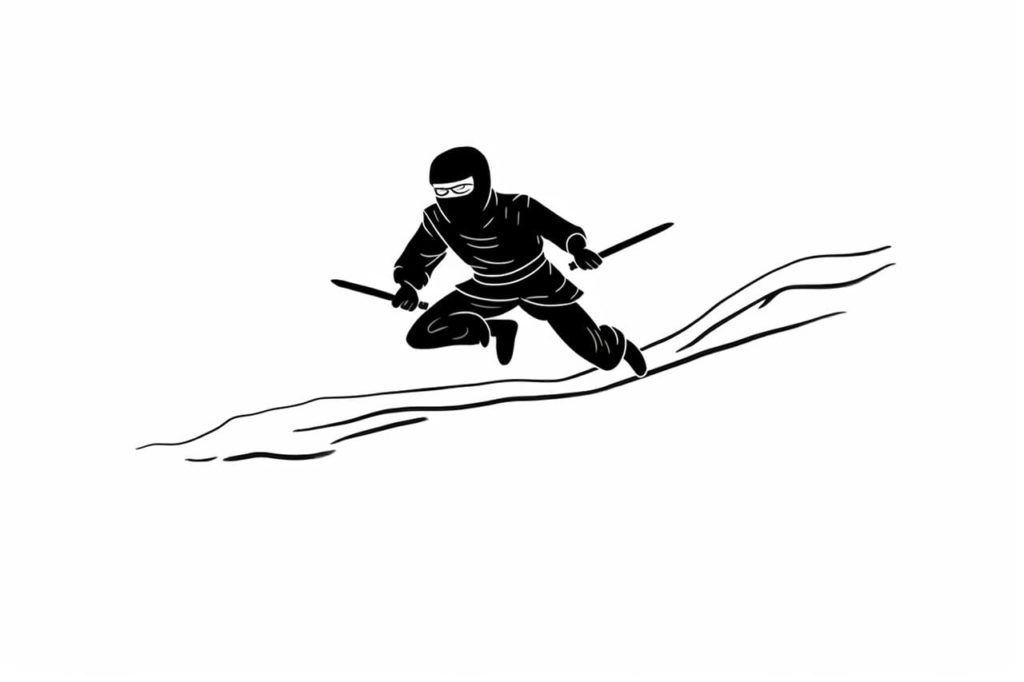
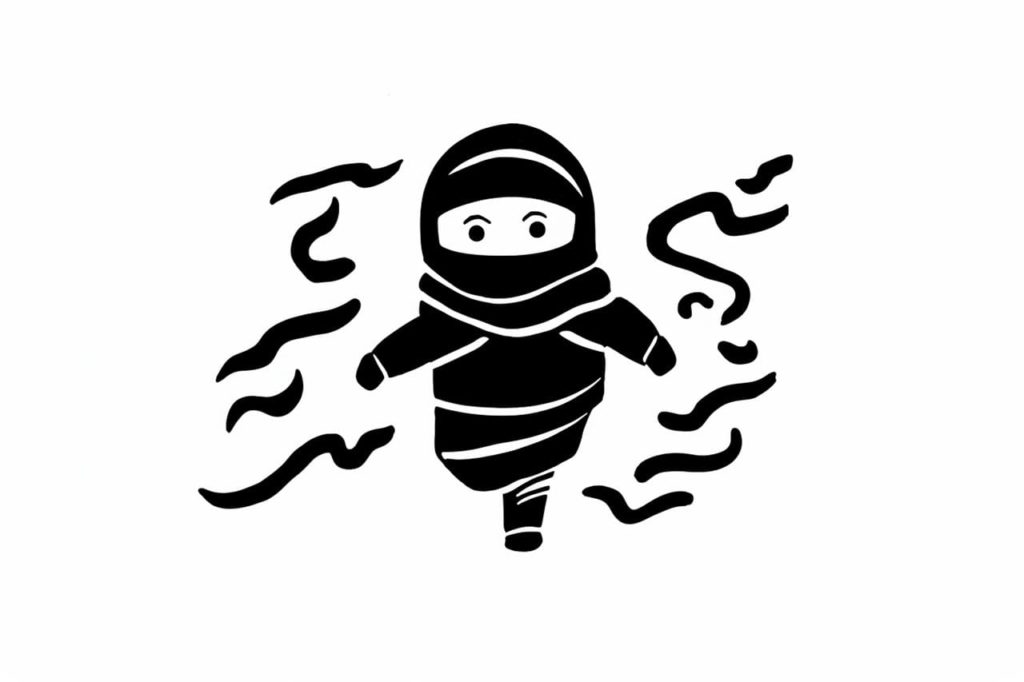
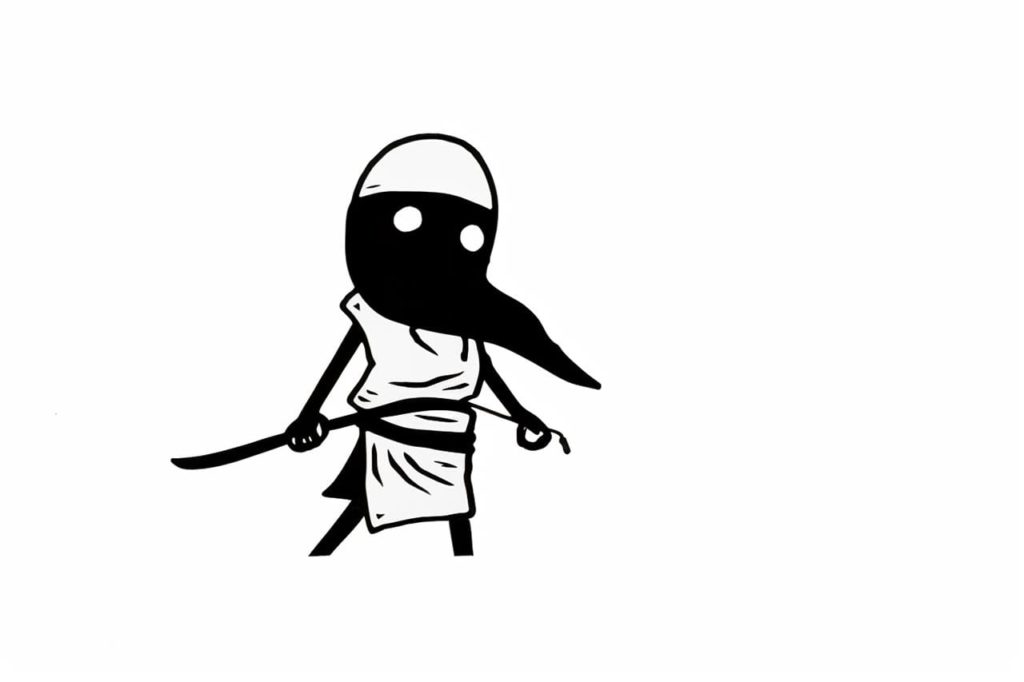
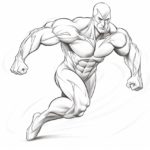
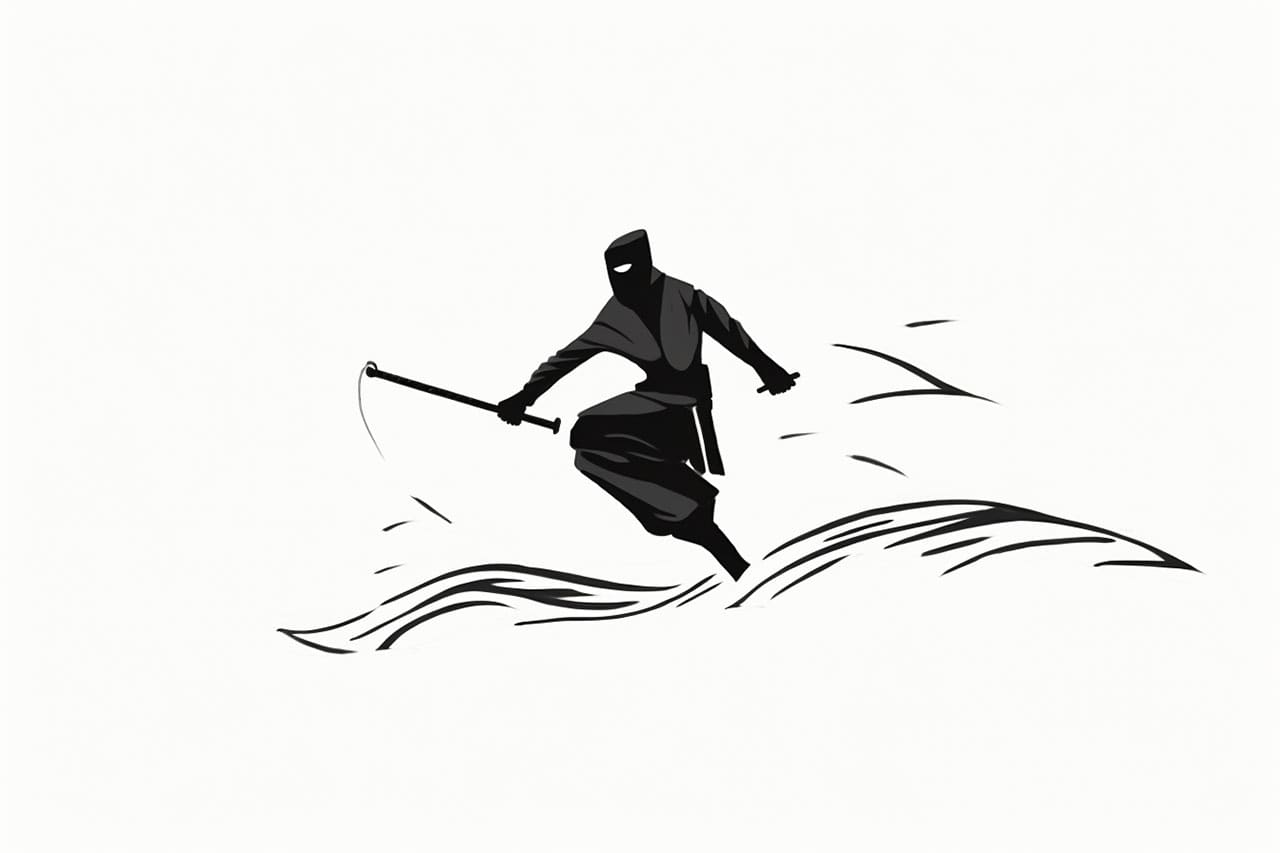
Gallery of Ninja Drawings