Welcome to this step-by-step tutorial on how to draw a mouse easily. Whether you’re a beginner or a seasoned artist, this guide will help you create a cute and realistic mouse drawing. We’ll break down the process into simple steps, making it accessible to artists of all skill levels.
Before we begin, let’s gather the materials you’ll need for this drawing:
- Drawing paper or sketchbook
- Pencil
- Eraser
- Fine-tip black marker or pen
- Colored pencils or markers (optional)
- A reference photo of a mouse.
Now that we have our materials ready, let’s dive into the steps to draw a mouse!
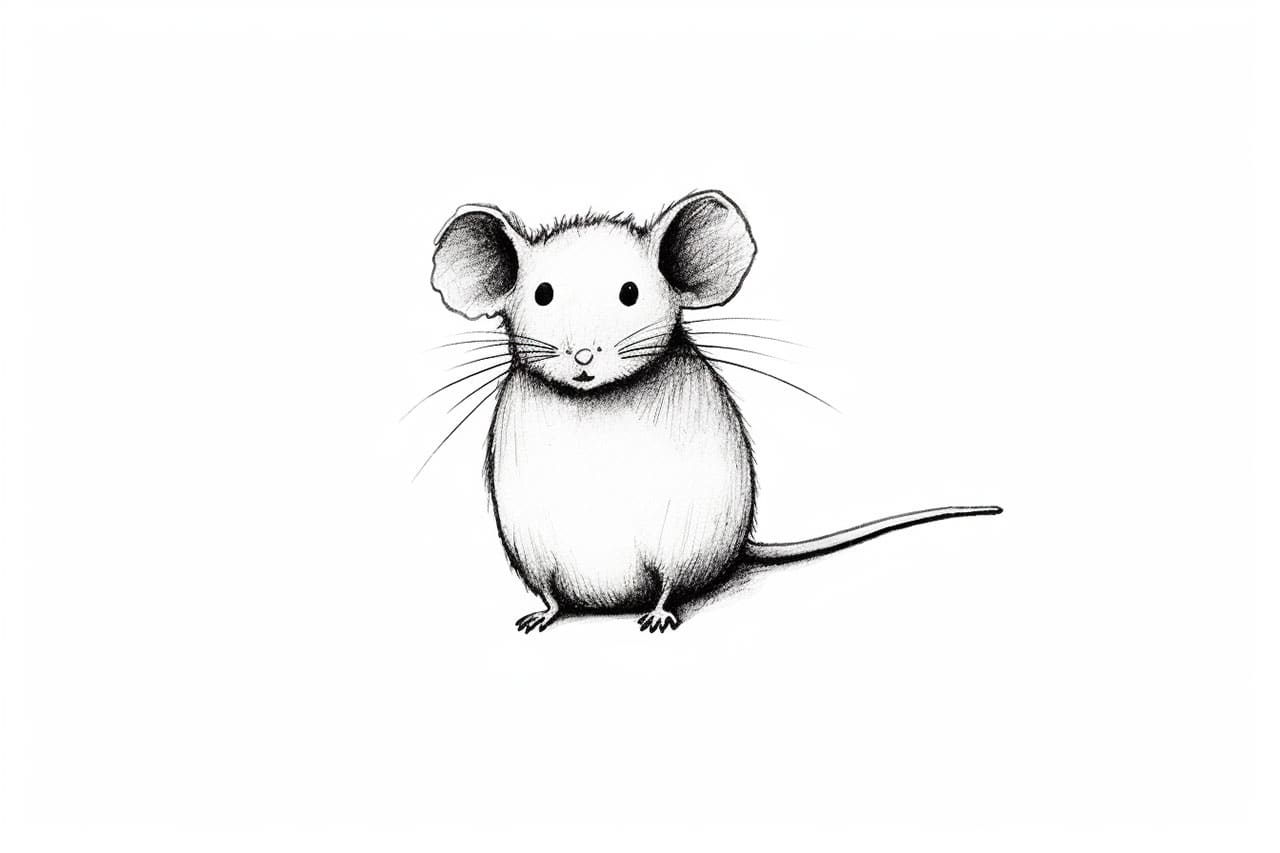
Step 1: Draw the Mouse’s Head
Start by drawing a circle on your paper. This will be the outline of the mouse’s head. Make sure to leave enough space on the paper for the body and other details.
Step 2: Add Ears and Facial Features
Extend two curved lines upwards from the top of the head, slightly curving them towards each other at the top. These lines will form the mouse’s ears.
Now, draw two small circles within the head for the eyes. Add a small oval-shaped nose in the center of the head, just below the eyes. Finally, draw a smiling mouth by adding a curved line below the nose.
Step 3: Create the Mouse’s Body
Beneath the head, draw a long oval shape horizontally. This will serve as the mouse’s body. Make sure the body is slightly wider at the center and tapers towards both ends.
Step 4: Draw the Legs and Paws
To create the mouse’s legs, draw four thin lines coming out from the bottom of the body. Curve them slightly towards the center, creating a natural pose. At the end of each leg, draw a small oval shape for the paws.
Step 5: Add the Tail
Extend a long, curved line out from the back of the body. The tail should be thin and taper towards the end. Add some smaller curved lines across the tail to indicate fur.
Step 6: Refine the Face and Ears
Start by thickening the outline of the mouse’s ears to give them more depth. Then, add small ovals within the eyes to represent the pupils. You can also add some eyelashes if you’d like. Refine the nose by adding some shading or crosshatching to give it dimension.
Step 7: Refine the Body and Legs
Add some fur texture to the body by lightly sketching small curved lines across it. This will make the mouse look more realistic. Refine the shape of the legs by adding some curves and small details to the paws.
Step 8: Finalize the Drawing
Once you’re happy with the overall shape and details of your mouse, go over your pencil lines with a fine-tip black marker or pen. Erase any stray pencil lines, leaving only the clean inked drawing. You can also add color to your drawing using colored pencils or markers if you prefer.
Congratulations! You’ve successfully drawn a mouse easily.
Conclusion
Drawing a mouse may seem challenging at first, but by breaking it down into simple steps, anyone can create a cute and realistic mouse drawing. Remember to take your time, practice, and have fun with it. Don’t be afraid to add your own personal touch to make your mouse drawing unique.
We hope you found this step-by-step tutorial helpful in learning how to draw a mouse easily. Happy drawing!