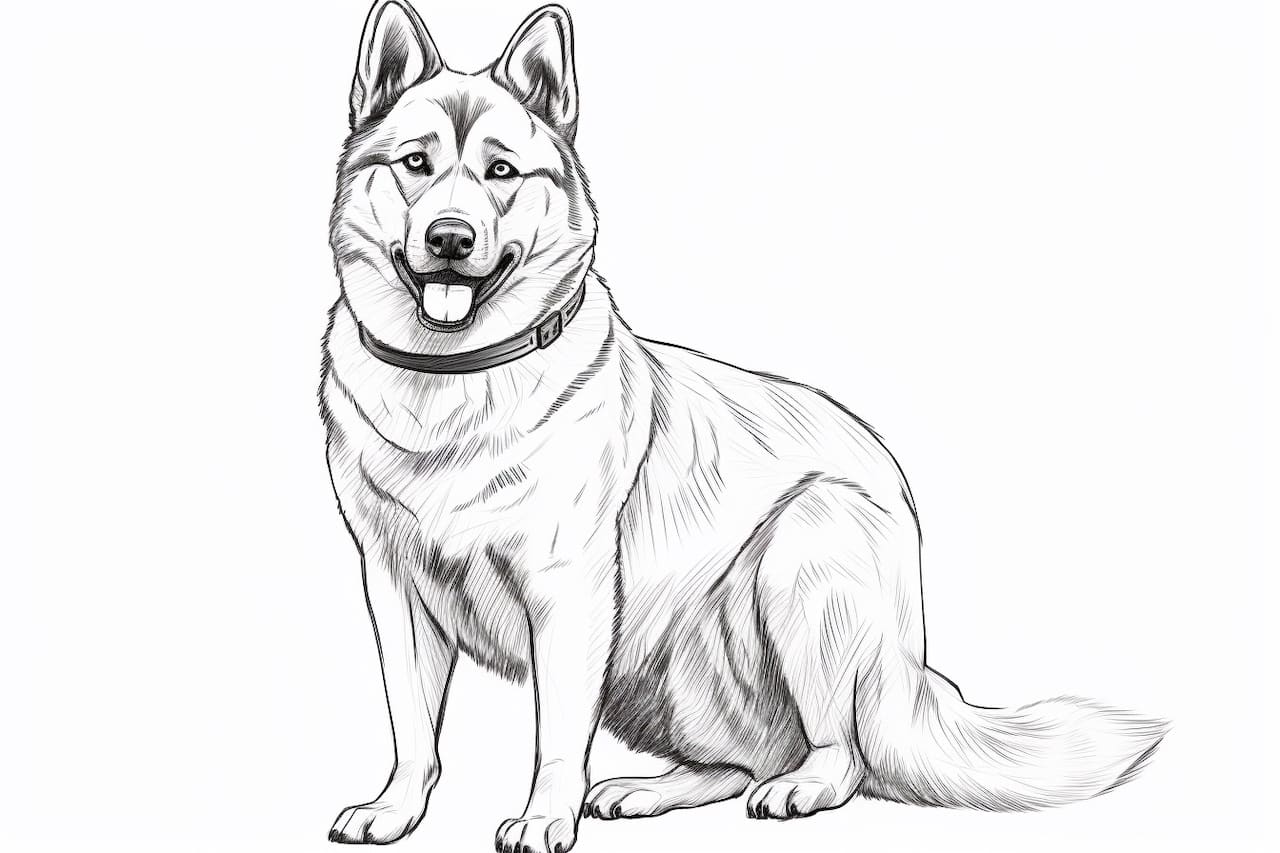
Drawing animals can be fun and rewarding, allowing you to capture the beauty and essence of your favorite creatures on paper. In this step-by-step tutorial, we will guide you through the process of how to draw a Norwegian Elkhound, a majestic and intelligent dog breed. Whether a beginner or an experienced artist, follow along and let your creativity flow!
Materials Required
Before we begin, gather the following materials:
- Drawing paper or sketchbook
- Pencil (preferably a range of graphite pencils such as HB, 2B, and 4B)
- Eraser
- Reference photo of a Norwegian Elkhound (can be found online or in books)
Now that you have all the necessary materials, let’s get started!
Step 1: Basic Shapes
Start by lightly sketching the basic shapes that make up the body of the Norwegian Elkhound. Begin with an oval shape for the head, followed by a larger oval for the body. Connect them with a neck line. Add a smaller oval for the snout, positioned at the front of the head. Finally, add simple lines for the legs and tail, creating a basic framework for your drawing.
Step 2: Refine the Head
Using the basic shapes as a guide, start refining the shape of the Elkhound’s head. Add more definition to the snout by using curved lines to outline the muzzle. Define the ears by drawing triangle-like shapes on either side of the head. Ensure that the overall shape of the head and ears resembles that of a Norwegian Elkhound.
Step 3: Eyes and Nose
Next, focus on the facial features of the Elkhound. Draw two almond-shaped eyes within the head, paying attention to their placement and size. Add small dots within the eyes to represent the pupils. Position the nose slightly below the eyes, using a circular shape. Add a few lines to indicate the nostrils.
Step 4: Mouth and Tongue
Draw the mouth by adding a curved line beneath the nose. This line will represent the closed mouth. If you prefer to draw the Elkhound with an open mouth, you can slightly adjust the line to suggest a smile or tongue. For a closed mouth, draw a curved line across the bottom of the snout to indicate the lower lip. Add a few lines within the mouth to suggest the tongue.
Step 5: Fur and Facial Details
Now it’s time to add texture and detail to the Elkhound’s face. Start by adding small curved lines around the eyes and nose to represent the wrinkles and folds of the dog’s skin. Draw longer, irregular lines around the head to indicate the fur. Use short, overlapping lines to create a realistic fur texture. Pay attention to the direction of the lines, following the contours of the Elkhound’s face.
Step 6: Body and Legs
Using the basic shapes as a guide, refine the body of the Elkhound. Add more definition to the neck, chest, and back using curved lines that follow the contours of the body. Extend the initial lines for the legs, adding details such as paws and muscle definition. Remember to keep the proportions accurate and reference your chosen photo to capture the unique features of the Elkhound.
Step 7: Tail and Hind Legs
Draw the tail of the Elkhound by adding a long, slightly curved line that extends from the back of the body. Sketch in the hind legs of the dog, ensuring that they are in proportion to the rest of the body and positioned correctly. Add details such as paws, joints, and muscle definition. Take your time to capture the unique shape and posture of the Elkhound.
Step 8: Refine and Shade
At this stage, take a step back and evaluate your drawing as a whole. Make any necessary adjustments to the proportions and shapes to ensure accuracy. Once you’re satisfied with the overall structure, start adding shading to bring your drawing to life. Use your range of graphite pencils to create depth and dimension. Observe your reference photo to accurately reproduce the Elkhound’s fur color and texture.
Step 9: Final Touches
Add the final details to your drawing. Pay attention to the small features that make the Norwegian Elkhound unique, such as facial markings or patterns on the fur. Use your eraser to lighten areas that need more highlights or to correct any mistakes. Take your time and add the necessary finishing touches to complete your drawing.
Conclusion
Congratulations! You have successfully learned how to draw a Norwegian Elkhound. By following these step-by-step instructions and using your creativity, you have created a beautiful representation of this remarkable dog breed. Remember, practice makes perfect, so keep sketching and exploring your artistic abilities. Enjoy the process, and happy drawing!