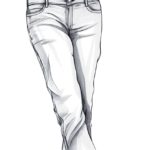
Drawing pants can be a challenging task, but with the right guidance and techniques, you can create realistic and stylish pants in your artwork. In this step-by-step guide, I will teach you how to draw pants, from the basic outline to the intricate details. Whether you’re a beginner or an experienced artist, this tutorial will help you enhance your drawing skills and bring your characters to life.
Materials Required
Before we begin, gather the following materials:
- Pencil: Use a mechanical pencil or a regular pencil with a sharp tip for precise lines and shading.
- Eraser: A kneaded eraser works best as it allows for easy removal of pencil marks without smudging the drawing.
- Paper: Choose a smooth drawing paper that can handle shading and erasing without tearing or smudging.
- Reference Images: It’s always helpful to have images of pants or clothing styles that you want to draw. You can find inspiration from fashion magazines, the internet, or even observe real pants to capture their unique details and textures.
Now that we have everything ready, let’s dive into the step-by-step process of drawing pants.
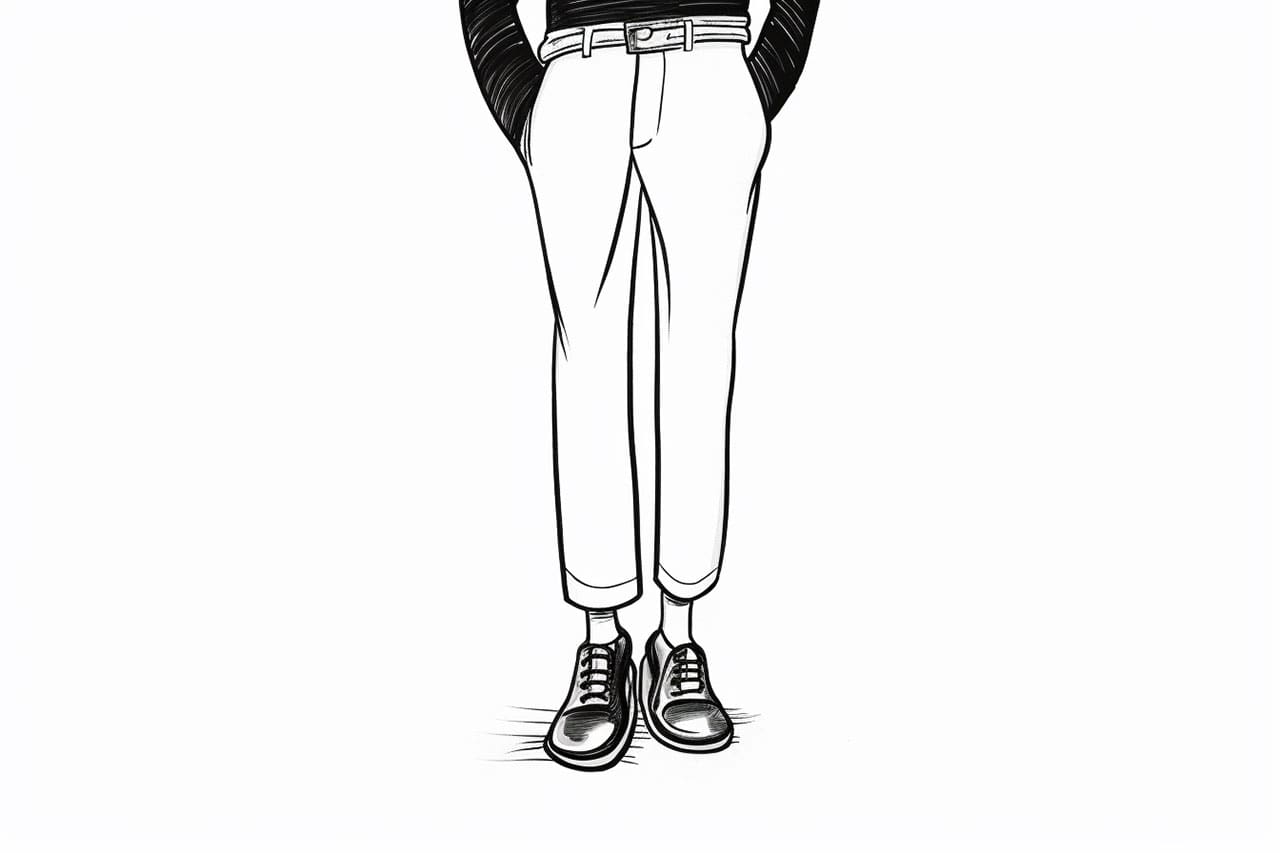
Step 1: Basic Outline
Start by lightly sketching the basic outline of the pants. Determine the position of the waistband, crotch, and legs. The waistband usually sits above the hips, and the crotch is the area where the legs meet. Remember to keep your lines light at this stage as they will be refined later on.
Step 2: Waistband and Belt Loops
Next, add the waistband of the pants. This can be a straight line or curved, depending on the style you are aiming for. If you want to draw a belt, add loops evenly spaced along the waistband. The number of loops can vary, but a common amount is four or five.
Step 3: Draw the Legs
Now, it’s time to draw the legs of the pants. Start by adding two straight lines extending down from the crotch area. These will be the outer edges of the pants. Then, draw two parallel lines inside the outer lines to create the width of the pants. The length and width of the legs can vary depending on the style and fit you want to depict.
Step 4: Add Details to the Legs
To make the pants look more realistic, let’s add some details to the legs. Start by drawing the seams along the outer edges of the pants. These lines should be slightly curved to follow the shape of the legs. Next, add vertical lines to represent the creases and folds of the pants. Remember to keep the lines light and not too overpowering.
Step 5: Pockets
Many pants have pockets, so let’s add them to our drawing. Draw two rectangles on the front of the pants, slightly below the waistband. These rectangles can be of varying sizes, depending on the style of the pants. To make the pockets more realistic, add curved lines to represent the opening of the pocket.
Step 6: Fly and Buttons
If you’re drawing pants with a fly, add a zipper or buttons in the crotch area. For a zipper, draw a vertical line with a few diagonal lines extending from it. To draw buttons, add small circles along the fly in a straight line.
Step 7: Shading and Shadows
Now that the basic structure is complete, it’s time to add shading and shadows to give your pants a three-dimensional look. Determine the direction of the light source and shade the areas accordingly. Use hatching or cross-hatching techniques to create the illusion of texture and depth. Pay attention to the folds and creases, as they will cast shadows that add realism to your drawing.
Step 8: Fabric Texture and Details
To make your drawing more realistic and visually appealing, add texture and details to the fabric of the pants. Depending on the material, you can use different techniques such as drawing small lines for denim or adding wrinkles for a more worn-out look. Don’t be afraid to experiment and find the right balance of texture and details that suit your desired style.
Conclusion
Drawing pants may seem like a complex task, but by following these step-by-step instructions and practicing regularly, you can master the art of drawing pants. Remember to observe real pants and reference images to capture the unique details and textures accurately. With patience and perseverance, you’ll be able to create stylish and realistic pants in your artwork.
So, grab your pencils, erasers, and paper, and start exploring the world of pants drawing. Happy creating!
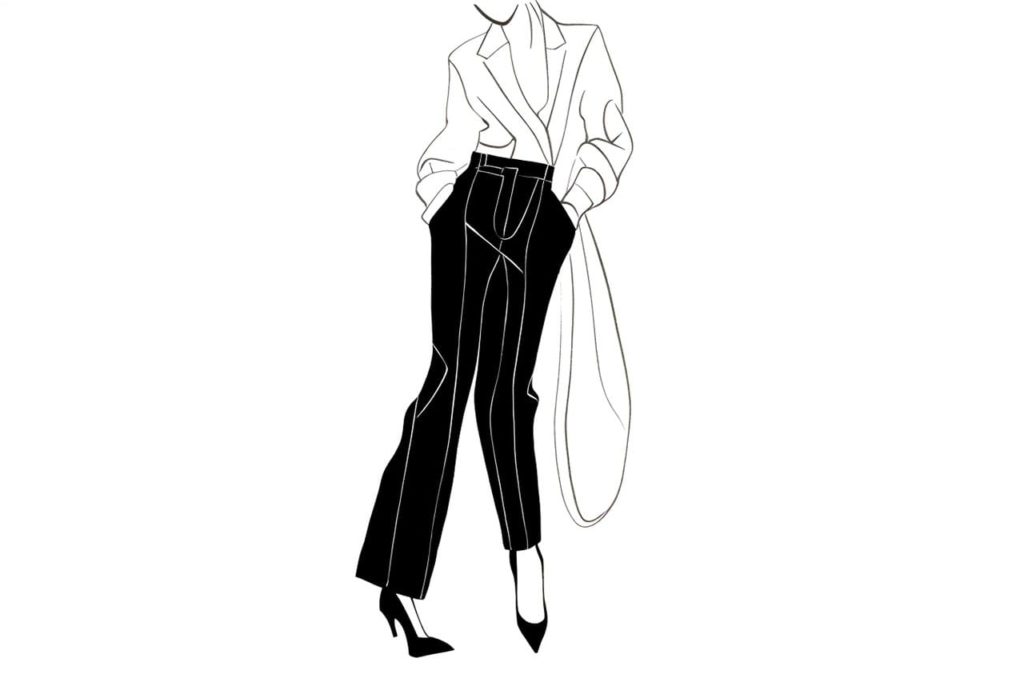
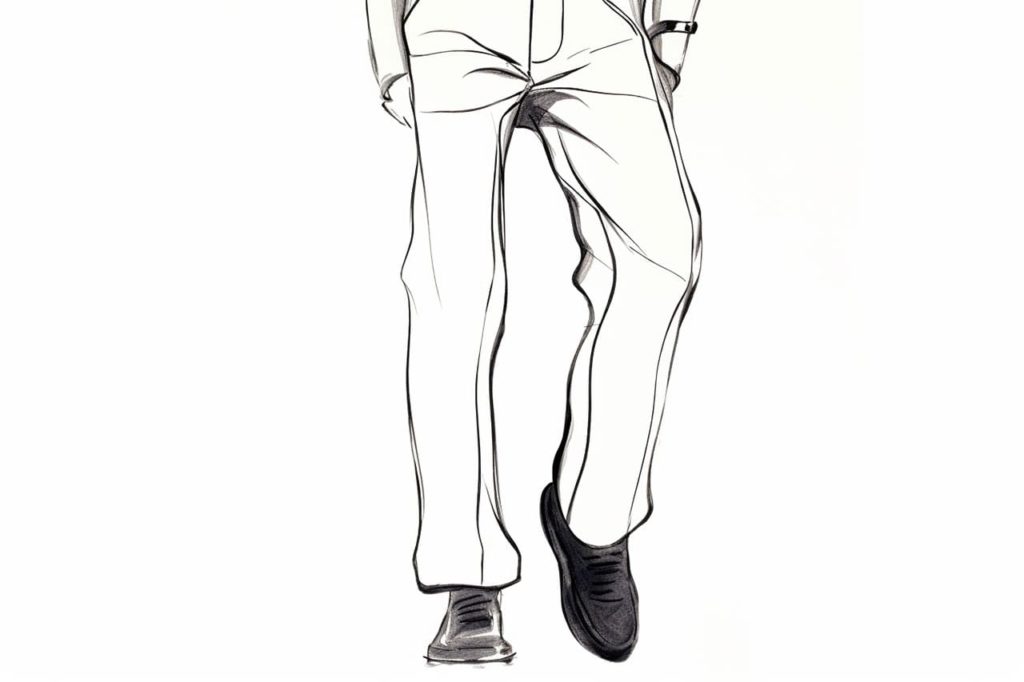
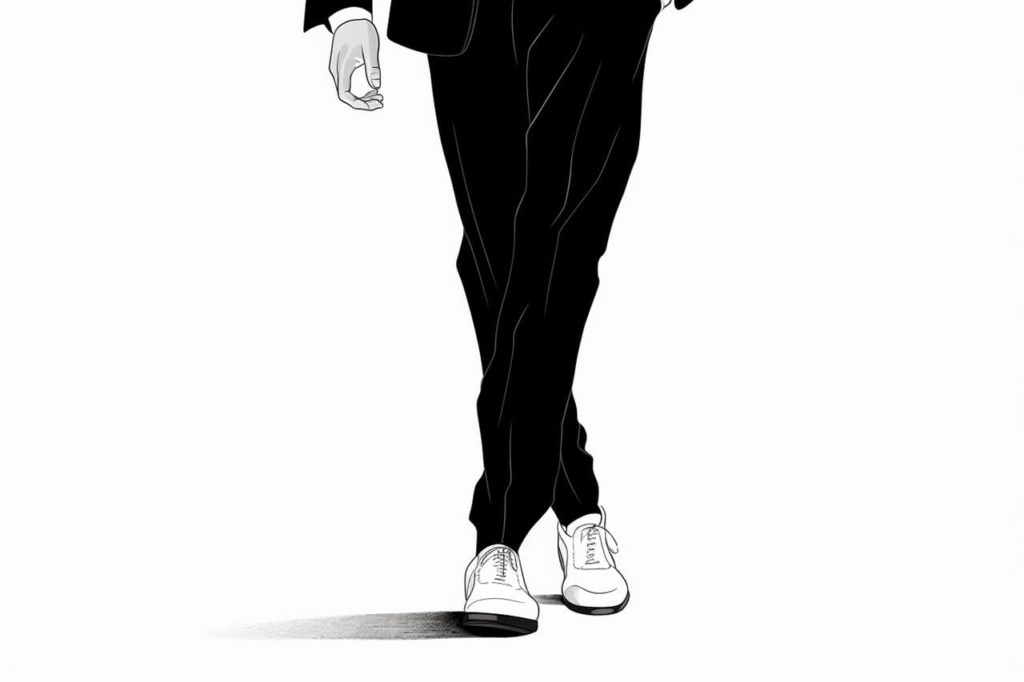
Gallery of Pants Drawings