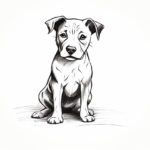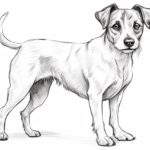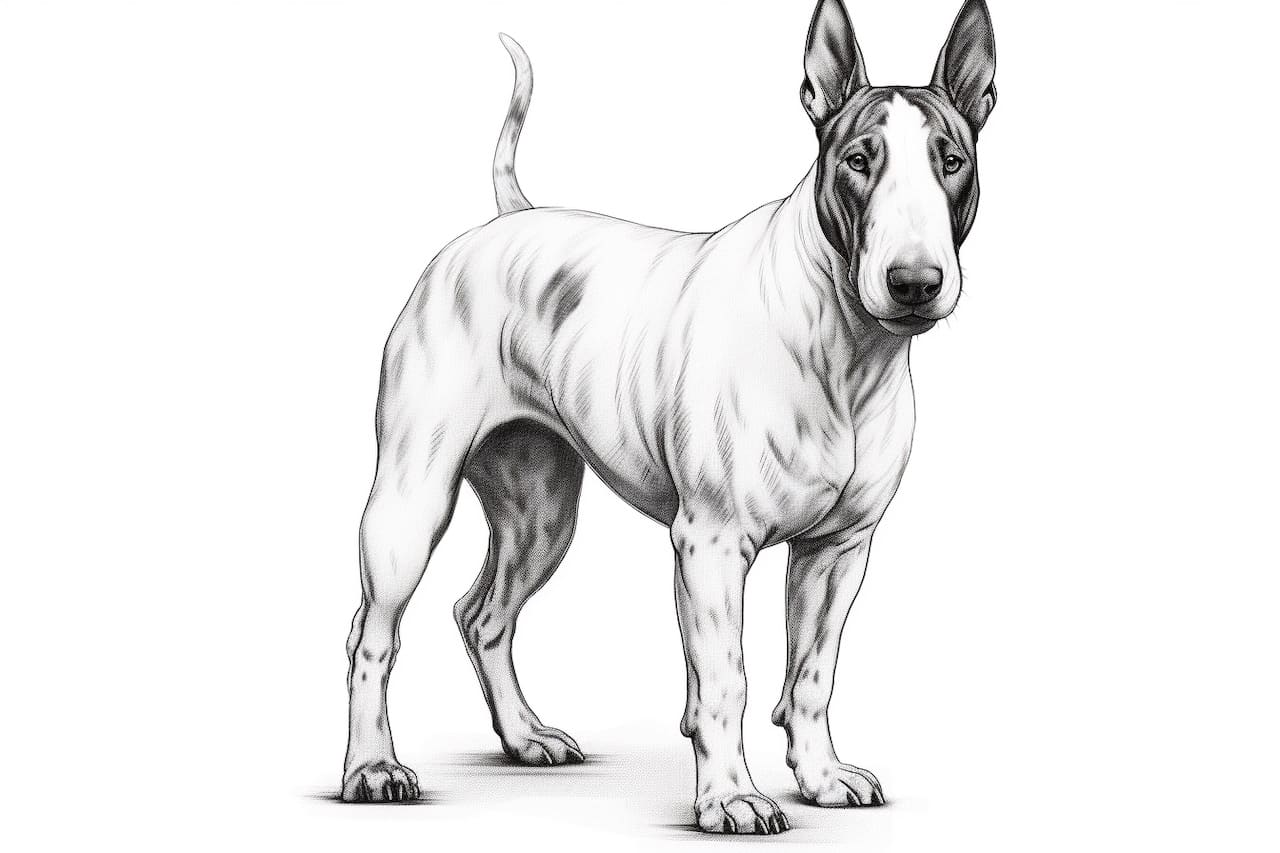
A Bull Terrier is a unique and charming dog breed that is known for its distinctive egg-shaped head and muscular body. If you are a dog lover and an art enthusiast, drawing a Bull Terrier can be a fun and rewarding experience. In this step-by-step guide, I will walk you through the process of drawing a Bull Terrier, from sketching its basic shapes to adding details that bring it to life. So, let’s grab our pencils and get started on this artistic adventure!
Materials Required
Before we begin, let’s gather all the materials you’ll need to draw a Bull Terrier:
- Drawing paper: You can use any type of drawing paper, but a heavier weight paper will work best to prevent smudging and tearing.
- Pencils: A set of graphite pencils ranging from H to B will provide shading options.
- Eraser: A kneaded eraser or a vinyl eraser will come in handy to correct any mistakes.
- Pencil sharpener: Keep your pencils sharp for crisp lines and details.
- Reference image: Find a clear and detailed photo of a Bull Terrier to use as a reference while drawing.
Now that we have all our materials ready, let’s move on to the step-by-step process of drawing a Bull Terrier.
Step 1: Basic Shapes
Start by lightly sketching the basic shapes of the Bull Terrier. Use simple circles and ovals to define the head, body, and limbs. Keep the lines loose and light, as they will be refined later on.
Step 2: Head Proportions
Focus on the head of the Bull Terrier. Use vertical and horizontal guidelines to place the eyes, nose, and mouth. Pay close attention to the proportions, as they are key to capturing the unique look of this breed.
Step 3: Eyes and Nose
With the basic head shape in place, let’s add the eyes and nose. Bull Terriers have small, almond-shaped eyes. Draw them with a slight tilt and add some shine to bring them to life. The nose should be located in the center, slightly above the horizontal guideline. Use smooth curves to define its shape.
Step 4: Mouth and Ears
Move on to drawing the mouth and ears. Bull Terriers have a strong jawline, so sketch the mouth with a slightly curved line. Add some lines to suggest the lips. The ears are triangular in shape and sit high on the head. Keep them proportional to the size of the head.
Step 5: Body Structure
Now let’s work on the body of the Bull Terrier. Use additional circles and ovals to define the chest, back, and hindquarters. Pay attention to the overall proportions of the body, making sure it looks well-balanced and muscular.
Step 6: Legs and Paws
Add the legs and paws to your Bull Terrier drawing. The front legs should be strong and straight, while the hind legs are more muscular and angled. Define the paws with small ovals and indicate the toes with short, curved lines.
Step 7: Tail
Bull Terriers have a short and straight tail that tapers towards the end. Sketch the tail with a curved line, starting from the base of the spine. Keep it relatively thin and proportionate to the body.
Step 8: Refine and Add Details
Now that you have the basic structure of the Bull Terrier drawn, it’s time to refine the sketch and add details. Use your reference image to guide you in capturing the unique features of this breed. Pay attention to the shape of the head, the wrinkles on the forehead, and the texture of the fur. Refine the eyes, nose, mouth, and ears, adding any necessary shading and texture to bring them to life.
Step 9: Shading and Texture
To add depth and dimension to your Bull Terrier drawing, focus on shading and texture. Use a range of pencils from H to B to create different values. Start by lightly shading the areas that are in shadow, gradually building up the dark tones. Pay attention to the direction of the fur and use short, curved lines to suggest its texture.
Step 10: Final Touches
Lastly, take a step back and assess your Bull Terrier drawing. Make any final adjustments and corrections to ensure accuracy and proportion. Erase any unnecessary guidelines and smudges, and add any additional details or highlights to enhance the overall appearance.
Conclusion
Congratulations! You have successfully learned how to draw a Bull Terrier. By following these step-by-step instructions, you were able to capture the unique features and character of this delightful dog breed. Remember to practice and experiment to further improve your skills. Drawing dogs can be a challenging but rewarding endeavor, and with patience and dedication, you can create stunning artwork of various dog breeds. So, keep drawing and let your creativity shine!