Welcome to this step-by-step guide on drawing a cartoon mouse! Whether you’re an aspiring artist or just looking for a fun and easy drawing project, creating a cartoon mouse can be a great way to let your creativity shine. In this article, we will walk you through the process of drawing a cute and lovable mouse character, using simple shapes and lines. So grab your sketchbook and let’s get started!
Materials Required
Before we begin, make sure you have the following materials ready:
- A blank sheet of paper
- A pencil or pen
- Eraser
- Colored pencils or markers (optional)
Now that you have everything you need, let’s dive into the step-by-step instructions.
Step 1: Draw the Head
Let’s start by drawing a circle towards the center of your paper. This circle will serve as the head of our cartoon mouse.
Step 2: Add the Ears
On the top left and top right of the head, draw two smaller circles as the ears. Position them slightly above the head, giving the mouse a cute and playful appearance.
Step 3: Outline the Face
Using simple curves, connect the head and the ears to form the outline of the face. Start from the left ear, curve downwards towards the chin, and then up towards the right ear.
Step 4: Add the Eyes
At the center of the head, draw two medium-sized circles as the eyes. Leave some space between the eyes to add other facial features later on.
Step 5: Draw the Nose
Below the eyes, draw a smaller circle as the nose of the mouse. Place it slightly towards the bottom half of the face.
Step 6: Add the Whiskers
Extend three short lines on each side of the nose, resembling whiskers. These lines should be angled slightly outward.
Step 7: Outline the Body
From the bottom of the head, draw a slightly curved line towards the right side of the paper. This line will serve as the back of the mouse. Then, continue the line downward to form the belly.
Step 8: Draw the Arms and Legs
Extend two short lines from the left side of the body to form the arms. These lines should be slightly curved to give the mouse a more dynamic pose. Next, draw two longer lines from the bottom of the body to create the legs. Curve the lines slightly towards the center of the mouse.
Step 9: Add the Hands and Feet
At the end of each arm, draw a small oval as the hand. Then, at the bottom of each leg, draw another small oval as the foot. These ovals will make our cartoon mouse look more adorable.
Step 10: Detail the Face
Now it’s time to add some details to the face of our mouse. Draw small circles within the eyes as highlights. Then, draw smaller circles inside the highlights as pupils. This will give our mouse character those cute and expressive eyes.
Step 11: Add Facial Expressions
To make your cartoon mouse more interesting, you can experiment with different facial expressions. For example, you can draw a curved line for a smiling mouth or a small dot for a surprised expression. Get creative and have fun with it!
Step 12: Finish with the Tail
Draw a long curved line extending from the back of the mouse to create the tail. You can give the tail a playful curve or keep it straight, depending on the pose you want for your cartoon mouse.
And there you have it! You’ve successfully drawn a cute and lovable cartoon mouse. You can now add some colors using your colored pencils or markers to bring your mouse to life. Be as creative as you like with the colors, and don’t forget to share your masterpiece with others!
Conclusion
Drawing a cartoon mouse is a wonderful way to explore your artistic skills and have fun at the same time. By following the step-by-step instructions in this article, you can create your own adorable mouse character with ease. Remember to start with simple shapes and lines, gradually adding more details as you go along. Don’t be afraid to experiment with different poses and facial expressions to make your mouse unique. So grab your drawing materials and start sketching! We hope you enjoyed this guide on how to draw a cartoon mouse.
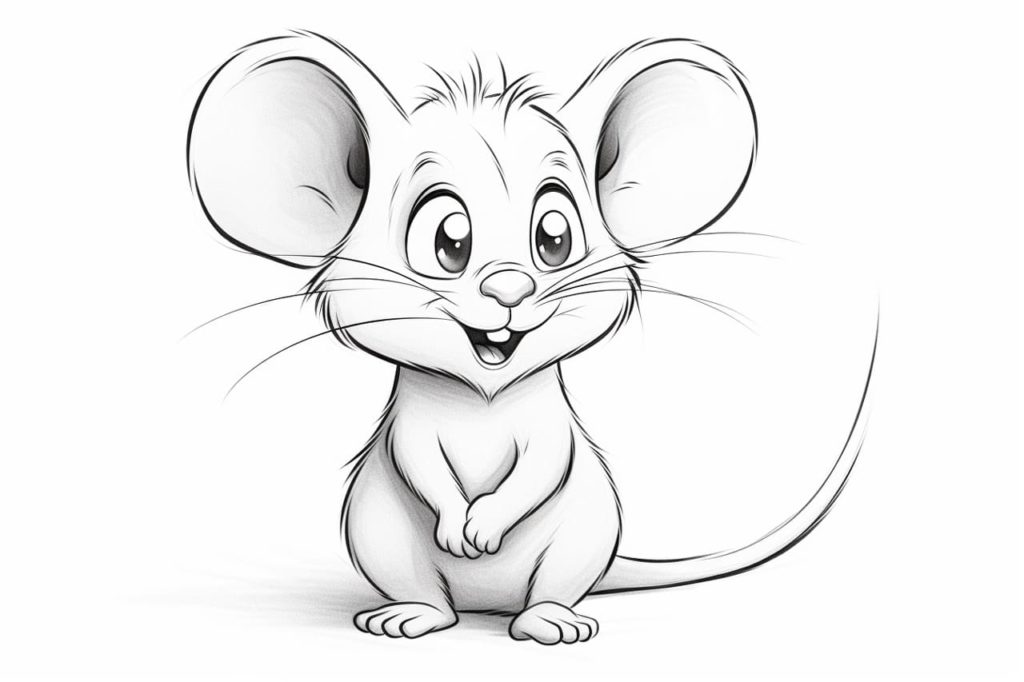
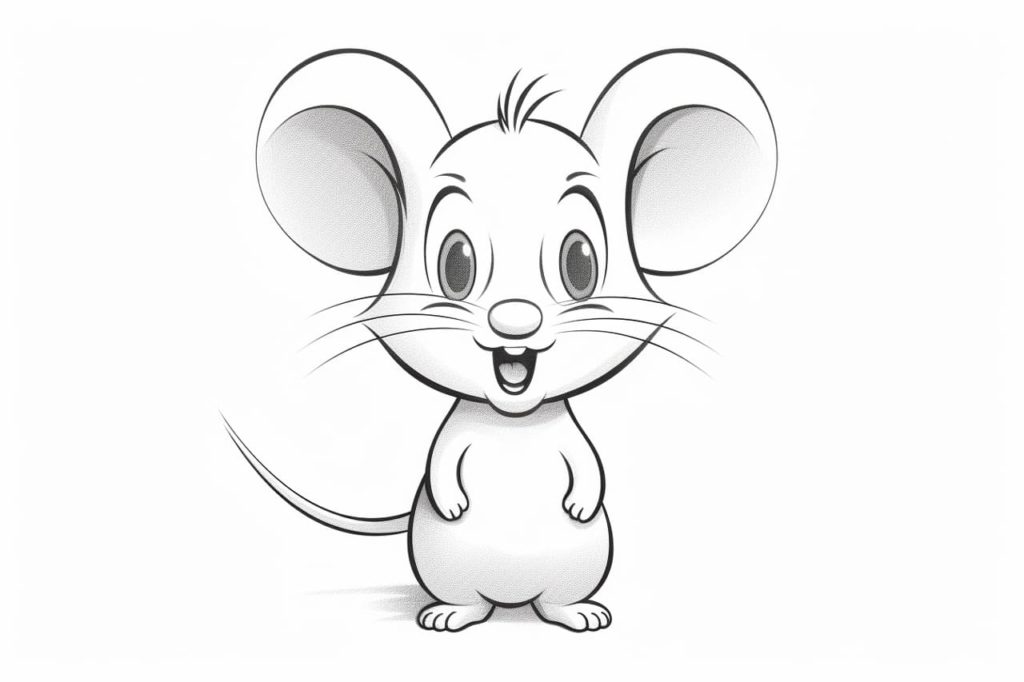
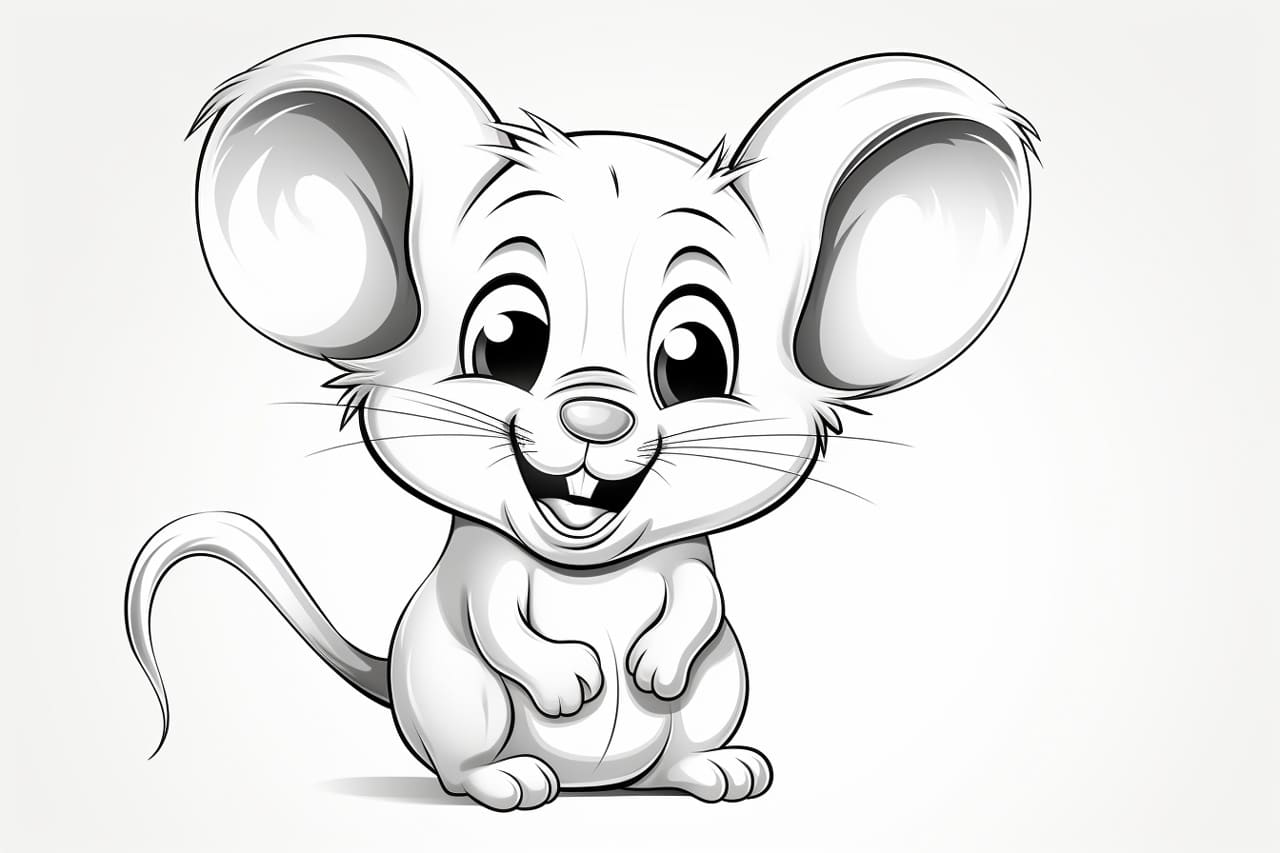
Gallery of Cartoon Mouse Drawings