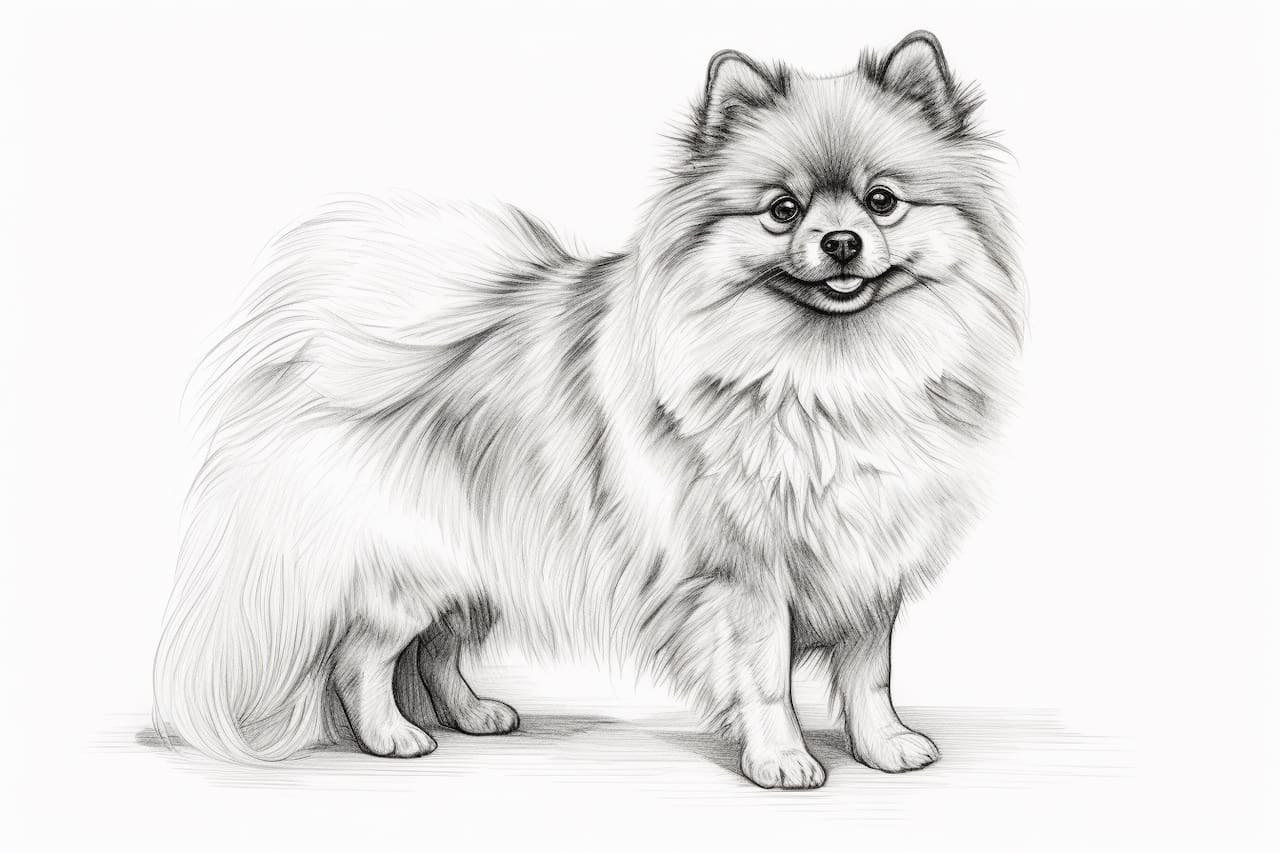
Welcome to this step-by-step guide on how to draw a Pomeranian! Whether you are a beginner or an experienced artist, this tutorial will help you capture the adorable essence of this small breed with your pencil and paper. Pomeranians are known for their fluffy coats and expressive faces, making them a delightful subject for any drawing. So let’s get started!
Materials Required
Before we begin, gather the following materials:
- Drawing paper
- Pencil (preferably an HB or 2B)
- Eraser
- Fine-tip black pen or marker (optional)
- Colored pencils or markers (optional)
Now that you have your materials ready, let’s dive into the step-by-step process of drawing a Pomeranian.
Step 1: Outline the Body
Start by drawing a large oval shape at the center of your paper. This will serve as the body of our Pomeranian. Don’t worry about making it perfect – a rough outline will be sufficient for now.
Step 2: Add the Head and Snout
Using the body as a reference point, sketch a smaller oval shape above it for the head. Towards the lower part of the head, draw a smaller oval for the snout. Connect the head to the body with a curved line.
Step 3: Draw the Ears
Pomeranians have small, pointy ears. On either side of the head, draw two triangular shapes pointing upwards. These ears should extend slightly above the head.
Step 4: Define the Facial Features
Now it’s time to add some personality to your Pomeranian! Draw two large circular shapes for the eyes, leaving some space in between them. Within each eye, draw a smaller circle towards the top to represent the highlight. Next, draw a small triangular shape for the nose, and a curved line underneath for the mouth.
Step 5: Sketch the Legs and Feet
Pomeranians have short, stubby legs. Extend two curved lines downwards from the body to create the front legs. Then, draw two more curved lines towards the back to represent the hind legs. Add small oval shapes at the end of each leg to form the paws.
Step 6: Outline the Fluffy Tail
A Pomeranian’s tail is one of its most distinctive features. Starting from the back of the body, draw a curved line upwards and then back down to create a fluffy tail. Add some zigzag lines along the tail to show the fur.
Step 7: Refine the Body Shape
Go back to the body of your Pomeranian and refine the outline. Smooth out any rough edges and make sure the shape looks well-proportioned.
Step 8: Add Fur Details
Pomeranians have a thick double coat, so let’s capture that in our drawing. Use short, quick strokes to create fur textures all over the body. Pay attention to the direction in which the fur naturally flows – it usually radiates outwards from the center of the body.
Step 9: Finalize the Facial Features
Now it’s time to emphasize the eyes, nose, and mouth. Darken the outline of the eyes, and add small curved lines above the eyes for the eyebrows. Shade the pupils of the eyes, leaving a small circle for the highlights. Shade the nose and add a small line towards the bottom for the mouth.
Step 10: Erase Unnecessary Lines
Take a moment to review your drawing and erase any unnecessary lines or guidelines that may still be visible. Carefully remove any stray marks to refine the overall appearance.
Step 11: Optional – Ink or Color Your Drawing
If you want to take your drawing to the next level, you can use a fine-tip pen or marker to outline your Pomeranian and make the drawing more defined. Alternatively, you can use colored pencils or markers to add some vibrant colors to your artwork.
Conclusion
Congratulations on completing your drawing of a Pomeranian! We hope this step-by-step guide has helped you capture the charm of this adorable breed. Remember, practice makes perfect, so don’t be afraid to keep trying and experimenting with different styles and techniques. Happy drawing!


