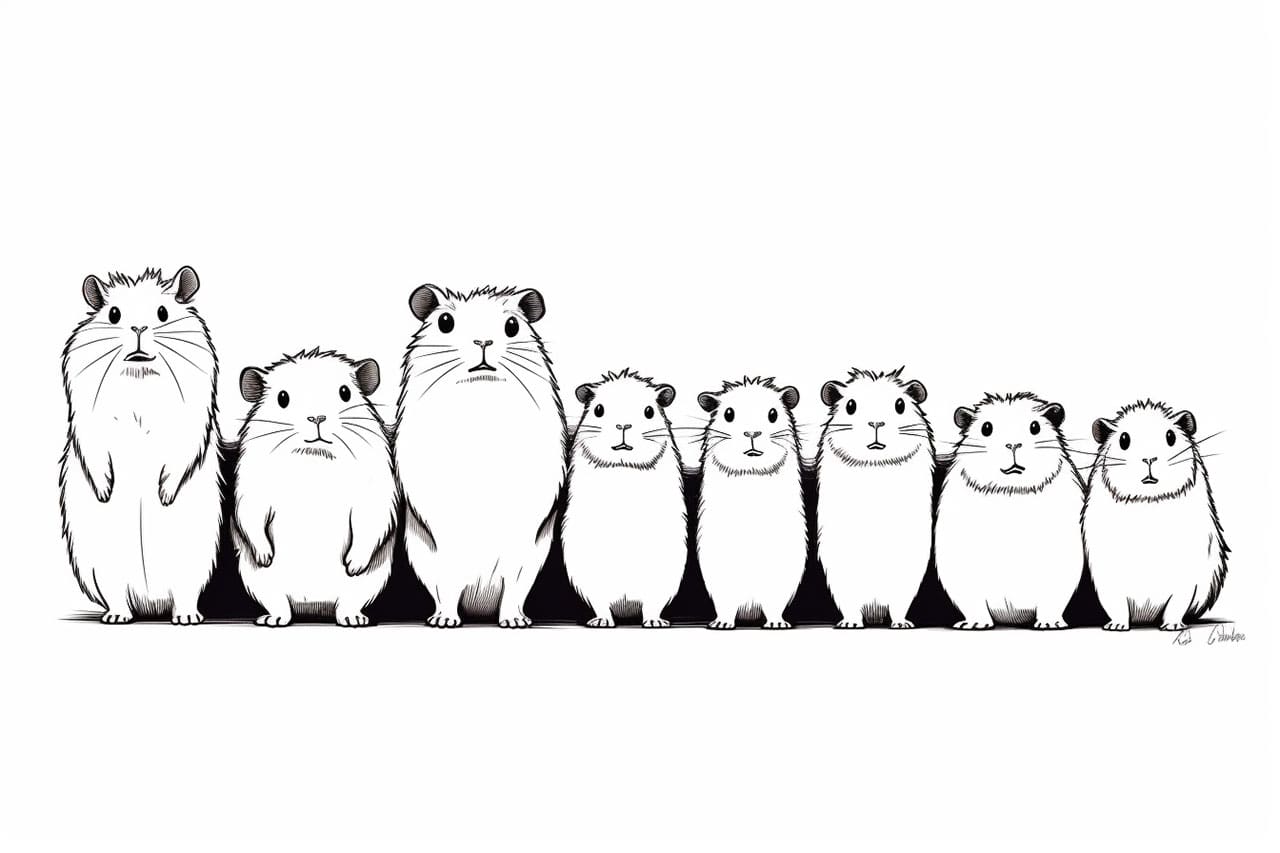
Welcome to this step-by-step guide on how to draw guinea pigs! Whether you are a beginner or an experienced artist, this tutorial will provide you with clear and concise instructions to create adorable guinea pig drawings. So grab your materials and let’s get started!
Materials Required
To begin drawing guinea pigs, you will need the following materials:
- Pencil
- Eraser
- Drawing paper
- Colored pencils or markers (optional)
Now that you have your materials ready, let’s dive into the steps of drawing a guinea pig.
Step 1: Basic Shapes
Start by drawing a large oval shape for the body of the guinea pig. This oval should be slightly elongated horizontally. Next, draw a smaller oval shape above the first one for the head. These two shapes will serve as the foundation for your guinea pig drawing.
Step 2: Facial Features
Within the head shape, draw two small circles for the eyes. Leave some space between them to convey a cute and innocent expression. Just below the eyes, draw a smaller circle to represent the nose. Add a curved line connecting the nose to the mouth. For the mouth, draw a small curved line that slightly slopes upward at the ends to give the guinea pig a smiling appearance.
Step 3: Ears and Hair
On the top of the guinea pig’s head, draw two curved lines that meet in a point to create the ears. Guinea pigs are known for their adorable hair, so let’s add some texture to the drawing. Create short, curved lines along the outline of the head to represent the fur. Be creative and vary the lengths of the lines to add depth and dimension to your drawing.
Step 4: Body Details
To give your guinea pig a cute and chubby appearance, add some details to the body. Draw small curved lines on the sides of the body, starting from the head and extending towards the back. These lines will represent the fur texture. Feel free to adjust the length and thickness of the lines to your liking.
Step 5: Legs and Paws
Draw four small ovals at the bottom of the body to represent the guinea pig’s legs. Connect each oval to the body with curved lines to create a natural look. Within each oval, draw smaller ovals to depict the paws. Guinea pig paws are quite small, so make sure to keep the proportions accurate.
Step 6: Tail and Final Details
To complete your guinea pig drawing, add a short curved line at the back to represent the tail. Guinea pigs have very short tails, so keep it minimal. You can also add some extra fur texture lines on the body if desired. Lastly, use your eraser to remove any unnecessary lines and smudges. Your guinea pig drawing is now ready!
Conclusion
Congratulations on completing your guinea pig drawing! By following these step-by-step instructions, you have created an adorable representation of a guinea pig. Remember to practice regularly to improve your drawing skills and explore different poses and expressions. Have fun and keep experimenting with colors and shading to add more life to your artwork.
We hope you enjoyed this tutorial on how to draw guinea pigs. Happy drawing!