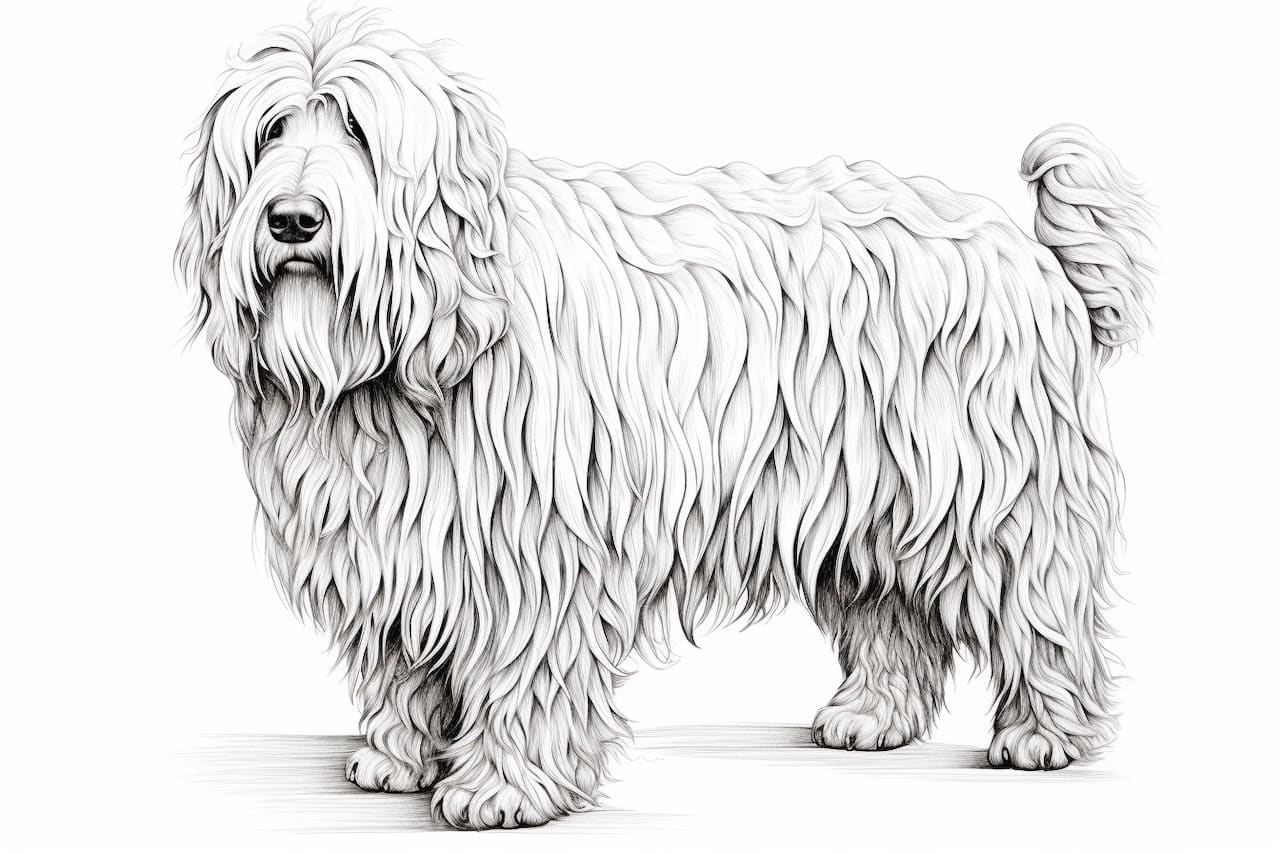
Welcome to this step-by-step guide on how to draw a Komondor! Whether you are a beginner or an experienced artist, this tutorial will help you create a realistic and detailed representation of this unique breed of dog. The Komondor is known for its distinctive, corded coat, which presents a fun and challenging drawing opportunity. So grab your sketchbook and let’s get started!
Materials Required
Before we begin, make sure you have the following materials:
- Drawing paper or sketchbook
- Pencil or graphite sticks (ranging from 2B to 6B)
- Eraser
- Fine-tipped pens for outlining
- Reference photo of a Komondor (optional but recommended)
- Patience and enthusiasm!
Step 1: Start with Basic Shapes
To begin, let’s break down the complex body structure of the Komondor into simple shapes. Start by lightly drawing a large oval shape for the body, and add a smaller oval for the head. These shapes will serve as the foundation for the dog’s overall proportions.
Step 2: Outline the Head
Using the smaller oval as a guide, begin outlining the head of the Komondor. Pay close attention to the shape of the snout and the placement of the eyes and ears. Take your time to get these details right, as they play a crucial role in capturing the breed’s unique characteristics.
Step 3: Define the Facial Features
With the basic head shape outlined, it’s time to add more details to the face. Start by sketching the eyes, making sure to place them evenly on either side of the head. Then, draw the nose and the mouth, paying attention to their proportions and position on the snout. Once you’re satisfied with the placement, refine the shape of the ears.
Step 4: Draw the Body
Moving on to the body, use the larger oval as a guide and start sketching the outline. Take note of the Komondor’s muscular build and the natural curve of its back. Add the legs, keeping in mind their proportion to the body. Take your time to get the shape and positioning right before moving on.
Step 5: Outline the Cords
Now comes the fun part! The Komondor’s most distinctive feature is its corded coat, which gives it a woolly appearance. To capture this unique texture, we will outline the cords. Start by drawing long, thin wavy lines from the head down to the body, following the contours of the dog’s shape. Repeat this process across the entire body, ensuring that the cords are evenly distributed.
Step 6: Add Depth and Detail
To make your drawing more lifelike, it’s important to add depth and detail to the Komondor’s coat. Use shading techniques to create shadows and highlights, enhancing the three-dimensional appearance of the cords. Pay attention to the direction of the light source in your reference photo, as this will affect the placement of shadows. Gradually build up the layers of shading, starting with lighter tones and gradually adding darker ones.
Step 7: Refine and Finalize
Once you are satisfied with the overall structure and details, take a step back and evaluate your drawing. Make any necessary adjustments to ensure accuracy and proportion. Clean up any stray lines or smudges with an eraser. If you’re feeling adventurous, you can even add a background or other elements to complement your drawing.
Conclusion
Congratulations on completing your drawing of a Komondor! By following these step-by-step instructions, you have successfully captured the unique characteristics of this beautiful breed. Remember, practice makes perfect, so don’t be discouraged if your first attempt doesn’t turn out exactly as you envisioned. Keep refining your skills and experimenting with different techniques, and you’ll soon be able to create stunning portraits of any subject. Happy drawing!