Welcome to this step-by-step drawing tutorial on how to draw a Sealyham Terrier! This delightful and unique breed of dog has its origins in Wales and is known for its distinctive white coat and lively personality. Whether you are a beginner artist or an experienced sketcher, this guide will help you capture the charm of this adorable canine companion on paper. So let’s get started!
Materials Required
Before we begin, make sure you have the following materials at hand:
- Drawing paper or sketchbook
- Pencil (HB or 2B recommended)
- Eraser
- Fineliner or pen (optional)
- Colored pencils or markers (optional)
Now that you have your materials ready, let’s dive into the step-by-step process of drawing a Sealyham Terrier.
Step 1: Basic Guidelines
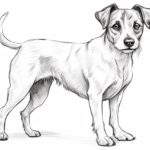
Start by lightly sketching some basic shapes to establish the overall proportions of the Sealyham Terrier. Begin with a circle for the head and add a rectangular shape for the body. Remember, these initial sketches are just guidelines, so keep them light and easy to erase later on.
Step 2: Outline the Head and Ears
Using the circle as a guide, draw the outline of the Sealyham Terrier’s head. Pay close attention to the shape of the skull and the placement of the ears. The ears of a Sealyham Terrier are folded and hang down against the cheeks, so make sure to capture that characteristic in your drawing.
Step 3: Add Facial Features
Now, let’s focus on the face. Start by drawing the eyes, which should be oval-shaped and slightly slanted. Add a small circle within each eye to represent the pupils. Next, draw a small triangle for the nose, positioning it slightly below the center of the eyes. Don’t forget to include the mouth by drawing a curved line beneath the nose.
Step 4: Illustrate the Body and Legs
Using the rectangular shape as a guide, refine the outline of the Sealyham Terrier’s body and legs. Keep in mind that these dogs have a sturdy build with short, stout legs. Pay attention to the angles and proportions as you sketch.
Step 5: Draw the Tail
Sealyham Terriers have a medium-length tail that is carried high and slightly curved. To draw the tail, start from the back end of the body and gradually taper it towards the tip. Add some tufts of fur along the tail to give it a realistic texture.
Step 6: Refine the Details
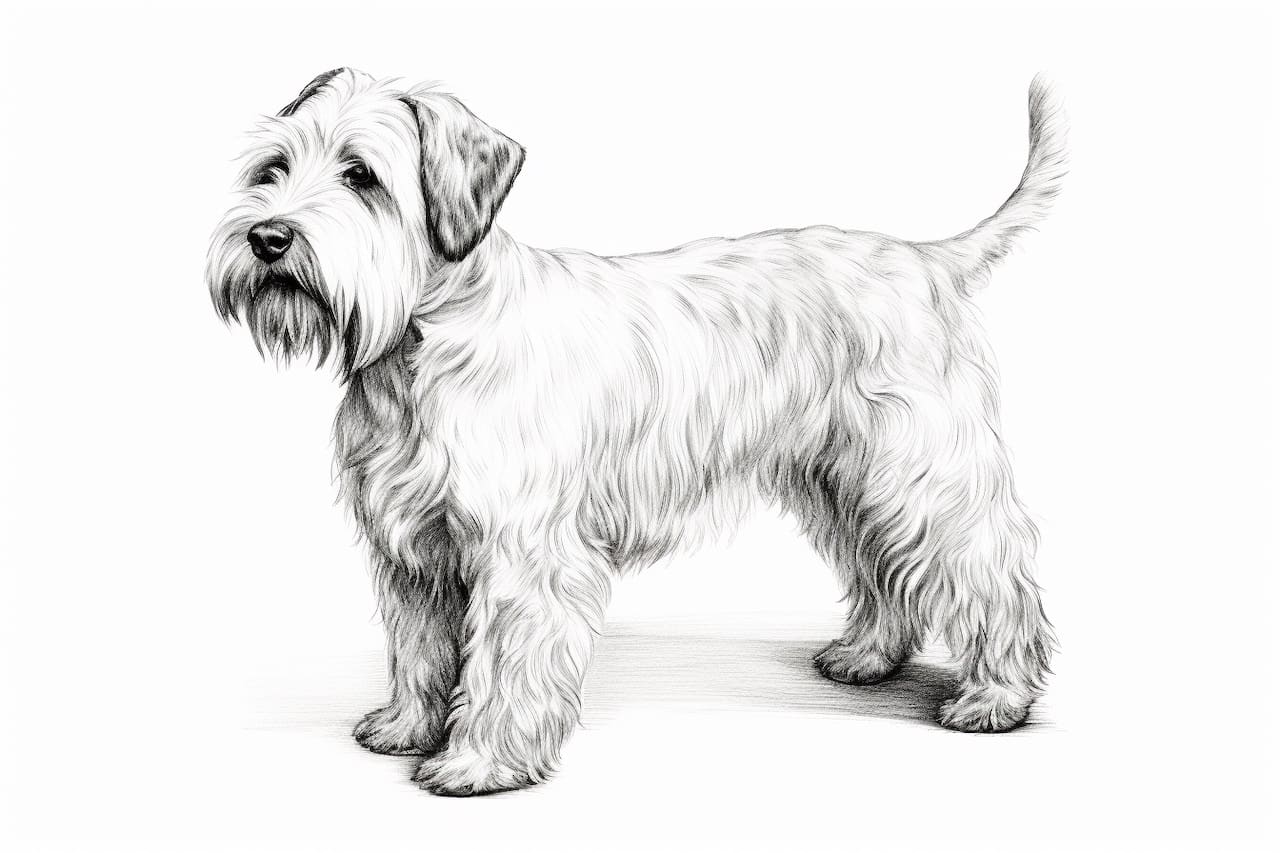
Now that you have the basic structure of the Sealyham Terrier sketched out, it’s time to add more details to bring your drawing to life. Start by refining the shape and texture of the ears, adding small folds and creases. Pay attention to the placement and size of the eyes, and draw the eyebrows and eyelashes to enhance the expression. Add some fur texture to the body by drawing short, curved lines.
Step 7: Erase Guidelines
Once you’re satisfied with the overall look of your Sealyham Terrier drawing, use an eraser to gently remove any unnecessary guidelines and stray pencil marks. Be careful not to erase the essential parts of your drawing that you want to keep.
Step 8: Ink or Outline
If you prefer a more defined and finished look, you can use a fineliner or a pen to go over the main lines of your drawing. This step is optional, as you can also proceed directly to coloring your artwork if you prefer a softer, pencil-drawn style.
Step 9: Add Color (Optional)
If you’d like to add color to your Sealyham Terrier drawing, now is the time to do so. Use colored pencils or markers to carefully fill in the different areas of your artwork. Sealyham Terriers typically have a white coat, but they may also have patches of color, so feel free to experiment and add your own artistic touch.
Conclusion
Congratulations on completing your Sealyham Terrier drawing! By following these step-by-step instructions, you’ve learned how to capture the essence of this lovable breed on paper. Remember, practice makes perfect, so keep honing your skills and trying out different techniques. Whether you’re a dog lover or an art enthusiast, drawing can be a rewarding and enjoyable experience. So grab your pencil and paper, and embark on your artistic journey to create more remarkable canine masterpieces!