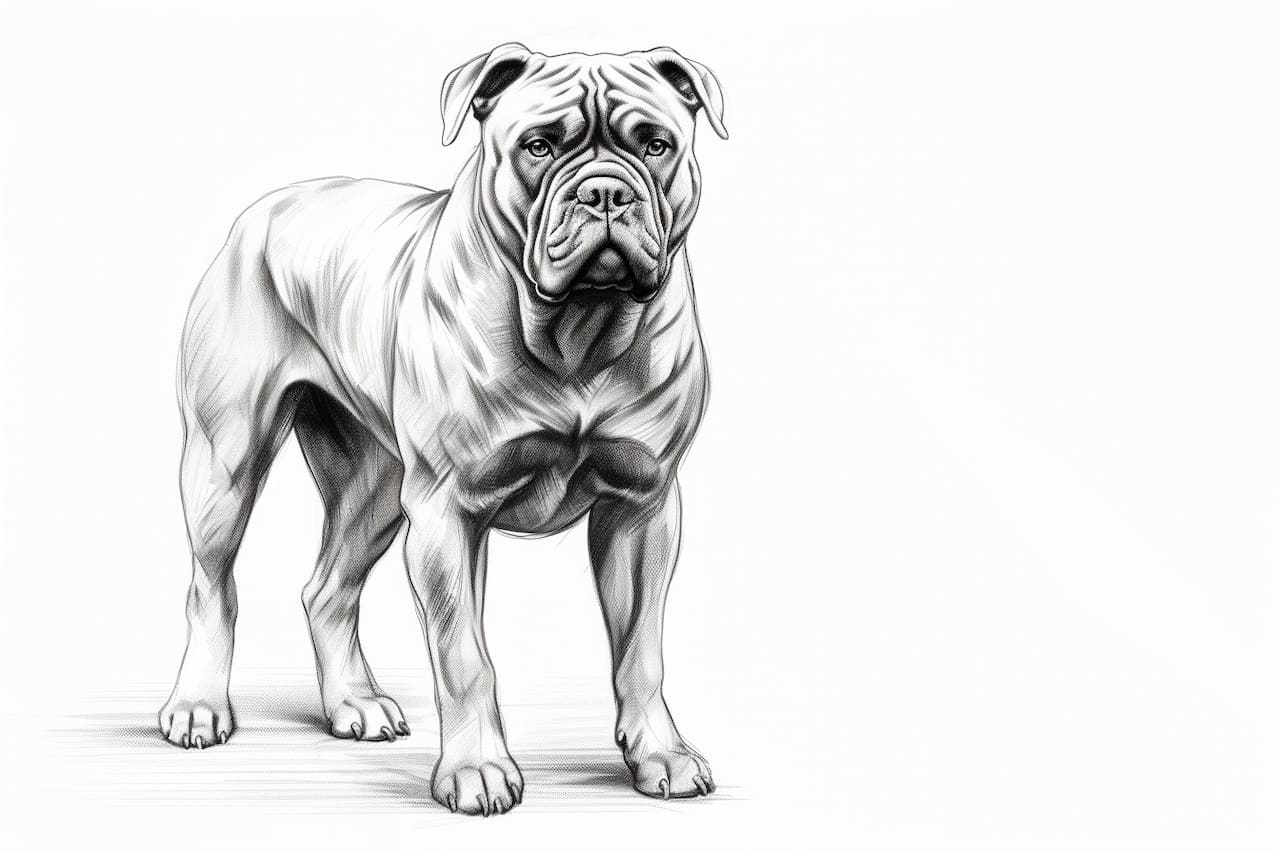
Welcome to this step-by-step tutorial on how to draw a Cane Corso! In this guide, we will go through the process of creating a realistic and detailed drawing of this majestic dog breed. Whether you are a beginner or an experienced artist, with a little patience and practice, you will be able to create a beautiful representation of a Cane Corso.
Materials Required:
Before we get started, gather the following materials:
- Drawing paper or sketchbook
- Pencil set (ranging from HB to 6B)
- Eraser (preferably a kneaded eraser for easy removal of pencil marks)
- Blending stumps or cotton swabs
- Reference photo of a Cane Corso
Now that you have all the necessary materials, let’s dive into the drawing process!
Step 1: Basic Sketch
Start by lightly sketching the basic shapes that form the structure of the Cane Corso. Begin with a large oval shape for the body, followed by a smaller oval for the head. Add guidelines to indicate the placement of the eyes, ears, muzzle, and neck. Keep your lines light and easily erasable.
Step 2: Outline the Body
Using the basic sketch as a guide, start outlining the body of the Cane Corso. Pay attention to the proportions and curves of the breed. Start with the neck and gradually move towards the chest, back, and hindquarters. Refine the shape of the body, ensuring that it aligns with the reference photo.
Step 3: Define the Facial Features
Focus on the head of the Cane Corso. Sketch the eyes, nose, and mouth, using the reference photo as a guide. Pay attention to the placement and size of each feature. Add details such as the wrinkles on the forehead and the strong jawline that characterizes this breed.
Step 4: Sketch the Ears and Tail
Move on to drawing the ears of the Cane Corso. These ears are medium-sized, triangular in shape, and slightly folded. Make sure the position and size of the ears are accurate. Then, sketch the tail, which is thick at the base and tapers to a point. Pay attention to the curve and length of the tail.
Step 5: Add the Details
Now, it’s time to add the finer details to your drawing. Pay attention to the texture and folds of the skin, the wrinkles around the face and neck, and the muscles on the body. Take your time to capture the unique features of the Cane Corso, such as its strong and powerful build.
Step 6: Shade and Blend
Using a range of pencils from HB to 6B, start shading the various parts of the Cane Corso. Begin with the darker areas, such as the eyes, nose, and mouth. Gradually add shading to the body, creating depth and dimension. Remember to blend the pencil strokes using blending stumps or cotton swabs for a smoother appearance.
Step 7: Refine and Erase
Take a step back and observe your drawing. Look for any areas that require refinement or adjustment. Pay attention to the proportions and overall symmetry of the Cane Corso. Make any necessary corrections using your eraser or by adding additional lines and shading.
Step 8: Final Details
In this final step, add the last touches to your drawing. Emphasize the details of the face, such as the eyes, nose, and mouth. Highlight the texture of the fur by adding short lines and strokes in the direction of the fur growth. Take your time to ensure that every detail is precisely represented.
Congratulations! You have successfully created a realistic drawing of a Cane Corso. By following these steps and practicing regularly, you will continue to enhance your artistic skills and create stunning artworks.
Conclusion
In this tutorial, we have explored the step-by-step process of drawing a Cane Corso. Remember to start with a basic sketch, outline the body, define the facial features, and add the necessary details. Take your time to shade and blend, refine and erase, and add the final touches. With practice, you’ll be amazed at the progress you can make. So grab your materials and get started on your Cane Corso masterpiece today!