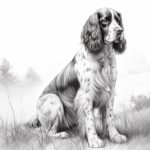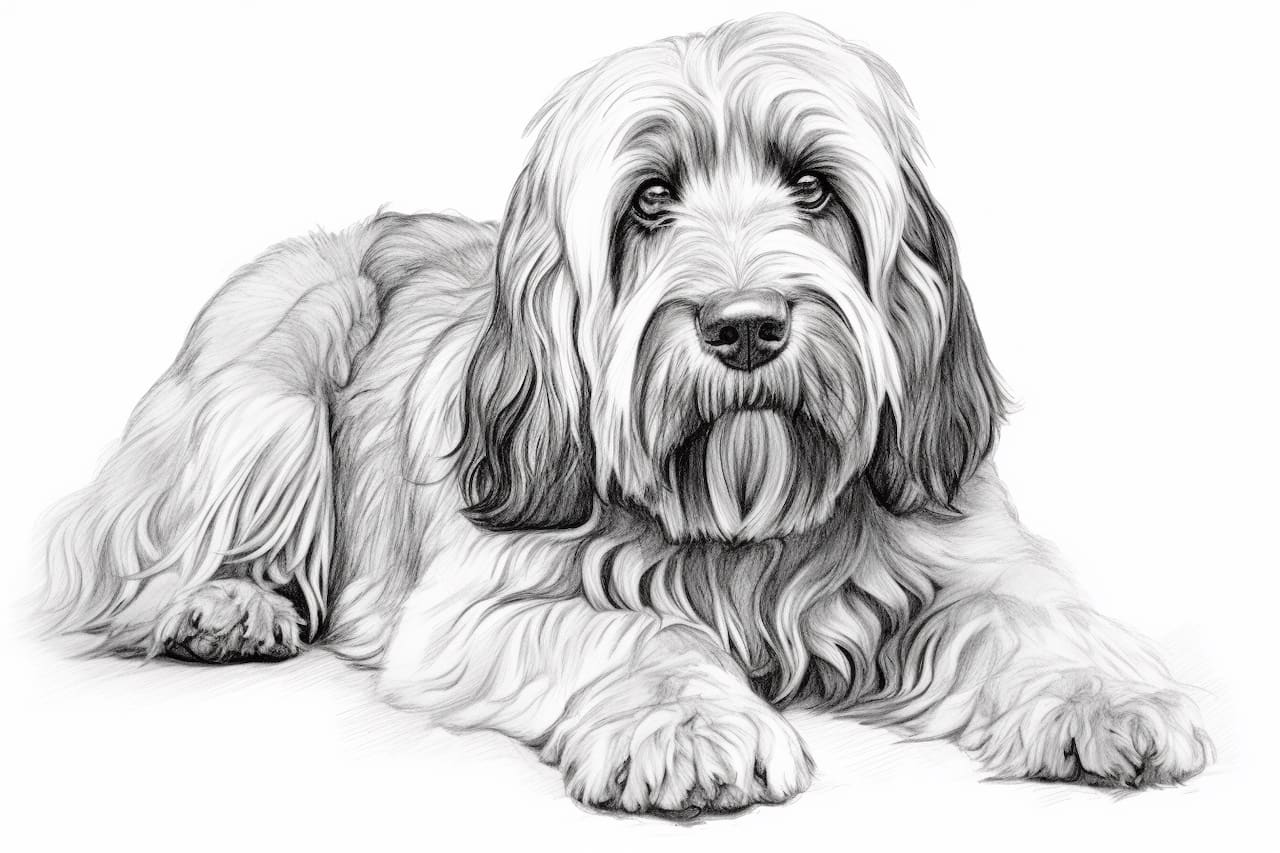
Welcome to this step-by-step guide on how to draw a Petit Basset Griffon Vendeen! In this tutorial, I will guide you through the process of creating a realistic and detailed drawing of this adorable breed of dog. Whether you are a beginner or an experienced artist, this tutorial is designed to help you improve your skills and capture the unique features of the Petit Basset Griffon Vendeen. So let’s get started!
Materials Required
Before we begin, let’s gather the materials you’ll need for this drawing. Here’s a list of what you’ll need:
- Drawing paper – You can use any type of paper that you’re comfortable with. A smooth surface paper usually works best for detailed drawings.
- Pencils – It’s a good idea to have a range of pencils with different lead hardness. You can use a set of graphite pencils with varying lead grades (e.g., 2H, HB, 2B, 4B, 6B).
- Eraser – A good quality eraser is essential for correcting mistakes and smudges.
- Pencil sharpener – Keep your pencils sharp to achieve precise lines and details.
- Blending tool – You can use a blending stump or tortillon to blend and smudge the graphite for a smoother appearance.
- Reference photo – Find a clear, high-resolution photo of a Petit Basset Griffon Vendeen to use as a reference. This will help you capture the unique characteristics of the breed accurately.
Now that you have all the materials ready, let’s begin the drawing!
Step 1: Sketch the Basic Shapes
Start by lightly sketching the basic shapes to establish the proportions of the dog. Use a light pencil (e.g., 2H) to create loose, light lines that can be easily erased if needed. Begin with a circle for the head and an oval shape for the body. Add simple lines to indicate the legs and tail placement.
Step 2: Define the Facial Features
Now, let’s focus on the facial features. Using the circle as a guide, sketch the eyes, nose, and mouth. Pay attention to the placement and size of these features to capture the characteristic expression of the Petit Basset Griffon Vendeen. Remember to keep your lines light and loose at this stage.
Step 3: Add Fur Details
The Petit Basset Griffon Vendeen has a distinct wiry coat. To capture this texture, start by drawing short, wiry lines in the direction of the fur growth. Use a medium pencil (e.g., HB) to create these textures. Gradually build up the fur by layering more lines, focusing on areas such as the face, ears, and body.
Step 4: Refine the Proportions and Features
Take a step back and evaluate the overall proportions and features of your drawing. Make any necessary adjustments to ensure accuracy. Pay close attention to the shape and placement of the ears, the length and position of the legs, and the overall body structure. Use light, confident strokes to refine the details.
Step 5: Add Shading and Depth
To create a three-dimensional appearance, add shading to your drawing. Observe the reference photo and identify areas of light and shadow. Use a combination of light, medium, and dark pencils (e.g., 2H, HB, and 4B) to apply subtle shading. Start with light layers and gradually build up the darkness. Use a blending tool to blend the graphite for a smoother transition between light and dark areas.
Step 6: Finalize the Details
Now, it’s time to add the finishing touches to your drawing. Pay attention to the small details, such as the whiskers, wrinkles, and patterns on the coat. Use a sharp pencil (e.g., 2B or 4B) to carefully add these details. Take your time, and remember that patience and attention to detail are essential in this stage.
Conclusion
Congratulations on completing your drawing of a Petit Basset Griffon Vendeen! By following these step-by-step instructions and using your observation skills, you have created a realistic and detailed representation of this adorable breed. Remember, practice makes perfect, so keep honing your drawing skills and exploring different techniques. With time and dedication, you will continue to improve and create more stunning artworks.
I hope you found this tutorial helpful and enjoyable. Happy drawing!