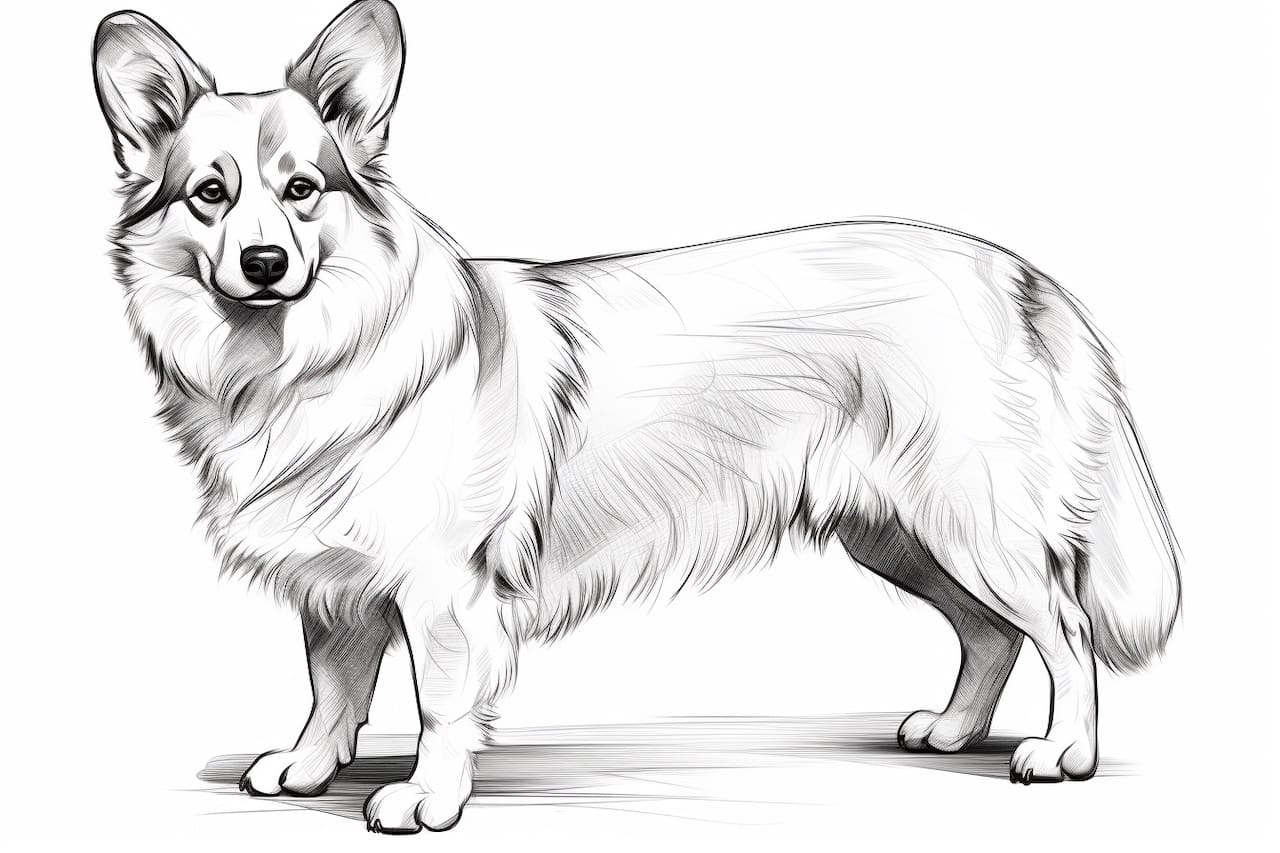
Welcome to this step-by-step guide on how to draw a Pembroke Welsh Corgi! Whether you’re a beginner or more experienced artist, this tutorial will walk you through the process of creating a detailed and lifelike representation of this adorable breed of dog. So grab your sketchbook and let’s get started!
Materials Needed
Before we begin, make sure you have the following materials:
- Pencil: Use a medium or soft graphite pencil for sketching the initial shapes and details. It’s best to use a mechanical pencil or one with a sharp and well-defined tip.
- Eraser: Keep a kneaded or soft eraser handy for correcting mistakes and lightening pencil marks.
- Paper: Use a smooth and sturdy drawing paper that can handle multiple layers of shading and erasing. A drawing pad or sketchbook will work well.
- Reference Image: Find a clear reference photo of a Pembroke Welsh Corgi to guide you throughout the drawing process. You can search for images online or use a book or magazine as a reference.
Now that you have all the necessary materials, let’s dive into the step-by-step instructions for drawing a Pembroke Welsh Corgi.
Step 1: Basic Shapes
Start by lightly sketching the basic shapes that make up the Corgi’s body. Begin with an oval for the head, followed by a rectangular shape for the body. Add circles for the joints of the legs and a curved line for the tail. Remember, these shapes are just guidelines and can be adjusted as needed.
Step 2: Outline the Body
Using the basic shapes as a guide, start outlining the body of the Corgi. Add more curves and define the shape of the head, body, and legs. Pay close attention to the proportions and angles of the Corgi’s features, ensuring they match your reference image. Take your time with this step, as it sets the foundation for the rest of the drawing.
Step 3: Add Facial Features
Now it’s time to focus on the Corgi’s face. Start by sketching the eyes, which are usually large and expressive. Add a small nose and a line for the mouth. Pay attention to the placement and proportions of these features to capture the Corgi’s unique expression. Don’t forget to add the floppy ears that are a trademark of this breed.
Step 4: Define the Fur
The Pembroke Welsh Corgi has a thick and fluffy coat, so let’s start adding some texture to the drawing. Using short, overlapping strokes, lightly shade in the fur, following the direction it naturally grows. Start with light pressure and gradually build up the layers to create depth and dimension. Pay attention to the shadows and highlights, which add realism to the fur.
Step 5: Detail the Eyes and Nose
To bring the Corgi to life, focus on adding detail to the eyes and nose. Use a darker pencil or increase the pressure to darken the pupils and define the shape of the eyes. Add small eyelashes and highlight reflections to make the eyes appear more realistic. For the nose, shade in the nostrils and add some texture to mimic its unique surface.
Step 6: Refine and Add Details
Take a step back and evaluate your drawing so far. Make any necessary adjustments to the proportions, shapes, or values to ensure accuracy. Add more definition to the body, paying attention to the muscle structure and contours. Add details such as the paws, claws, and toenails. Take your time with this step, as the details make a significant difference in the overall appearance of the drawing.
Step 7: Final Shading and Highlights
Now it’s time to add the final touches to your drawing. Go over the entire drawing, refining the shading, and adding more depth and contrast. Use gentle, hatching strokes to enhance the texture and volume of the fur. Pay attention to the areas where light hits the Corgi’s body and add highlights using an eraser or a white pencil. This will create a sense of dimension and make your drawing pop.
Congratulations! You have successfully drawn a Pembroke Welsh Corgi. With practice, patience, and attention to detail, you can create stunning and realistic drawings of this charming breed.
Conclusion
Drawing a Pembroke Welsh Corgi may seem challenging at first, but by breaking down the process into simple steps, you can achieve remarkable results. Remember to take your time, observe your reference image closely, and don’t hesitate to make adjustments along the way. So grab your pencils and start creating your own furry masterpiece!