Are you feeling the Halloween spirit and want to add some spooky decorations to your home? Why not start by drawing a hauntingly beautiful spooky house? Drawing a spooky house can be a fun and creative way to express your love for the Halloween season. In this step-by-step guide, I will show you how to draw a spooky house from scratch. So grab your pencils, erasers, and paper, and let’s get started!
Materials Required
Before we dive into the step-by-step instructions, let’s gather all the materials you will need to draw your spooky house:
- Drawing paper or sketchbook
- Pencils (HB or 2B for sketching, and a darker pencil like 4B for shading)
- Eraser (preferably a kneaded eraser for easy removal of mistakes)
- Ruler (optional but helpful for creating straight lines)
- Black pen or fine liner (for outlining the final drawing)
Now that you have all your materials ready, let’s begin drawing your spooky house!
Step 1: Outline the Basic Shape of the House
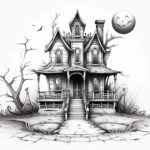
Start by lightly sketching the basic shape of the house on your drawing paper. You can use your ruler to create straight lines or freehand it for a more organic look. Keep the lines loose and easy to erase, as this step is just for laying down the foundation of your drawing.
Step 2: Add the Roof and Windows
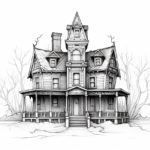
Next, add the roof and windows to your spooky house. Decide on the shape and style of the roof, whether it’s a traditional slanted roof or a more gothic-inspired design. Add in the windows, keeping in mind the spooky theme. You can make them crooked or cracked to give a haunted vibe.
Step 3: Draw the Doors and Chimney
Now, it’s time to draw the doors and chimney of your spooky house. Feel free to get creative with the design of the doors – you can make them oversized, add intricate details, or even make them look like they’re about to open on their own. The chimney can be tall and twisted to add to the spooky atmosphere.
Step 4: Add Details and Textures
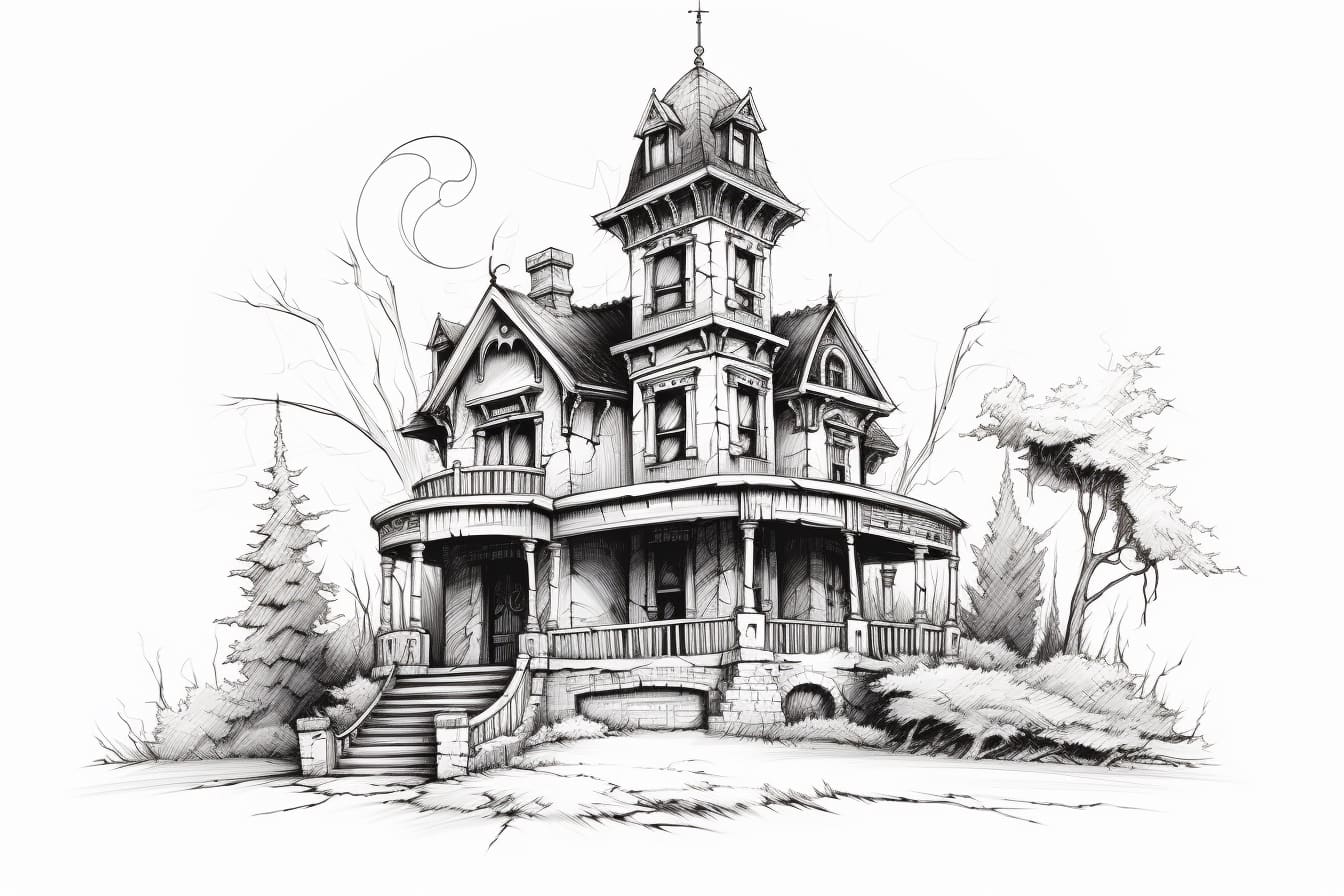
In this step, start adding more details and textures to your spooky house. You can draw cobwebs in the corners, cracked walls, or vines creeping up the sides. These details will help enhance the haunted feel of your drawing. Don’t be afraid to experiment and add your own unique touch!
Step 5: Shade and Add Depth
Once you’re satisfied with the details, it’s time to add shading and depth to your spooky house. Use a darker pencil (like a 4B) to add shadows and create a sense of three-dimensionality. Think about where the light source is coming from and shade accordingly. This step will bring your drawing to life and make it even spookier.
Step 6: Outline the Final Drawing
When you’re finished shading, it’s time to outline the final drawing with a black pen or fine liner. This step will make your spooky house pop and give it a clean, finished look. Go over the pencil lines, emphasizing the details and adding any additional lines or crosshatching for added texture.
Conclusion
Congratulations! You have successfully drawn a spooky house. By following these step-by-step instructions and adding your own creative touches, you have created a hauntingly beautiful drawing that captures the spirit of Halloween. Now you can proudly display your artwork as part of your Halloween decorations!
Remember, drawing is all about having fun and expressing your creativity, so don’t hesitate to experiment and make the drawing your own. Whether you use it to scare trick-or-treaters or simply as a festive decoration, your spooky house drawing is sure to bring the Halloween spirit to life.