Welcome to this exciting step-by-step tutorial on how to draw a grasshopper! Whether you’re an experienced artist or simply exploring a new hobby, drawing can be a captivating way to unleash your creativity and communicate your ideas. Grasshoppers, with their unique shapes and vibrant colors, offer an excellent opportunity to improve your drawing skills while having fun along the way.
In this guide, we will break down the process of drawing a grasshopper into manageable steps. We’ll start with the foundational shapes, ensuring that you understand the anatomical structure before moving on to intricate details. By approaching it this way, you’ll find drawing not only achievable but also enjoyable, as each step reveals more of your finished artwork.
So, whether you’re in search of a relaxing pastime or a way to enhance your artistic repertoire, grab your drawing supplies and let’s embark on this creative journey together! You’ll see just how rewarding it can be to bring a grasshopper to life on paper.
Materials Required
To complete this drawing, you will need the following materials:
- Pencil: A medium-soft graphite pencil (such as 2B) is recommended for sketching the initial outlines and shapes.
- Eraser: A soft eraser will come in handy for removing any mistakes or unwanted lines.
- Drawing Paper: Use a clean and smooth paper that is suitable for pencil drawings. A heavier weight paper is preferable to prevent smudging.
- Colored Pencils (optional): If you want to add color to your grasshopper drawing, colored pencils can be used to bring it to life.
Now that you have your materials ready, let’s dive into the step-by-step process of how to draw a grasshopper!
Step 1: Basic Shapes
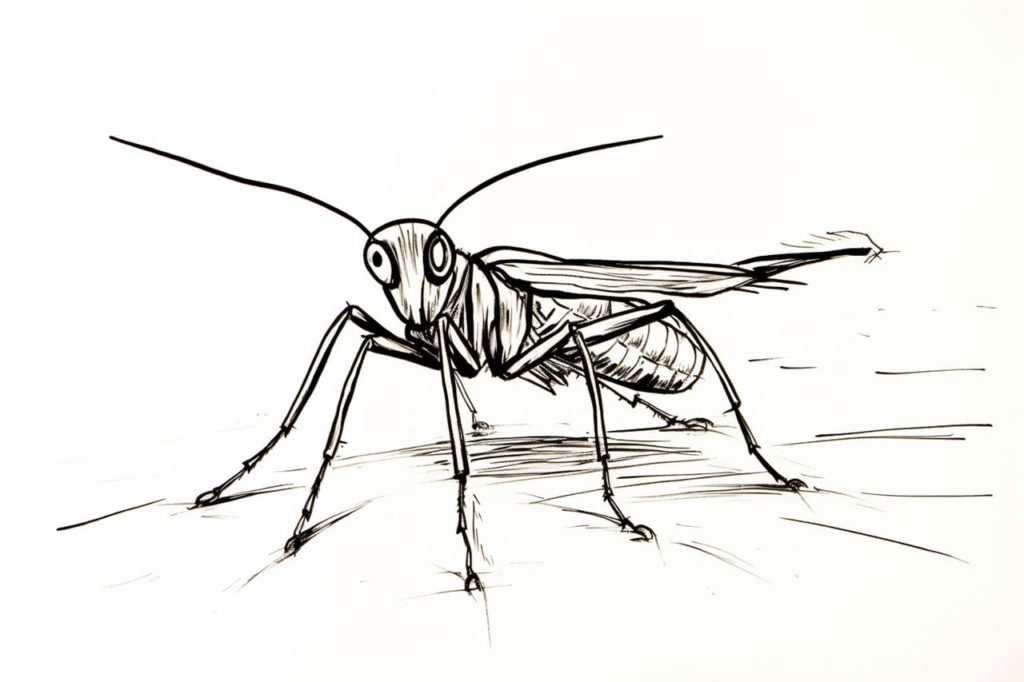
Start by lightly sketching the basic shapes that make up the body of the grasshopper. Begin with an oval shape for the head, followed by a larger oval for the thorax (the middle part of the body). Connect the thorax to the head with a curved line. Then, draw a longer oval shape as the abdomen (the rear part of the body).
Step 2: Legs and Antennae
Next, it’s time to add the legs and antennae to our grasshopper sketch. Grasshoppers have six legs, so add three pairs of thin and elongated shapes coming out from the bottom of the thorax. For the antennae, draw two small curved lines on top of the head, starting from the base of the oval.
Step 3: Eyes and Mouth
Now, let’s bring our grasshopper to life by adding some details to the head. Draw two large oval shapes, one on each side of the head, for the eyes. Inside each eye, add a smaller circle to represent the pupil. Next, draw a small triangle shape just below the middle of the head to indicate the mouth.
Step 4: Wing Outlines
Grasshoppers have wings, so let’s sketch the outlines of the front wings, also known as tegmina. Start by drawing two parallel lines that extend from the thorax towards the abdomen. These lines should curve slightly as they go along. Then, draw another set of parallel lines below the previous ones, mirroring their shape.
Step 5: Wing Details
Add more details to the wings by drawing small triangular shapes along the outlines. These shapes represent the overlapping segments of the wings. You can also add curved lines within the wings to suggest the veins.
Step 6: Body Details
To make our grasshopper drawing more realistic, let’s add some details to the body. Draw a series of horizontal lines across the thorax and abdomen to represent segments. On the thorax, add some curved lines to indicate the muscles. You can also add a few small dots along the abdomen to represent the spiracles.
Step 7: Fine-tuning and Refinement
Now that we have the basic structure and details in place, take a moment to review your grasshopper sketch. Use an eraser to remove any unwanted lines or correct any mistakes. Make sure that all the proportions and shapes look balanced and accurate.
Step 8: Adding Color (Optional)
If you prefer a colored drawing, you can use colored pencils to bring your grasshopper to life. Grasshoppers come in a variety of colors, so feel free to get creative with your choice. Pay attention to the different shades and tones on the body, wings, and legs of the grasshopper. Add light layers of color gradually, building up the intensity as needed.
Conclusion
Congratulations, you have successfully drawn a grasshopper! By following these step-by-step instructions and adding your own personal touches, you have created a beautiful artwork. Whether you are an experienced artist or just starting your artistic journey, drawing provides a wonderful way to explore your creativity and improve your skills. We hope you enjoyed this tutorial and found it helpful. Keep practicing, and have fun with your future drawings!
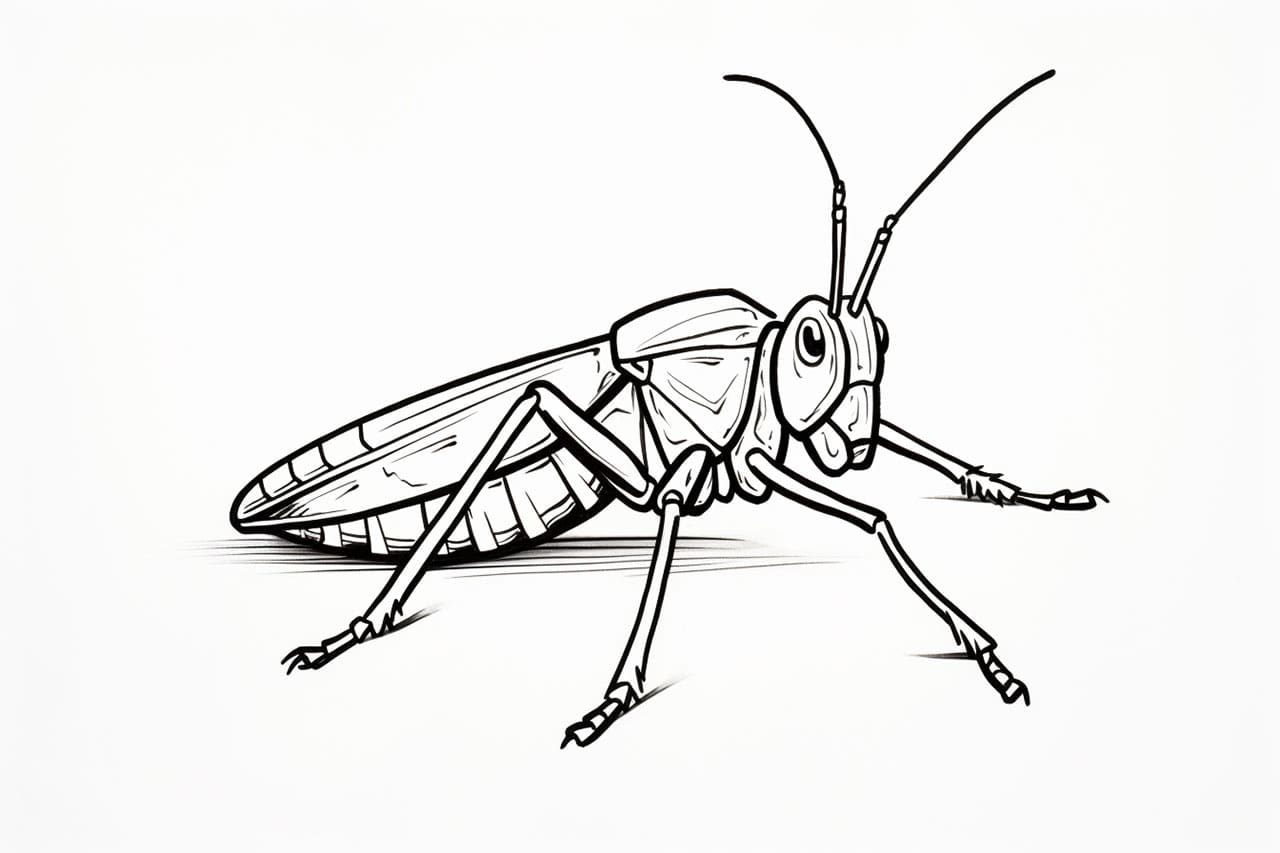
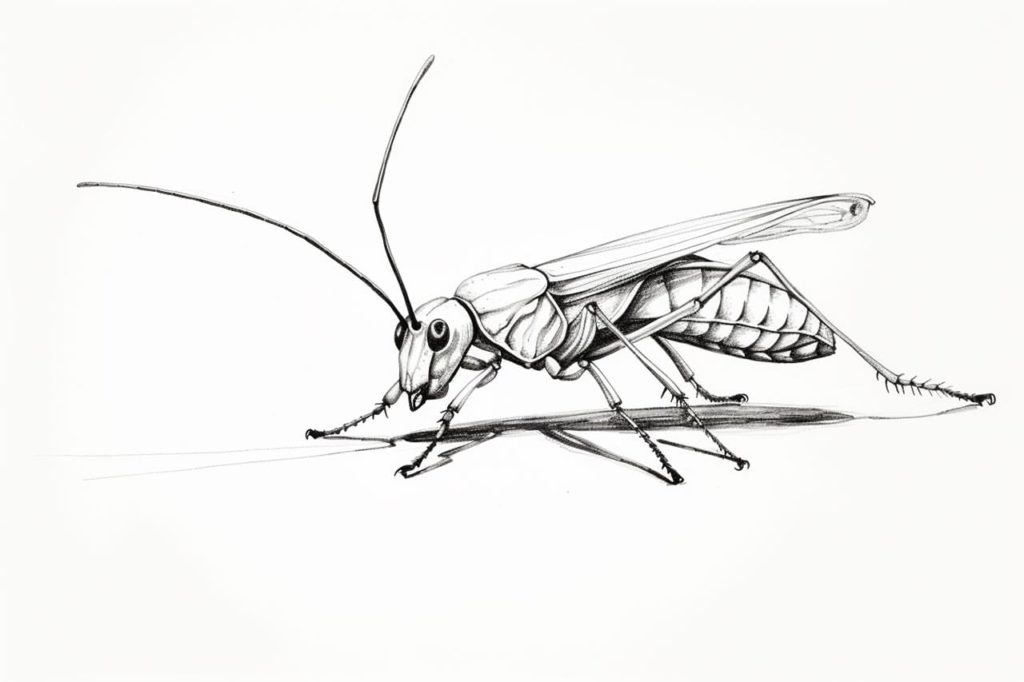
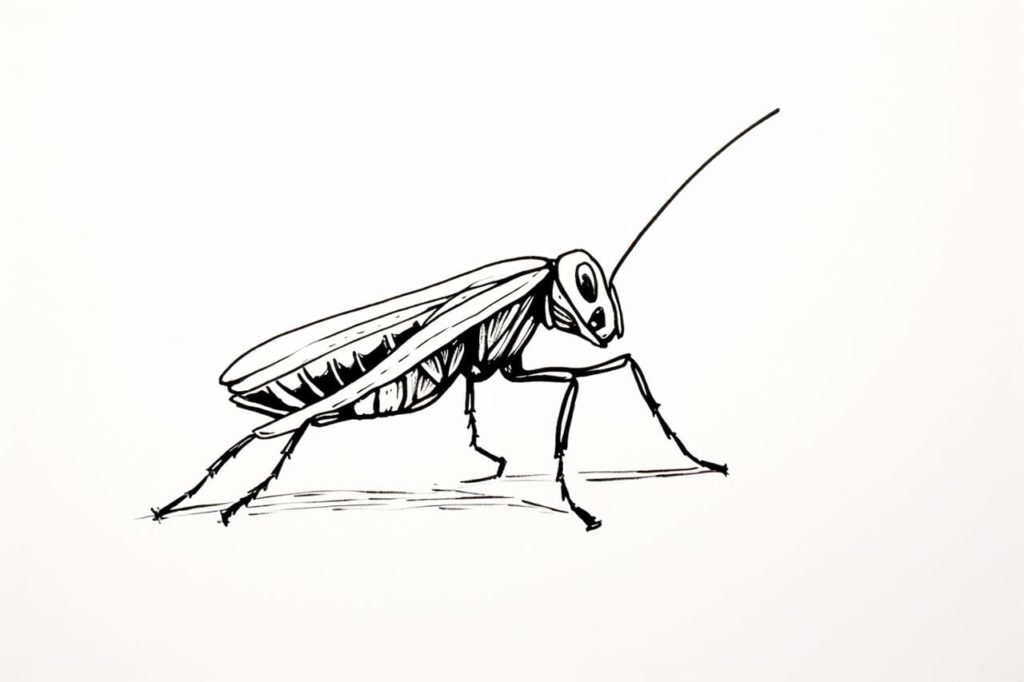
Gallery of Grasshopper Drawings
Fun Facts About Grasshoppers
- Grasshoppers have powerful, long hind legs that allow them to leap up to 20 times their body length in a single jump.
- A single grasshopper can eat about half its body weight in plants each day, which is why they can be pests to crops.
- Grasshoppers make music! They produce sounds, known as stridulation, by rubbing their wings or legs together.
- These insects can be found on every continent except Antarctica, thriving in habitats ranging from grasslands to tropical rainforests.
- Grasshoppers have been around for millions of years and are one of the oldest living groups of chewing herbivorous insects.
- Some species of grasshoppers can change color and behavior, forming swarms and transforming into locusts under specific environmental conditions.
- Grasshoppers have unique vision capabilities with five eyes: two compound eyes for multiple images and three simple eyes for light detection.
- They can “hear” by detecting vibrations through specialized organs known as tympanal organs, usually located on their abdomen.
- Grasshoppers play a crucial role in the ecosystem, serving as food for birds, reptiles, and other animals.
- In some cultures, grasshoppers are considered a delicacy and are consumed as a source of protein.
Suggestions for Scenes and Settings for Grasshopper Drawings
- Grasshopper Meadow: Illustrate a bustling meadow scene where grasshoppers leap across tall grass with butterflies fluttering nearby.
- Musical Jam Session: Create an animated concert where grasshoppers are the musicians, using their legs and wings like instruments, surrounded by an insect audience.
- Grasshopper Gymnastics: Picture grasshoppers performing in a tiny Olympics, showcasing extraordinary jumps and somersaults over leaf hurdles.
- Predator’s View: Draw a bird’s-eye perspective capturing a grasshopper narrowly escaping a bird’s beak with an impressive leap.
- Grasshopper Forest Disco: Imagine a nighttime forest party where grasshoppers are dancing under glow-in-the-dark mushrooms.
- Grasshopper’s Garden Adventure: Sketch a scene of a brave grasshopper exploring towering flowers, hopping from leaf to leaf in a colorful garden.
- Grasshopper Carnival: Illustrate a whimsical fair set up for grasshoppers, complete with leaf rides and seed games.
- Grasshopper on a Journey: Depict a brave grasshopper with a tiny backpack, setting off on an adventure across a vast and varied landscape.
- Underwater Grasshopper: Envision a fantasy under-the-sea world where grasshoppers adapt gills to swim among coral and seaweed.
- Grasshopper Time-Travel Experience: Design scenes where a grasshopper jumps through time visiting prehistoric jungles, ancient villages, and futuristic cities.