How to Draw a Duckling in 8 Easy Steps
Learn how to draw with this step-by-step tutorial.
Materials You'll Need
- Drawing paper
- Pencil (HB or 2B)
- Eraser
- Colored pencils
- Compass
- Blending stump
Welcome to this delightful tutorial, where we'll guide you through drawing one of nature's cutest creatures—a duckling! With their fluffy feathers, tiny beaks, and playful personalities, ducklings are irresistible subjects for artists of all levels. Whether you're a budding artist honing your skills or simply looking for a fun and creative activity, this guide will help you bring these adorable little waddlers to life on paper.
In this step-by-step tutorial, we'll simplify the process of how to draw a duckling into easy-to-follow stages, covering everything from basic shapes to adding the final details. By the end, you'll have a charming duckling illustration that's perfect for cards, decorations, or just showcasing your artistic talent.
So, grab your pencils, paper, and a splash of creativity, and let's dive into the art of drawing ducklings!
Materials Required
To begin drawing a duckling, you will need the following materials:
-
Pencils (HB or 2B)
-
Drawing compass
-
Colored pencils (optional)
-
Reference photos of ducklings (optional)
Having these materials ready will ensure that you have everything you need to create a beautiful duckling drawing.


Step-by-Step Guide on How to Draw a Duckling
Step 1: Sketch the Duckling's Body
Begin by drawing a large oval in the center of your paper. This oval will serve as the main body of the duckling, so make it slightly tilted for a more natural, dynamic pose. Keep your lines light and soft, as this is just the foundation. Be sure to leave enough space above the oval to add the head in the next step.
Step 2: Add the Head and Beak
At the top of the body oval, draw a smaller oval for the duckling's head. Position it slightly overlapping the larger oval to ensure a seamless connection between the body and head. Next, sketch a small triangle shape at the front of the head to form the beak. Leave a tiny gap between the head and the beak to give your duckling a realistic and playful appearance.
Step 3: Draw the Eyes and Head Feathers
Inside the head oval, draw two small circles for the eyes. Add smaller circles within these for the pupils, leaving a tiny white spot to create a lively sparkle. Above the eyes, sketch a few short, curved lines to suggest fluffy feathers on the duckling's head. These subtle details will give your drawing an adorable and expressive look.
Step 4: Shape the Wings
On each side of the body, draw a soft, curved line that extends from the upper part of the oval and tapers toward the middle of the body. These lines will form the duckling's wings. Keep the curves gentle and natural, and don't worry about adding too much detail yet—this step is all about establishing the overall shape.
Step 5: Add Legs and Webbed Feet
Draw two short, curved lines extending downward from the bottom of the body for the legs. For each foot, sketch three small ovals at the end of the leg lines. Connect these ovals with curved lines to create webbing, giving the duckling its signature duck feet. Position the legs slightly apart for a balanced, waddling stance.
Step 6: Draw the Tail
At the rear of the body, add a small triangle shape for the duckling's tail. Angle the triangle slightly upward and use a few curved lines on the edges to suggest soft, fluffy feathers. This detail adds charm and realism to your drawing.
Step 7: Add Feathery Textures
Now it's time to bring your duckling to life with textures. Use short, curved strokes along the wings, body, and tail to represent soft, downy feathers. These lines should follow the natural curves of the duckling's form. Add subtle details around the chest and neck to emphasize the fluffiness of its baby feathers.
Step 8: Shading and Coloring (Optional)
To enhance your drawing, add shading and color to your duckling. Identify your light source and shade the areas opposite it, such as the underside of the head, body, and wings. Use soft pencil strokes or blending tools to create smooth transitions between light and shadow, adding depth and dimension.
For coloring, use light yellows for the duckling's body and a soft orange for the beak and feet. Add gentle gradients to mimic the natural variations in feather and skin tones. A light blue or green background can evoke a pondside scene and complete the illustration.
Tip: To create a realistic and adorable duckling, start by breaking down the shape into simple forms—like an oval for the body and a circle for the head. Use light pencil strokes to sketch these shapes, allowing for easy adjustments as you refine your drawing. Focus on the unique features of ducklings, such as their fluffy texture; you can achieve this by adding short, curved lines around the body to suggest feathers. Don't worry about perfection at this stage; embrace the sketchy look until you're satisfied with the proportions. Finally, once you're happy with your outline, use colored pencils to bring your duckling to life, layering yellows and soft browns to capture their fluffy charm!
Wrapping Up Your Duckling Drawing
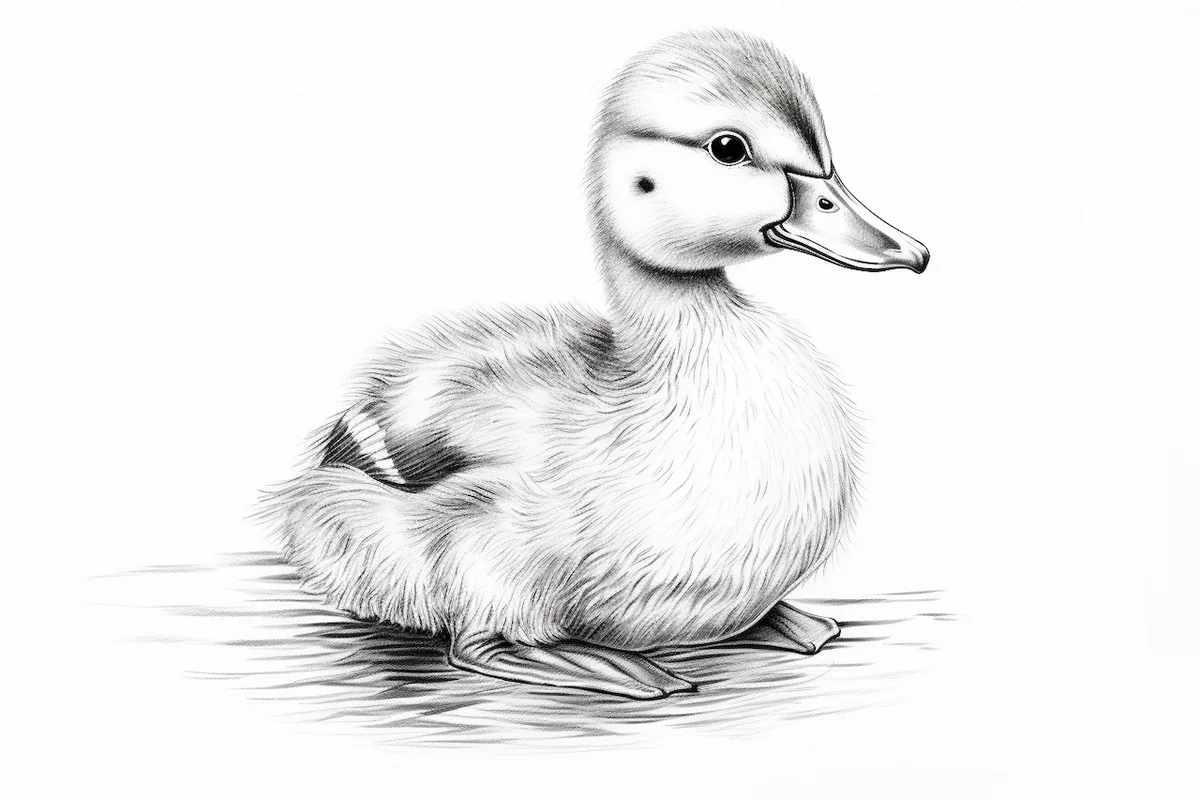
Congratulations! You've successfully drawn an adorable duckling, capturing its fluffy charm and playful personality. By following these step-by-step instructions, you've learned how to transform basic shapes into a delightful illustration that showcases your creativity.
Keep practicing to refine your technique and try experimenting with different poses, settings, or even a group of ducklings. Art is all about exploring and having fun, so let your imagination take flight as you continue to create. Don't forget to check out our other tutorials for even more drawing inspiration. Happy sketching!