
Drawing can often feel like a daunting task, especially for those who are new to the creative realm. It seems that artists who can effortlessly depict life on paper have a bit of magic in their hands. However, the beauty of drawing is that it is a skill which can be learned, refined, and mastered. A perfect place to start is learning how to draw a dove. This tutorial will guide you through a simple but effective process of drawing this beautiful and peaceful bird.
To begin with, you will need a pencil, an eraser, a piece of paper and a bit of patience. Drawing is not only about replicating what you see, but about training your hand to follow the commands of your eyes. Let’s get started on how to draw a dove.
Step 1: Draw the Outline
Start with a small circle for the head of the dove. Slightly below, draw a larger oval as the body. Make sure these two shapes overlap a little. They serve as basic guidelines for your dove’s body.
Step 2: Sketch the Body Details
Draw a smaller circle within the head circle to represent the dove’s eye. Add a tiny dot inside it for the pupil. For the beak, sketch a small triangle on the edge of the head circle.
Step 3: Add Wings and Tail
At the bottom of the body oval, draw a curved line extending outwards for the tail. For the wings, draw a larger curved line starting from the upper end of the body oval. Add some feathers by sketching smaller curved lines inside the wings and tail.
Step 4: Sketch the Legs
The legs are made of two short lines coming down from the bottom of the body oval. Finish them with small oval shapes for the feet.
Step 5: Refine Your Drawing
It’s time to add fine details to make your dove come to life. Add definition to the wings and tail by drawing more lines for the feathers. Shade the eye and beak to give them depth.
Step 6: Erase the Guidelines
At this point, you can erase the initial outline, leaving only the detailed sketch of your dove.
Step 7: Add Final Touches
The last step will be shadowing and highlighting your drawing. This will give your dove a three-dimensional look. Be sure to remember where your light source is and keep your shadows consistent.
That’s it! You’ve successfully learned how to draw a dove. With practice and patience, you’ll see improvement in your dove drawings and even start applying these skills to drawing other birds or objects.
Drawing a dove is a wonderful way to enhance your artistic skills and to appreciate the simplicity and elegance of nature. So, keep your pencil sharpened and paper ready because the more you practice, the better you become. As the saying goes, every artist was once an amateur.
In conclusion, learning how to draw a dove is a simple and fun way to start your journey into the world of art. Each stroke, shading, and detail brings you closer to creating realistic images. Remember, the key to drawing is patience and practice. So, keep practicing and soon you’ll master the art of drawing a dove.
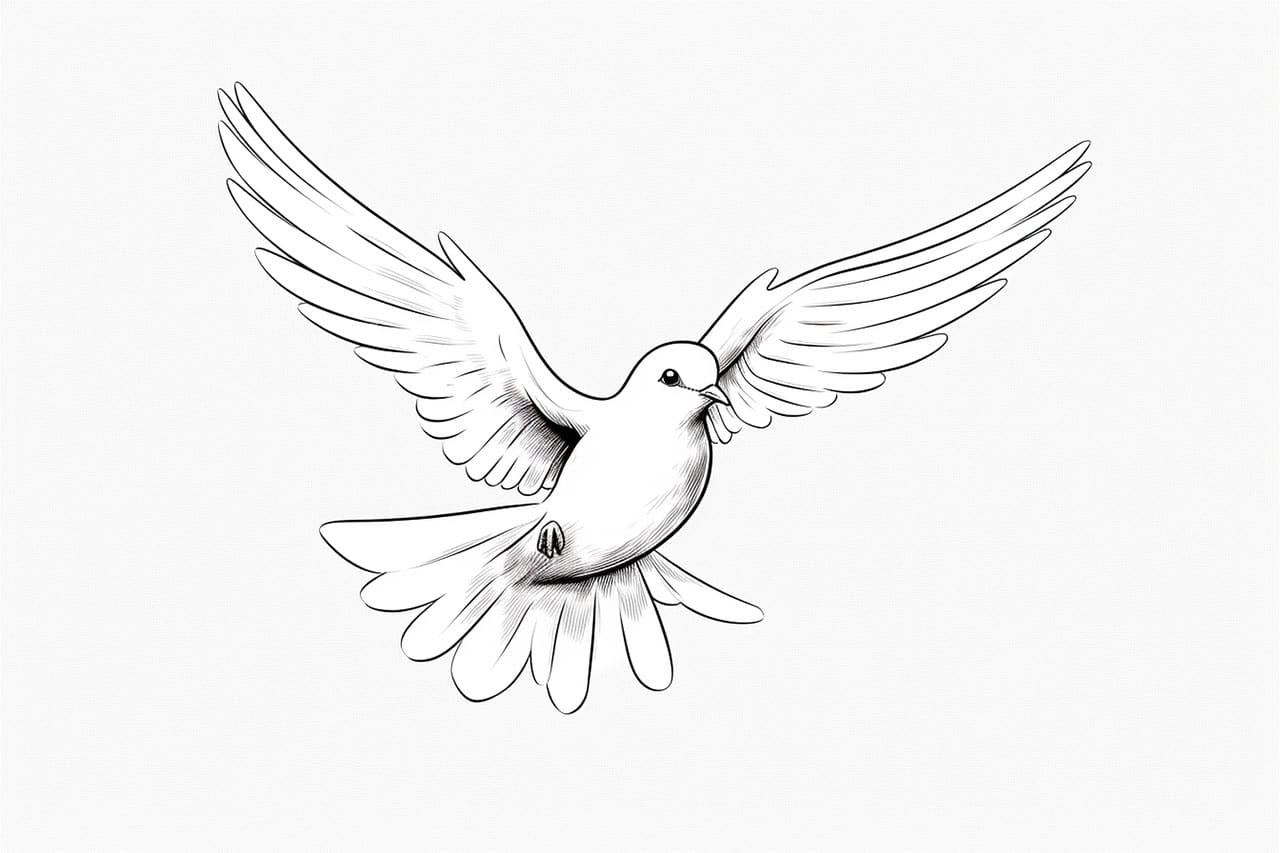
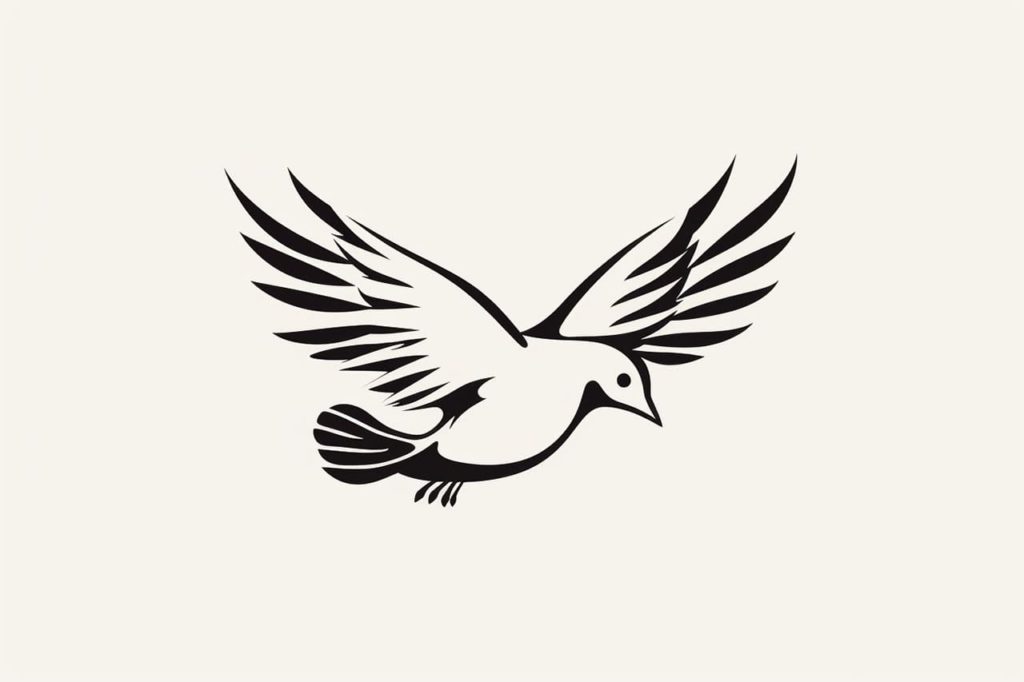
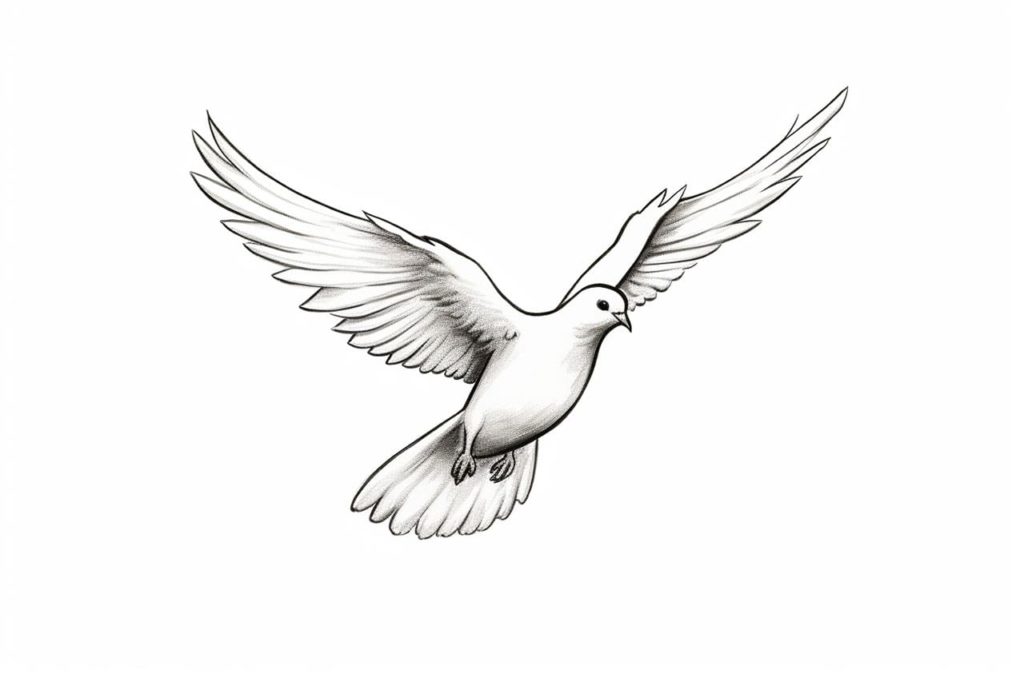
Gallery of Dove Drawings

Related posts:
 How to Draw Bulbasaur: A Step-by-Step Guide
 How to Draw a Cornucopia: A Step-by-Step Guide
 How to Draw a Bulldog: A Step-by-Step Guide
 How to Draw Nemo: A Step-by-Step Guide
 How to Draw Popcorn: A Step-by-Step Guide
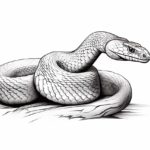 How to Draw a Realistic Snake: A Step-by-Step Guide
 How to Draw Kakashi – A Step-by-Step Guide
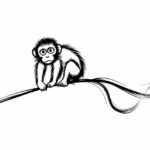 How to Draw a Monkey Step by Step