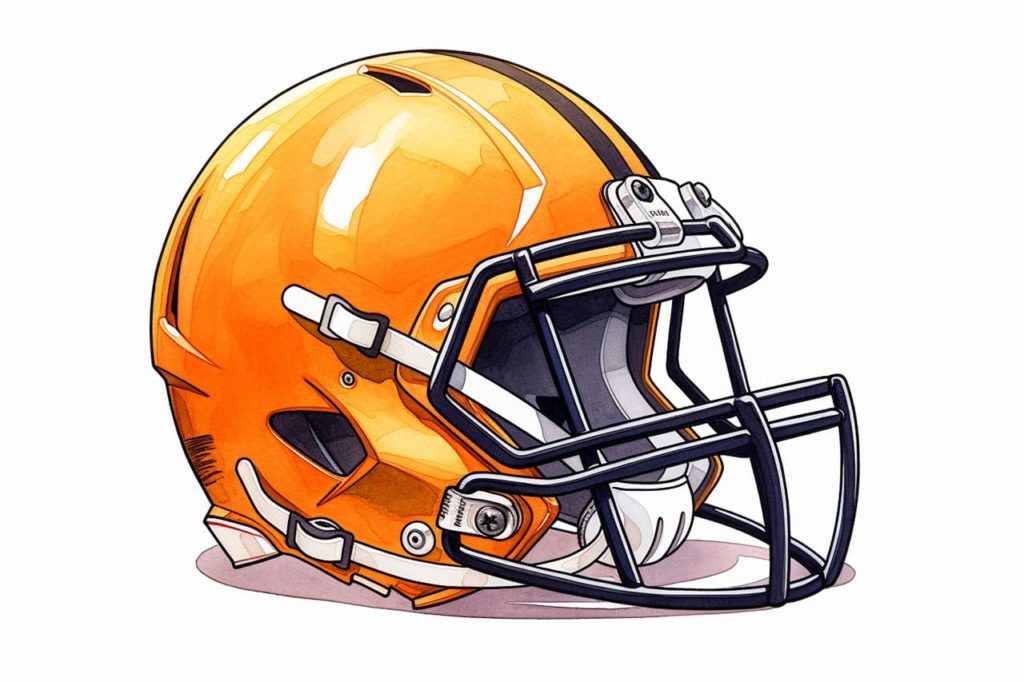
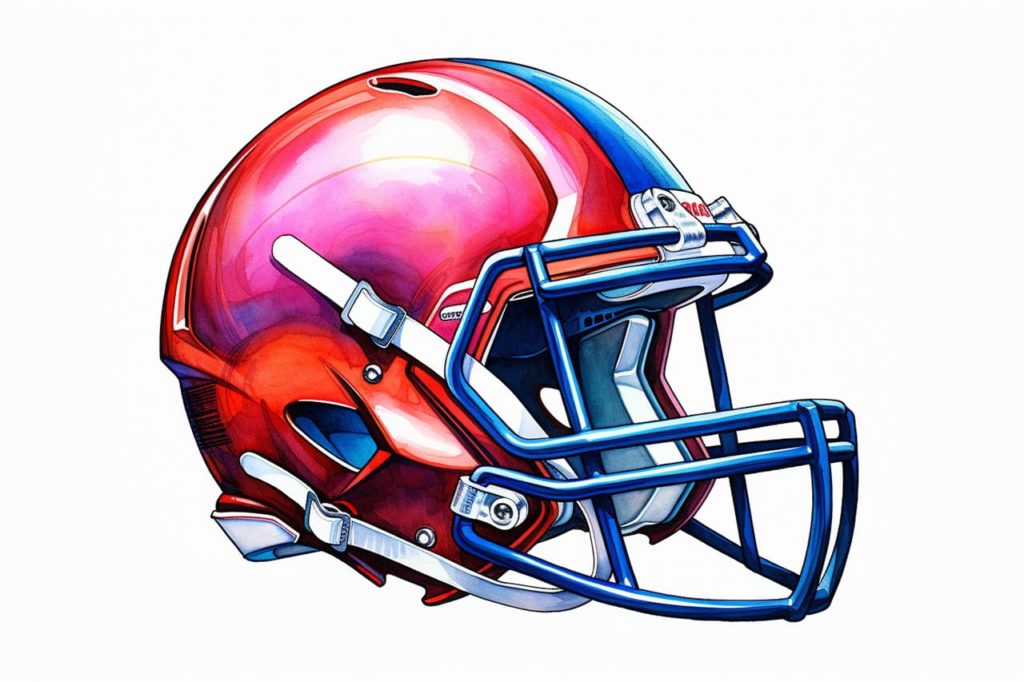
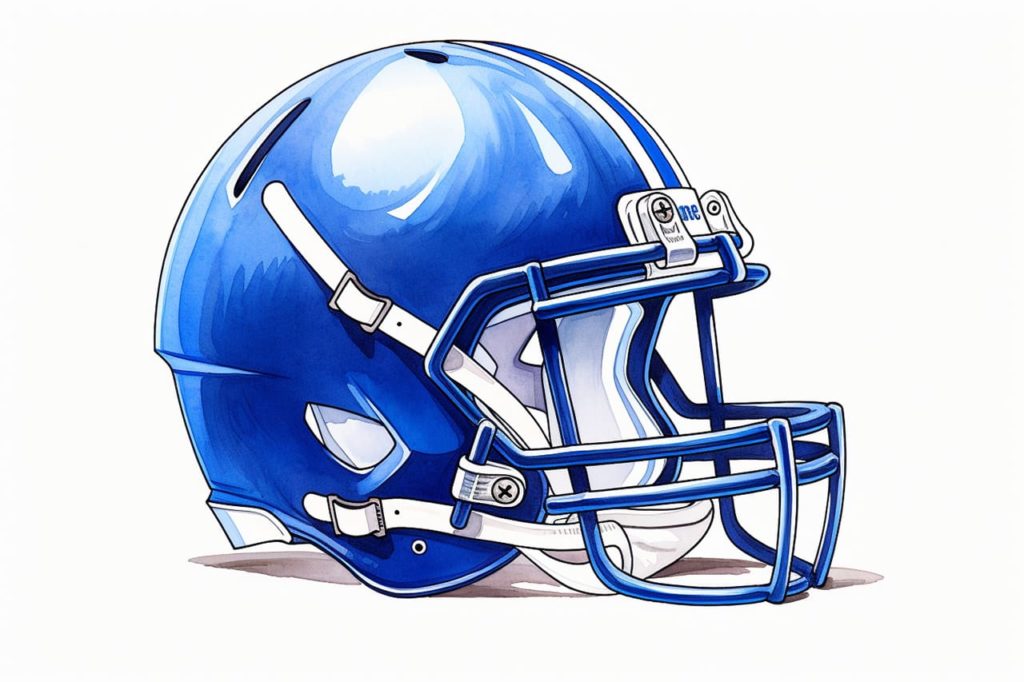
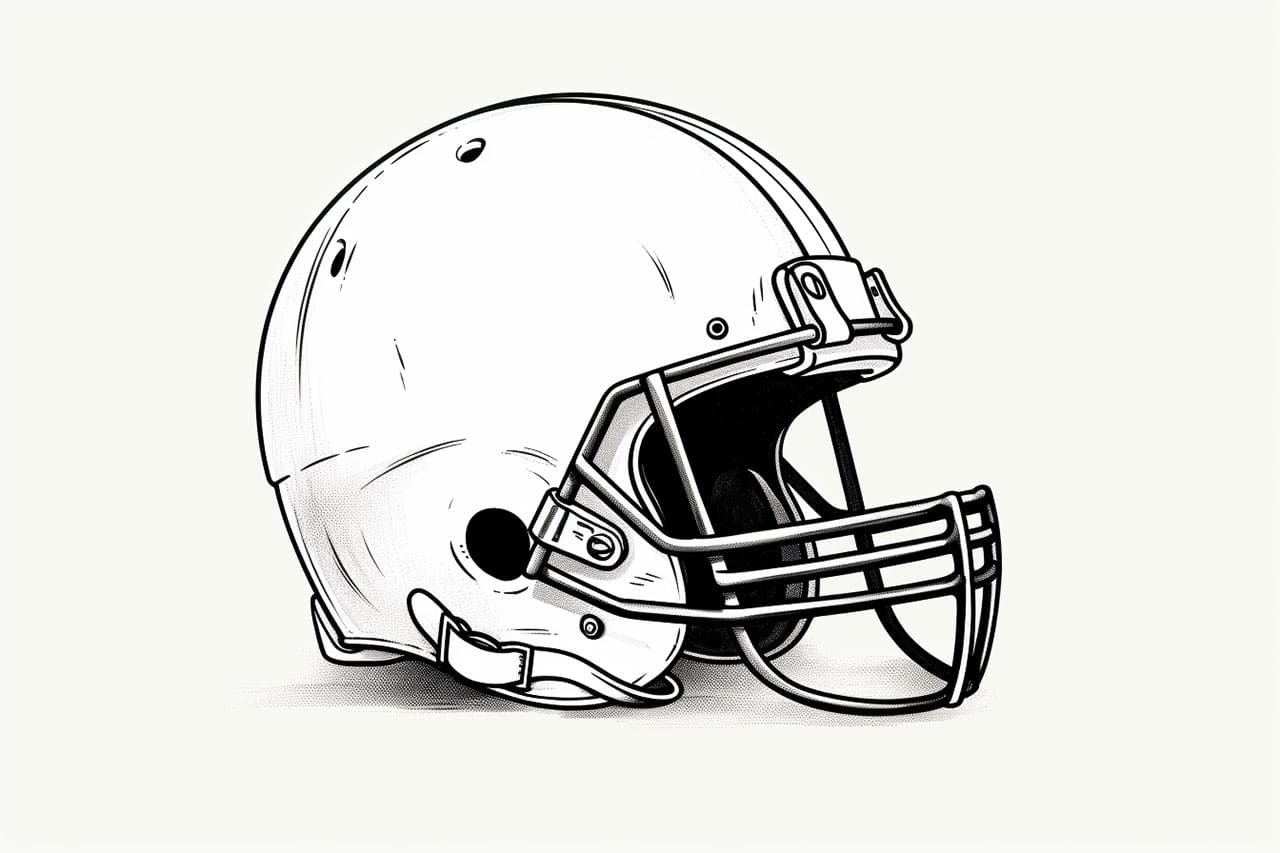
Have you ever wanted to learn how to draw a football helmet? Whether you’re an aspiring artist or just a sports fan looking to create some football-inspired artwork, this step-by-step guide will walk you through the process. By following these easy instructions, you’ll be able to draw a realistic football helmet that captures all the details. So, let’s dive in and get started!
Materials Required
Before you begin drawing, make sure you have the following materials:
- Pencil
- Eraser
- Paper
- Ruler
- Compass
- Protractor
- Colored pencils or markers (optional)
With these essential tools at hand, you’ll be ready to bring your football helmet to life.
Step 1: Outline the Shape
Start by drawing a light oval shape that represents the overall form of the helmet. This oval will serve as the foundation for the rest of the drawing. Use your ruler to ensure the oval is symmetrical and proportionate.
Step 2: Add the Facemask
Next, draw a horizontal line across the center of the oval. This line will act as a guide for placing the facemask. Draw two vertical lines on either side of the oval, extending from the horizontal line down towards the bottom of the oval. These lines will form the structure for the facemask.
Step 3: Define the Facemask
Using the vertical lines as a guide, add curves to represent the shape of the facemask. Pay attention to the angles and curves as they determine the perspective and style of the helmet. You can make the facemask as simple or as intricate as you like, depending on the level of detail you want to achieve.
Step 4: Draw the Side Panels
On both sides of the oval, draw two curved lines extending downwards. These lines will outline the sides of the helmet. Ensure that the curvature of these lines matches the overall shape of the helmet and maintains symmetry.
Step 5: Create the Chin Strap
Add a small horizontal line at the bottom center of the facemask to represent the chin strap. This line should be slightly curved to follow the contour of the facemask and connect to the sides of the helmet.
Step 6: Detail the Helmet
Now it’s time to add some details to make your football helmet look authentic. Start by drawing the vents or air holes on the top of the helmet. These are typically small, evenly spaced circles or ovals. Use your ruler or compass to ensure consistency in size and placement.
Step 7: Add the Team Logo
To give your football helmet a personalized touch, add the team logo to the sides. Research the team you want to represent and find a reference image of their logo. Carefully draw the logo, paying attention to proportions and details. You can choose to either draw it freehand or use a grid method for more accuracy.
Step 8: Refine and Erase
Take a step back and evaluate your drawing. Make any necessary adjustments to ensure symmetrical and accurate proportions. Once you’re satisfied with the overall shape and details, go ahead and erase any unnecessary guidelines and construction lines.
Step 9: Add Shadows and Texture (Optional)
To give your football helmet a more three-dimensional and realistic look, you can add shadows and texture using your pencil or colored pencils. Observe the lighting conditions in your reference image and gradually darken certain areas to create depth. You can also add texture by adding small lines or dots to mimic the texture of the helmet’s surface.
Conclusion
Congratulations! You’ve successfully learned how to draw a football helmet step by step. With practice, you can refine your skills and create even more intricate and detailed football helmet drawings. You may even feel ready to start drawing football players. Remember to be patient and have fun with the process. So grab your pencils and get ready to unleash your creativity on paper!
Gallery of Football Helmet Drawings
