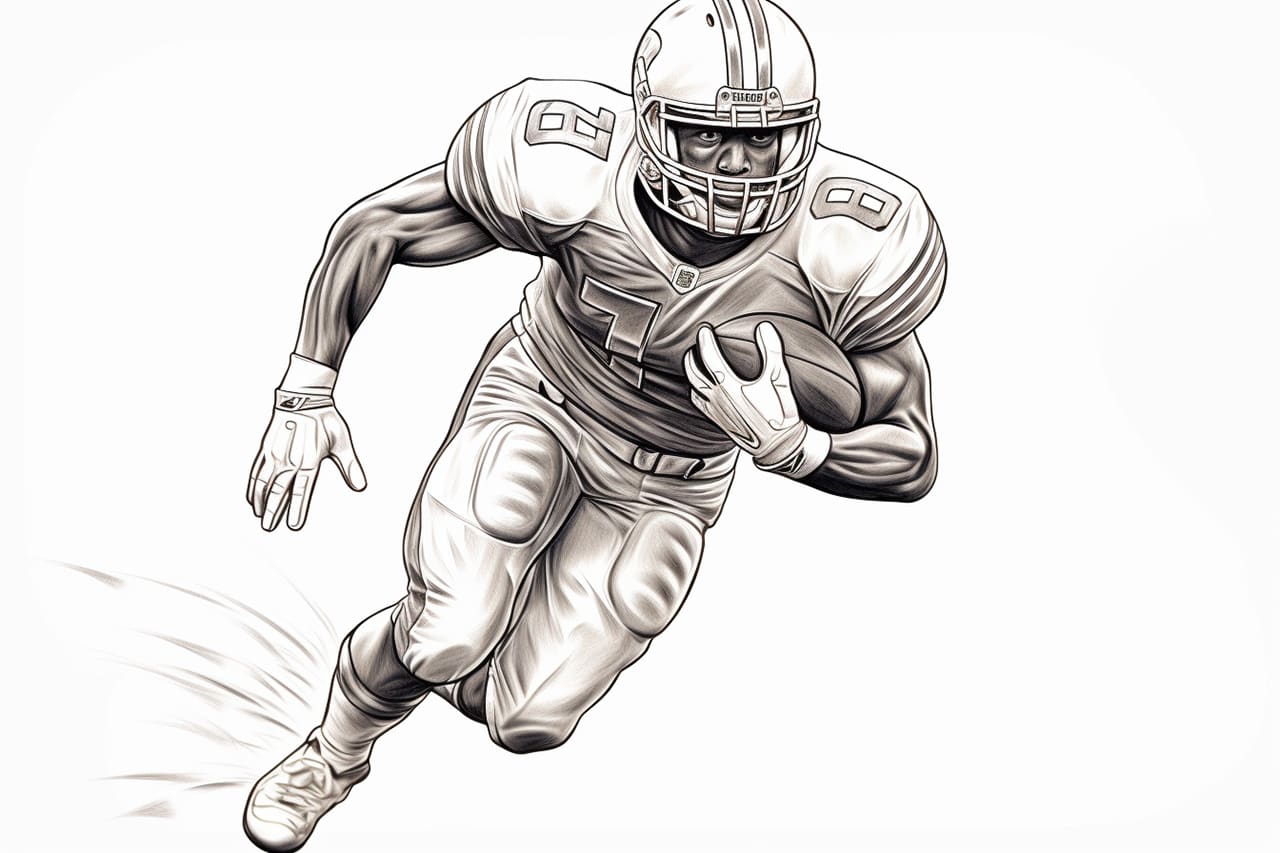
Drawing a football player can be a fun and rewarding activity, even if you’re a beginner artist. In this step-by-step guide, I’ll walk you through the process of how to draw a football player in an easy and approachable way. With a few basic shapes and some simple lines, you’ll be able to create a dynamic and realistic representation of a football player. So, grab your pencils and let’s get started!
Materials Required:
Before we begin, let’s gather all the materials you’ll need for this drawing tutorial. Here’s a list of what you’ll need:
- Paper: A clean sheet of paper or a sketchpad.
- Pencils: A set of pencils with various lead hardness (2B, HB, 2H).
- Eraser: A good quality eraser to correct any mistakes.
- Sharpener: A pencil sharpener to keep your pencils sharp.
- Reference Image: Find a photo or image of a football player to use as a reference for proportions and details.
Now that we have all the materials ready, let’s dive into the step-by-step process of drawing a football player.
Step 1: Basic Shapes
Start by drawing a circle for the head and a rectangular shape for the body. Position the head slightly above the center of the rectangle to give the stance a dynamic feel. These shapes will serve as the foundation for the rest of the drawing.
Step 2: Guidelines
Add guidelines to define the position of the football player’s body parts. Draw a vertical line down the center of the rectangle to mark the center of the body. Then, add horizontal lines to indicate the shoulders, waist, and knees. These guidelines will help you maintain proper proportions as you proceed with the drawing.
Step 3: Facial Features
Now, let’s add some facial features to give our football player some character. Start by drawing two horizontal lines across the circle to mark the position of the eyes. Below the eyes, sketch a small curve for the nose, and a slightly curved line for the mouth. Add some details like eyebrows, ears, and hair to complete the face.
Step 4: Body Details
Begin adding details to the body of the football player. Referring to your reference image, sketch the outline of the arms, legs, and torso. Pay attention to the muscle structure and the pose of the player. Use simple curved lines to define the shape and position of each body part. Remember to keep the proportions in check by referring to the guidelines you drew earlier.
Step 5: Clothing and Equipment
Next, we’ll add the football player’s uniform and equipment. Draw the jersey by adding curved lines to define the shape and folds of the fabric. Draw stripes or patterns on the jersey if your reference image shows them. For the equipment, sketch a helmet on top of the head and gloves on the hands. Add small details like laces or logos to make the helmet look more realistic.
Step 6: Final Details and Shading
Now it’s time to add the finishing touches to your drawing. Refine the outline of the body, adding more defined shapes and contours. Add details like the face mask on the helmet and the football held in the player’s hand. To make your drawing more three-dimensional, use shading techniques to add depth and volume. Shade the darker areas of the body and the clothing, keeping in mind the direction of the light source.
Conclusion
Drawing a football player may seem challenging at first, but with the right approach and practice, you can create an impressive representation. By following these step-by-step instructions and using a reference image, you can easily draw a football player with confidence. Remember, don’t be afraid to make mistakes and keep practicing. With time, your skills will improve, and you’ll be able to create more complex and detailed drawings. So grab your pencils, start drawing, and have fun!


