Welcome to this straightforward step-by-step tutorial on how to draw a baseball. Whether you’re a sports fan, an art enthusiast, or just looking for a fun creative project, this guide is tailored for you. We’ll journey through a simple process to create a realistic baseball illustration. With a few easy steps and a bit of practice, you’ll be able to encapsulate the iconic essence of this sports object on paper. So, let’s roll up our sleeves and dive into the enjoyable process of drawing a baseball!
Materials Required
- Pencil
- Eraser
- Drawing paper
- Reference photo of a baseball (optional)
How to Draw a Baseball Step-by-Step
Follow along step-by-step to learn how to draw a baseball.
Crafting the Fundamental Circle
Embark on your baseball drawing expedition by crafting a fundamental circle on your drawing paper. This circle will act as the bedrock upon which your baseball will take form. Strive for a size that mirrors the dimensions of a standard baseball, ensuring it’s neither too colossal nor too diminutive.
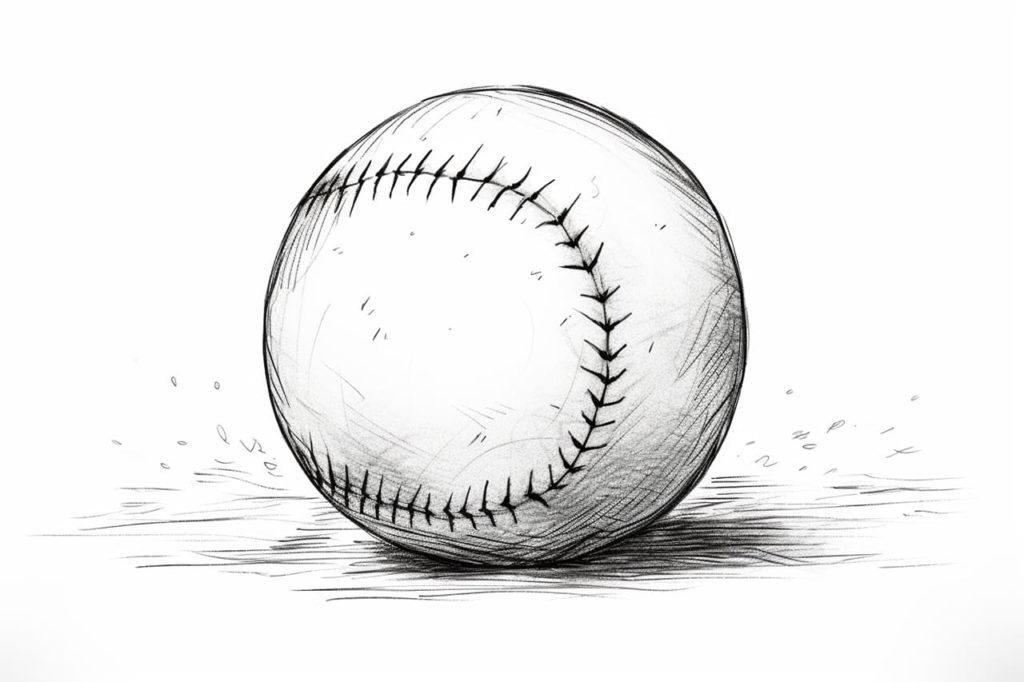
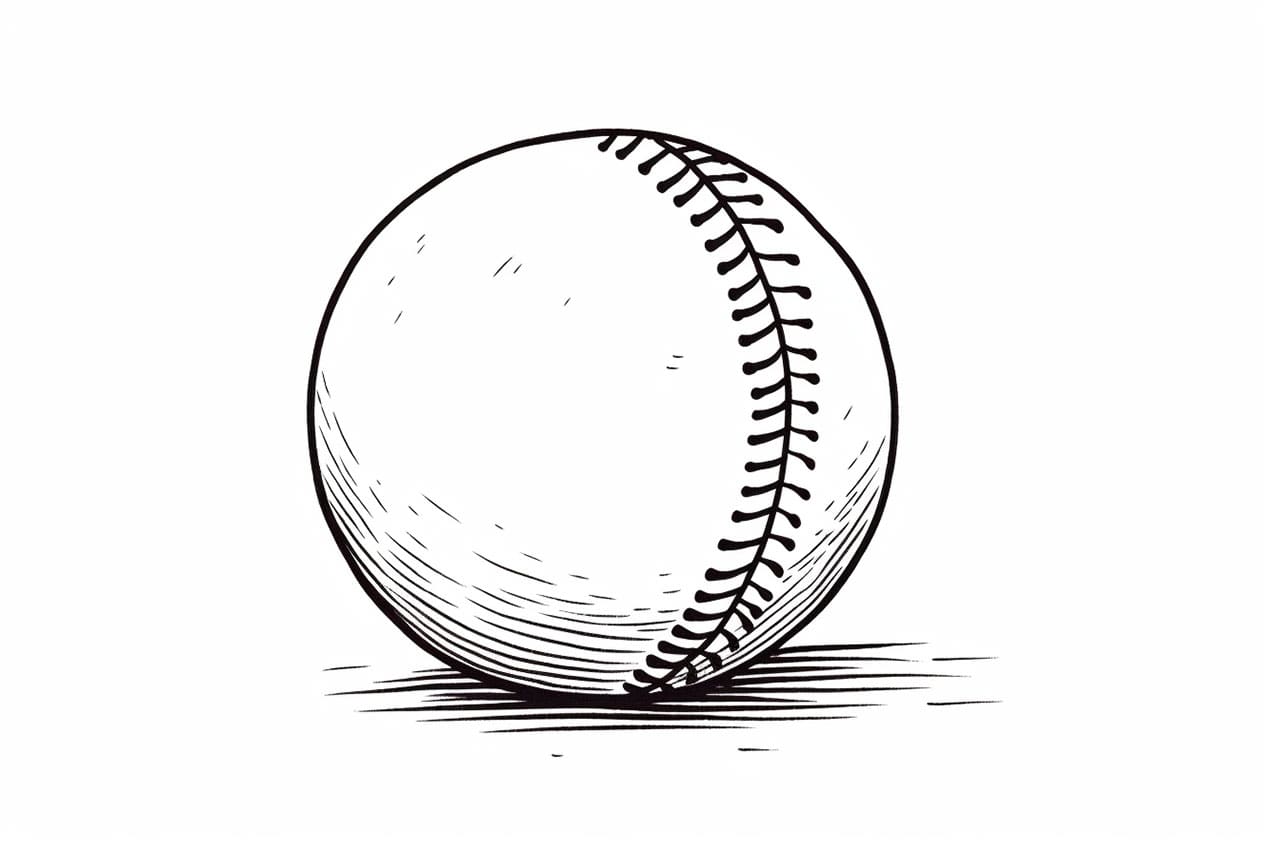
Embroidering the Iconic Seams
Transition your focus to the emblematic seams of the baseball. Sketch two gentle, curved lines crisscrossing the surface of the circle, culminating in a subtle “X” formation. These lines echo the seams that meander across the baseball’s surface. Pursue symmetry and evenly spaced seams to uphold the authenticity of the baseball’s design.
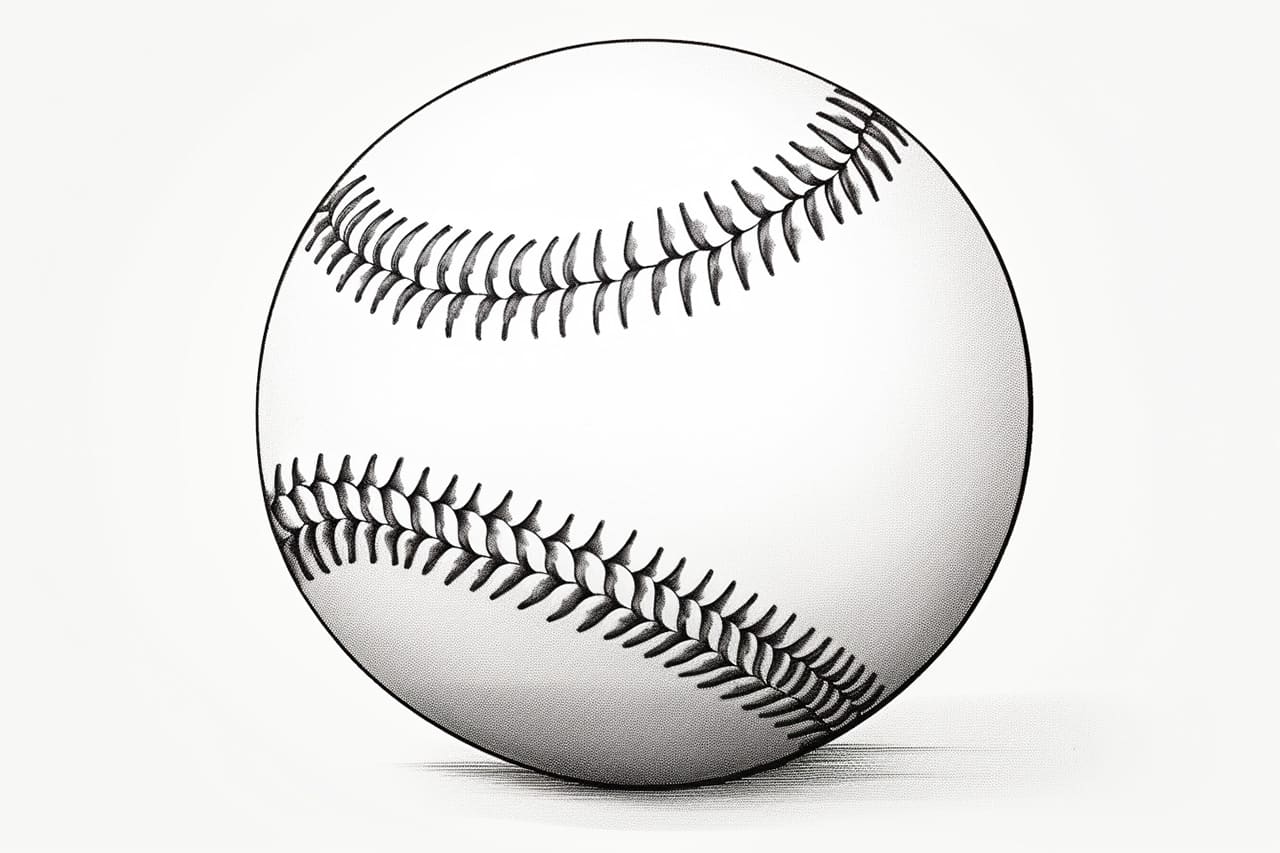
Conjuring Depth with Shades
Now, delve into the realm of shading to bestow a three-dimensional guise upon your baseball. Envision a light source emanating from a specific direction, casting shadows on the antithetical side of the baseball. This shading endeavor will conjure an illusion of depth and volume, infusing life into your drawing. Maintain a subtle shading gradient to avert overwhelming darkness.
Sprinkling Highlights
Transition to sprinkling highlights onto your baseball, imparting a glossy and reflective demeanor. On the facet of the baseball kissed by the light source, reserve a small patch unshaded to signify the highlight. This element will not only add a touch of realism but will also enrich the texture portrayal of the baseball’s surface.
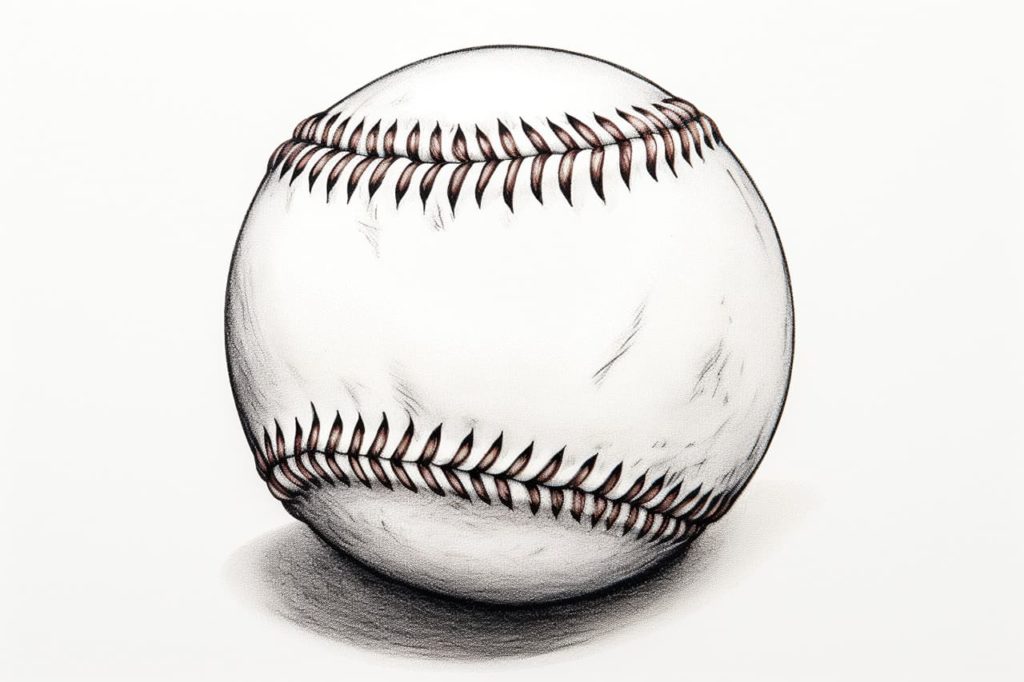
Refining Seams and Minute Details
Revisit the seams you sketched earlier, refining them to enhance their definition. Intensify the lines slightly, ensuring they harmoniously follow the curvature of the baseball’s surface. Now’s the chance to add any additional details or corrections, ensuring the accuracy and visual allure of your drawing is elevated.
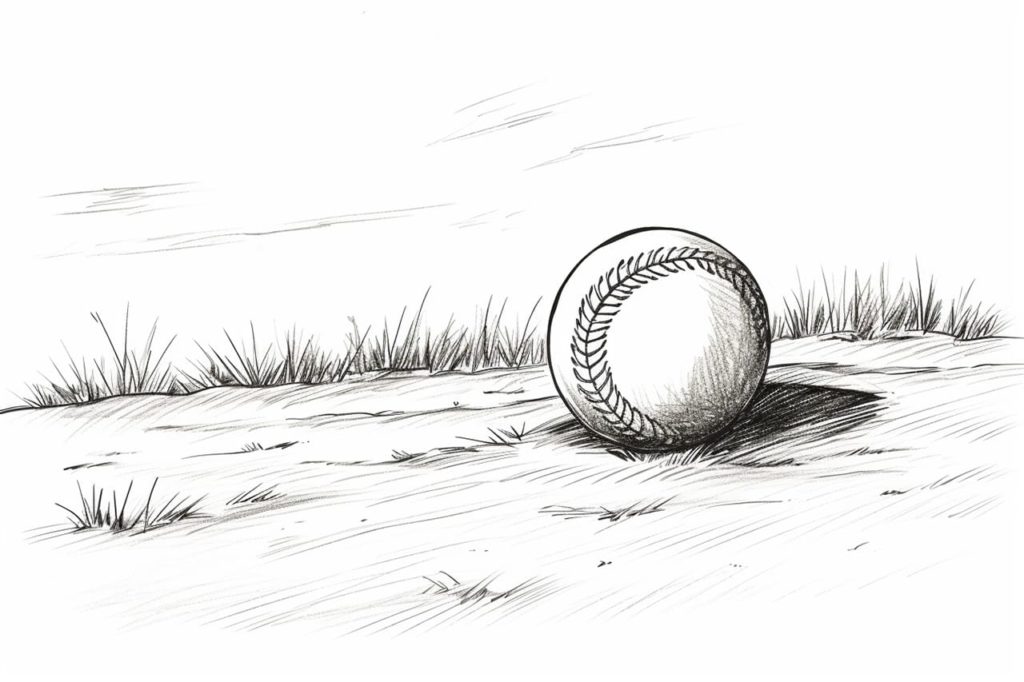
Fabricating a Complementary Background
Lastly, contemplate fabricating a simplistic background to augment and enhance your baseball drawing. The background could encapsulate a baseball diamond, a snug glove awaiting the baseball, or any other element that resonates with the theme of baseball. This background will not only provide a contextual backdrop but also embellish the overall composition, rendering your artwork complete and captivating.
Final Review and Admiration
With your drawing nearing completion, take a step back to review your artwork. Make any last-minute refinements to ensure the baseball and the background meld seamlessly. Once satisfied, take a moment to admire your creation. Your meticulous attention to detail has resulted in a realistic baseball drawing, encapsulating the spirit and the aesthetics of this cherished pastime.
Wrapping Up How to Draw a Baseball
Congratulations! You’ve successfully learned how to draw a baseball. By following these steps and practicing regularly, you can refine your skills and create impressive baseball illustrations. Whether you’re sketching for fun, improving your artistic abilities, or even designing sports-themed artwork, this guide has equipped you with the tools to capture the essence of a baseball on paper.
Gallery of Baseball Drawings