Drawing a soccer jersey may seem like a complex task, but with a little guidance and practice, anyone can create a realistic and detailed representation. In this step-by-step guide, we will explore the process of drawing a soccer jersey, from understanding the basic shapes to adding intricate details. So grab your drawing materials and let’s get started!
Materials Required
Before we dive into the drawing process, let’s gather the materials you will need:
- Drawing paper or sketchbook
- Pencil
- Eraser
- Ruler
- Fine-tip markers or colored pencils (optional)
- Reference image of a soccer jersey (for inspiration and accuracy)
Now that you have all the necessary materials, let’s begin the creative journey of drawing a soccer jersey!
Step 1: Basic Shapes
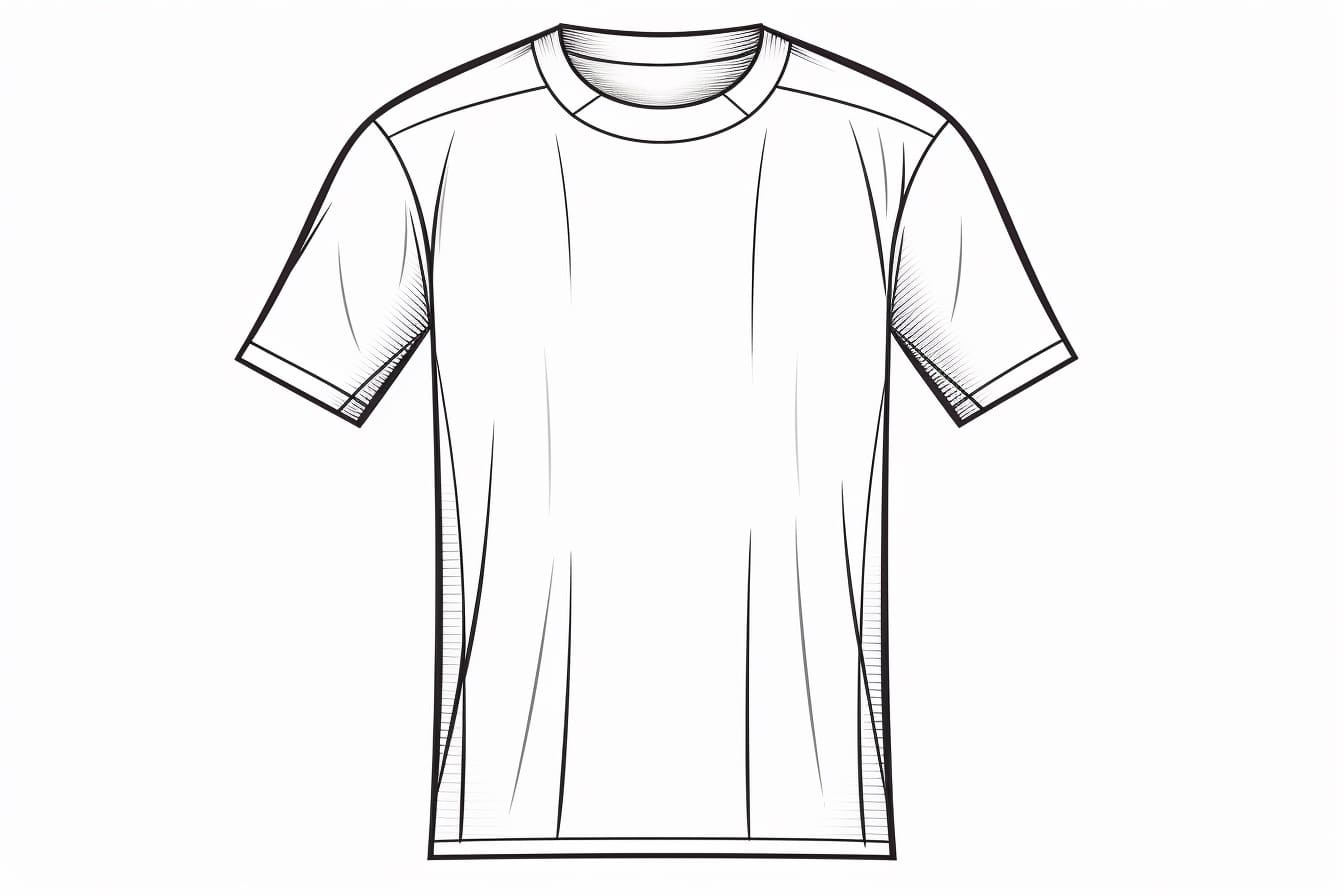
Start by lightly sketching the basic shapes that make up the jersey. Begin with a rectangle for the main body of the jersey. The size of the rectangle may vary depending on the desired dimensions of your jersey.
Next, draw two smaller rectangles on each side of the main rectangle to represent the sleeves. Make sure these rectangles are equal in size and proportionate to the main body of the jersey.
Step 2: Neckline and Collar
Using the guidelines of the main rectangle, draw the neckline and collar of the soccer jersey. Different jerseys have varying collar styles, so choose the one you prefer or reference a specific design. Common collar styles include V-neck, round-neck, and button-up collars.
Step 3: Sleeves and Armholes
Refine the shape of the sleeves and add the armholes. Extend the lines of the sleeves from the smaller rectangles and round them off to represent the curvatures of the arms. Connect these lines to the body of the jersey to create the armholes.
Step 4: Add Details
To make the soccer jersey more realistic, add details such as seams, logos, and sponsor names. Study the reference image to accurately replicate these features. Use your pencil to lightly sketch these details before proceeding to the next step.
Step 5: Choose Your Design
Now comes the fun part – designing your soccer jersey! Whether you want to create a unique design or replicate an existing team’s jersey, this step allows your creativity to shine. Use your pencil to sketch the pattern or design elements you want to incorporate on the front, back, and sleeves of the jersey.
Step 6: Shade and Shadows
To add depth and dimension to your drawing, start shading the different areas of the jersey. Observe the reference image to identify areas where shadows fall and use your pencil to shade those regions accordingly. Gradually build up the shading, working from light to dark, to achieve a realistic effect.
Step 7: Finalize the Details
Once you are satisfied with the overall shape, design, and shading of your soccer jersey, it’s time to finalize the details. Go over your sketch, refining any rough lines or erasing unwanted marks. Use a ruler to straighten the edges, ensuring clean and crisp lines throughout the drawing.
Step 8: Optional Coloring
If you desire a colored representation of the soccer jersey, now is the time to unleash your creativity! Choose fine-tip markers or colored pencils to carefully color in your design. Refer to the reference image or team colors for accuracy, or let your imagination guide you to create a unique color scheme.
Conclusion
Congratulations! You have successfully learned how to draw a soccer jersey. By following these step-by-step instructions, you can now create soccer jerseys with ease. Remember to practice regularly to refine your skills and develop your own style. Whether you are a soccer fan, an aspiring artist, or simply looking for a new creative project, drawing a soccer jersey can be a rewarding and enjoyable experience.