Basketball is a dynamic and exciting sport, and capturing the energy and movement of a basketball player in a drawing can be a rewarding challenge. Whether you’re an aspiring artist or a basketball enthusiast looking to create some sports-themed artwork, this step-by-step guide will teach you how to draw a basketball player from scratch. So grab your drawing materials and let’s get started!
Materials Required
Before we dive into the steps, it’s important to gather the necessary materials. Here’s a list of what you’ll need:
- Pencil: A medium-soft graphite pencil (2B or 4B) is a good choice for sketching and shading.
- Paper: Choose a smooth, heavyweight paper or a sketch pad that can handle erasing and blending.
- Eraser: A kneaded eraser is ideal for removing unwanted lines while still maintaining the texture of the paper.
- Blending tool: You can use a blending stump or a tortillon to smudge and blend pencil marks for a smooth look.
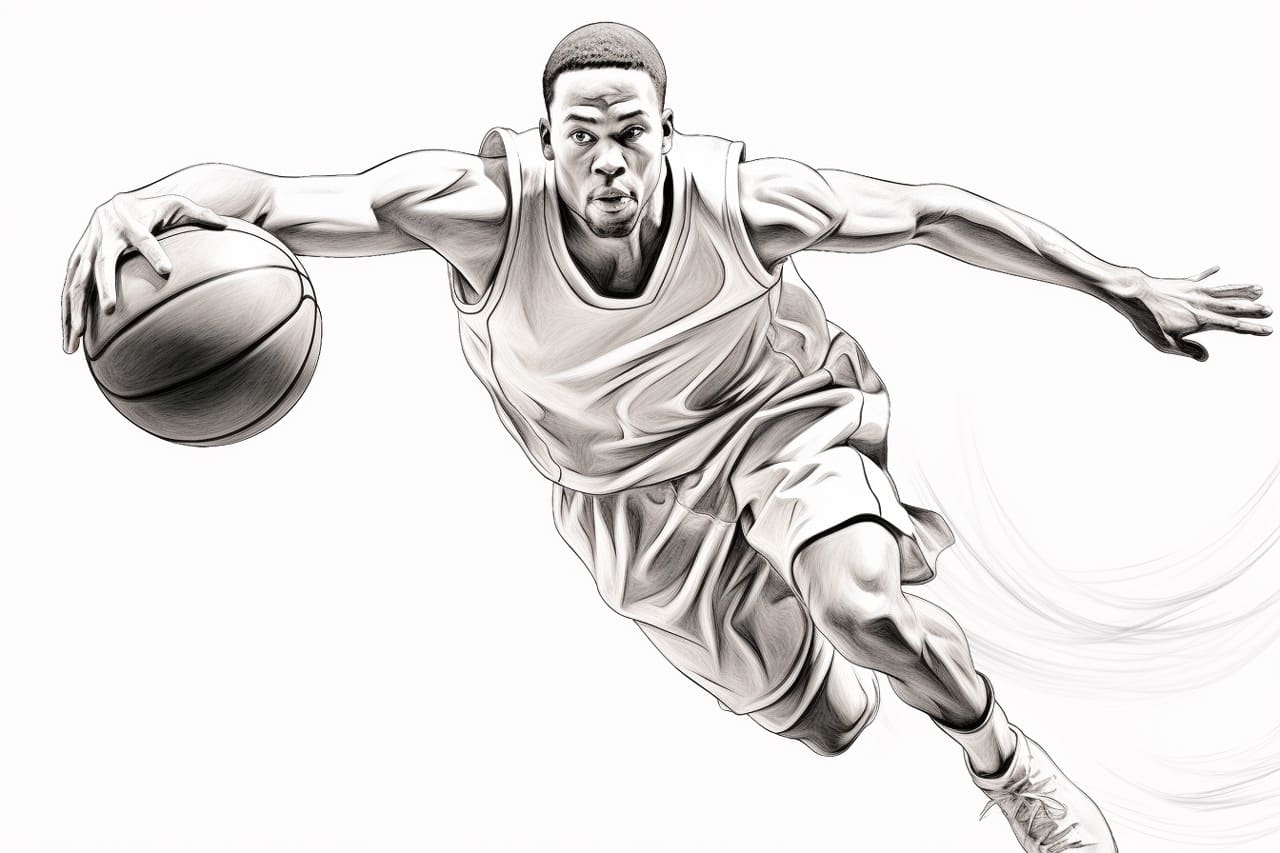
- Reference image: Find a photo or picture of a basketball player that you’d like to draw. This will serve as your visual guide throughout the drawing process.
Now that you have everything you need, let’s move on to the steps of drawing a basketball player.
Step 1: Basic Shapes
Start by lightly sketching the basic shapes that will serve as the framework for your basketball player. Begin with an oval for the head, a rectangle for the body, and lines for the arms and legs. Keep the lines loose and simple at this stage, as they will be refined later on.
Step 2: Body Proportions
Next, focus on refining the proportions of the body. Pay attention to the height and width of the shoulders, the length of the arms and legs, and the positioning of the joints. Use your reference image as a guide to ensure accuracy. Remember, basketball players tend to have long limbs, so exaggerate the length if desired.
Step 3: Facial Features
To bring your basketball player to life, add the facial features. Start by lightly sketching the eyes, nose, and mouth within the oval shape of the head. Pay attention to the angle and expression to capture the player’s personality. You can also indicate the ears and any facial hair if applicable.
Step 4: Clothing and Details
Now it’s time to add clothing and details to your basketball player. Sketch the jersey, shorts, and any accessories such as wristbands or sneakers. Pay attention to the folds and wrinkles in the clothing, as they add depth and realism to the drawing. You can also include the team logo or any other relevant details to make your player more recognizable.
Step 5: Shading and Texture
To make your basketball player pop off the page, it’s important to add shading and texture. Start by identifying the light source in your reference image and shade the areas that would be in shadow accordingly. Use a combination of hatching and blending techniques to create smooth transitions between light and dark areas. Pay attention to the texture of the skin, clothing, and basketball to add depth and realism.
Step 6: Background and Final Touches
To complete your drawing, add a background that complements your basketball player. It can be a simple court, abstract shapes, or any other creative idea you have in mind. Use shading and texture to give the background depth and make sure it doesn’t distract from the main subject. Finally, go over your drawing, refining any details and adding any final touches until you’re satisfied with the result.
Conclusion
Drawing a basketball player requires careful observation of anatomy, movement, and details. By following these step-by-step instructions and using your reference image as a guide, you can create a realistic and dynamic representation of a basketball player. Remember to practice regularly and experiment with different poses and styles to further develop your artistic skills. Now go grab your drawing materials and start capturing the excitement of basketball on paper!