Welcome to this step-by-step guide on how to draw a cute frog! In this article, I will be your expert art instructor, providing you with clear and concise instructions that will help you create an adorable frog drawing. So, grab your drawing materials, and let’s get started!
Materials Required:
- Paper
- Pencil
- Eraser
- Fine-tip black marker or pen
- Colored pencils or markers (optional)
Now that you have all your materials ready, let’s dive into the process of drawing a cute frog!
Step 1: Basic Shapes
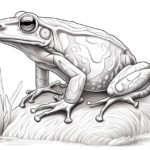
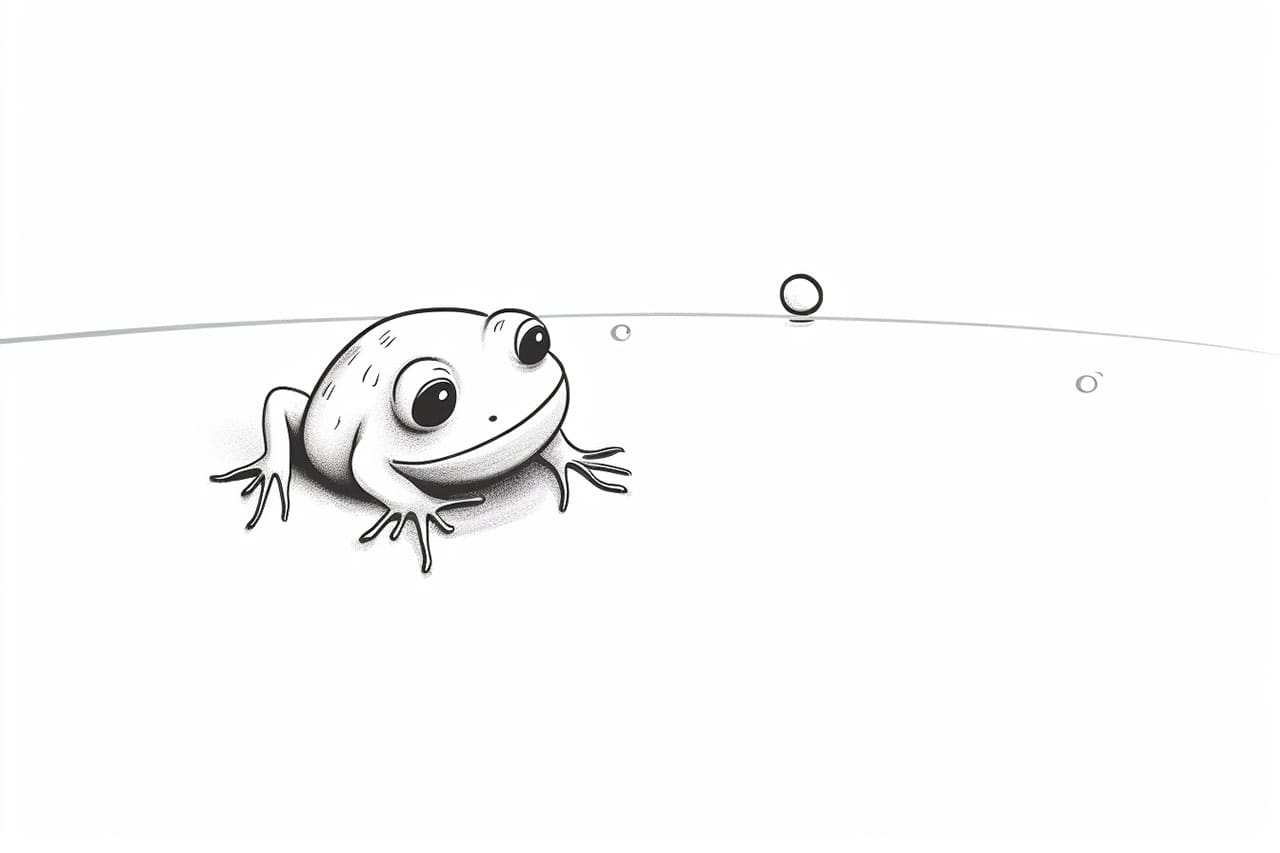
Start by drawing an oval shape for the body of the frog. This will serve as the foundation for your drawing. Next, draw a smaller oval shape above the larger one to represent the head of the frog.
Step 2: Legs and Arms
Extend two curved lines downward from the bottom of the larger oval to create the frog’s back legs. Each leg should have three rounded toes at the end. Next, draw two smaller curved lines extending from the bottom of the head oval to create the frog’s front legs. Add three rounded fingers at the end of each front leg.
Step 3: Eyes and Face
Draw two large circles for the frog’s eyes. Place them on top of the head oval, slightly overlapping each other. Inside each eye, draw a smaller circle to represent the iris. Add a tiny circle within the iris to depict light reflection. Connect the eyes with a curved line to form the top part of the frog’s face. Just below the eyes, draw a small curve for the nose.
Step 4: Mouth and Details
Beneath the nose, draw a curved line to form the mouth of the frog, extending it slightly to the sides. Add a small oval shape at the tip of the mouth for the tongue. To make the frog look more adorable, draw two curved lines above each eye to form eyebrows. Also, add some simple details like a line on each toe and small ovals on the belly to represent texture.
Step 5: Outline and Refine
Now that you have a basic sketch of your cute frog, use a pencil to outline the drawing. Trace over the lines, emphasizing the desired shape and adding more details as you go. Once you’re satisfied, carefully erase any unnecessary pencil marks.
Step 6: Ink or Finalize
Take a fine-tip black marker or pen and go over your pencil lines to finalize your cute frog drawing. Remember to take your time and have a steady hand. When you are done, allow the ink to dry completely before erasing any remaining pencil marks.
Step 7: Coloring (Optional)
If you’d like to add some color to your cute frog drawing, now is the time! Use colored pencils or markers to bring your frog to life. Experiment with different shades of green for the body, and you can even add some vibrant colors to the eyes and details. Be creative and have fun with it!
Conclusion
Congratulations! You’ve successfully learned how to draw a cute frog. By following these step-by-step instructions, you were able to create an adorable frog drawing from scratch. Remember to practice and enjoy the process of drawing. With time, your skills will continue to improve.
I hope you found this guide helpful and enjoyed creating your own cute frog. Happy drawing!