Are you a baseball fan and want to add your artistic touch to your love for the game? Learning how to draw a baseball bat is a great way to express your passion on paper. Whether you want to create a realistic sketch or a stylized illustration, this step-by-step guide will help you bring a baseball bat to life. So grab your pencils, paper, and let’s get started!
Materials Required
Before we dive into the drawing process, let’s gather all the materials you’ll need:
- Drawing paper or sketchbook
- Pencils of various hardness (HB, 2B, 4B)
- Eraser
- Ruler
- Reference images of baseball bats (optional)
Having reference images can be helpful in understanding the proportions and details of a baseball bat. Keep them handy during the drawing process, especially if you’re aiming for a realistic representation.
Step 1: Outline the Shape of the Baseball Bat
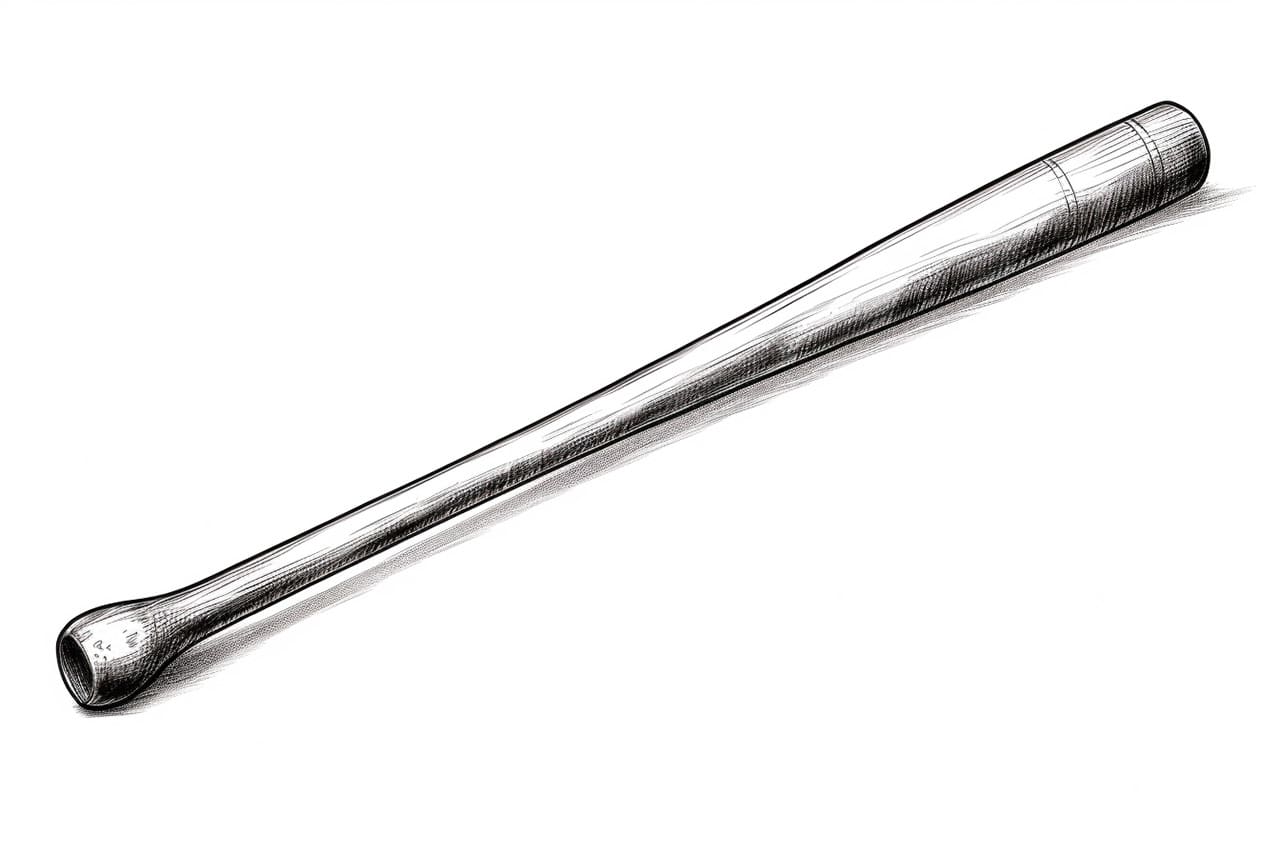
Start by drawing a horizontal line across the center of your paper. This line will serve as a guide for the length of the bat. Next, draw a vertical line extending downwards from the center of the horizontal line. This vertical line represents the handle of the bat. Connect the bottom end of the vertical line to the center of the horizontal line with a curved line, forming the shape of the bat’s barrel.
Step 2: Refine the Outline
Now that you have the basic shape, it’s time to refine the outline of the baseball bat. Start by shaping the handle. Using curved lines, give the handle a cylindrical appearance. Make sure it tapers slightly towards the bottom end.
Next, work on the barrel. Add a curved line along the top of the barrel to represent the bat’s hitting surface. Then, add another curved line parallel to it on the bottom to create thickness. Connect the top and bottom lines with two curved lines, forming the sides of the barrel.
Take your time to get the proportions and curves right. Refer to your reference images or visualize a real baseball bat to help you accurately depict the shape.
Step 3: Add Details to the Handle
Now that the basic shape is complete, it’s time to add some details to the handle. Start by drawing a seam line running the length of the handle. This line adds texture and enhances the realistic look of the bat.
Next, add a few indented lines across the handle to depict the grip. These lines should be parallel and evenly spaced. Remember that the grip varies from bat to bat, so feel free to adjust the number and spacing of these lines to match your reference or desired style.
Step 4: Define the Bat’s Barrel
To give the barrel more dimension, add some shading and highlights. Start by identifying the light source in your drawing. Once you determine the direction of the light, shade the opposite side of the barrel with hatching or cross-hatching techniques. This shading will create depth and make the barrel appear rounded.
Next, add a highlight on the hitting surface of the barrel. Leave a small area near the top of the barrel blank to represent the reflection of light. Gradually darken the shading as you move away from the highlight, creating a smooth transition.
Step 5: Refine the Drawing
Take a step back and assess your drawing. This is the perfect time to make any necessary adjustments or corrections. Check the proportions, curves, and details to ensure they are accurate and visually appealing. Use your eraser to remove any stray lines or smudges that may have occurred during the drawing process.
Conclusion
Congratulations on learning how to draw a baseball bat! With some practice and patience, you can achieve excellent results. Remember, drawing is an art form that can be personalized to suit your own style and preferences. So don’t be afraid to experiment, incorporate your own creative ideas, and make the drawing truly your own. Enjoy the process, and happy sketching!
Ready for some more baseball drawings? What good is a baseball bat without a baseball?