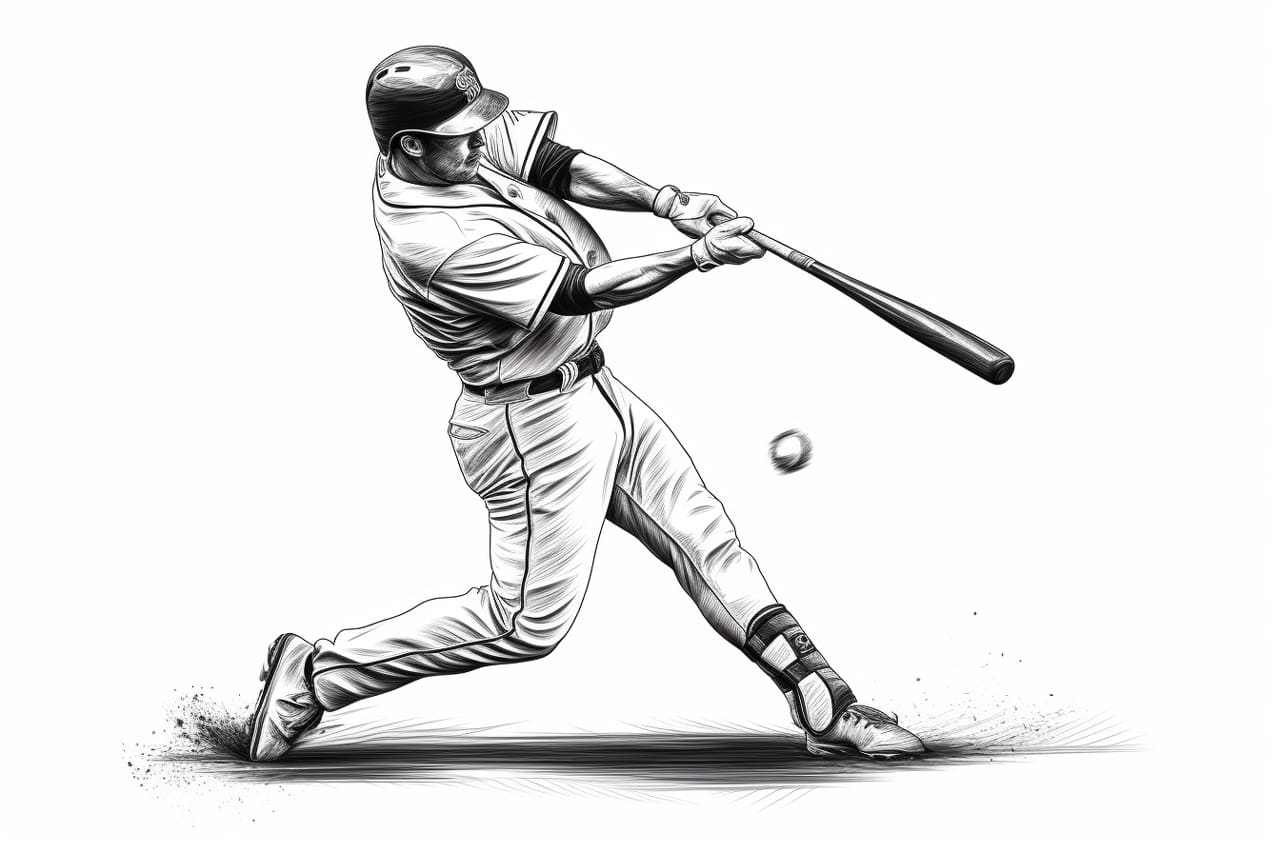
If you’re a fan of baseball or just looking to improve your drawing skills, learning how to draw a baseball player can be a fun and rewarding experience. In this step-by-step tutorial, I will guide you through the process of drawing a baseball player in a clear and concise manner. Whether you’re a beginner or an experienced artist, you’ll find these instructions easy to follow. So let’s grab our pencils and get started!
Materials Required
Before we begin, gather the following materials:
- A pencil (preferably a 2B or HB pencil)
- Eraser
- Drawing paper or sketchbook
- Fine-tipped markers (optional for inking)
Now that you have everything you need, let’s dive into the drawing process!
Step 1: Basic Proportions
Start by drawing a vertical line that represents the center of the baseball player’s body. This line will serve as a guide to help you maintain proper proportions throughout the drawing. Then, sketch a circle on top of this line for the player’s head.
Step 2: Head and Facial Features
Refine the shape of the head by adding details such as the ears and jawline. Divide the head into halves vertically and horizontally to help you place the facial features accurately. Draw two oval shapes for the eyes, a small triangle for the nose, and a curved line for the mouth. Don’t worry about adding too much detail at this stage; we’ll refine the features later.
Step 3: Body Outline
Using the vertical line as a reference, sketch a rectangle beneath the head to represent the torso. Add two slightly curved lines on each side to indicate the arms, and two straight lines below the torso for the legs. These lines will serve as a basic framework for the body.
Step 4: Arm and Leg Details
Refine the arms and legs by adding more detail. Draw the shoulder and upper arm on one side of the body, and then extend a curved line to represent the lower arm. Repeat this process on the other side. For the legs, draw the thigh, knee, and lower leg using curved lines. Remember to keep the proportions balanced.
Step 5: Baseball Uniform
Now it’s time to add the details of the baseball player’s uniform. Start by sketching the collar of the jersey and then draw the sleeves and pants. Add creases and folds to make the clothing appear more realistic. For the hands, draw simple shapes to represent the palms and fingers.
Step 6: Face and Hair
Go back to the head and refine the facial features. Add more depth to the eyes by drawing the iris and pupil. Give the eyebrows some shape and add eyelashes if desired. Next, draw the hair. Use curved lines to outline the hairstyle and add texture by drawing small strokes. Take your time to create a hairstyle that suits the baseball player’s personality.
Step 7: Face Details and Expression
Refine the face by adding more detail. Add highlights to the eyes to make them appear lively, and shade the areas around the eyes for depth. Draw the lips with more precision and add lines to define the contours of the face. Experiment with different expressions to give your baseball player a unique personality.
Step 8: Final Details
Now that the basic structure and features are complete, it’s time to focus on the minor details. Add wrinkles to the clothing to make it look more realistic. Pay attention to the shoes and draw the laces and other distinguishing features. Use your eraser to remove any unnecessary lines and make your drawing look cleaner. Of course, you should draw the player out on the field.
Conclusion
Congratulations, you’ve successfully learned how to draw a baseball player! By following these step-by-step instructions, you’ve been able to create a dynamic and realistic representation of a baseball player. Remember to practice regularly to improve your skills and experiment with different poses and styles. Enjoy the process of drawing and have fun bringing your baseball player to life on paper!