Welcome to this step-by-step guide on how to draw a warthog! In this tutorial, you will learn how to capture the unique features and characteristics of this fascinating animal. Whether you are a beginner or an experienced artist, this guide will provide you with clear instructions to help you create a realistic and detailed representation of a warthog. So grab your sketchbook and pencils, and let’s get started!
Materials Required
Before we dive into the drawing process, let’s gather the materials you will need:
- Sketchbook or drawing paper
- Pencils (preferably a set of graphite pencils ranging from H to B)
- Eraser
- Blending stump or cotton swabs (optional, for shading and blending)
- Reference photo of a warthog
Make sure you have these materials ready before we begin.
Step 1: Observe and Study the Anatomy of a Warthog
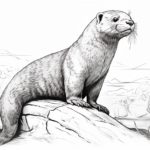
To draw a warthog accurately, it is essential to observe and study its features. Take some time to examine reference photos of warthogs, paying attention to their body shape, facial structure, and unique characteristics such as their large tusks, floppy ears, and bristly hair. Understanding the anatomy of the animal will help you create a more realistic and convincing drawing.
Step 2: Begin with Basic Shapes
Start by lightly sketching the basic shapes that will serve as the foundation for your warthog drawing. Begin with an oval shape for the head and a large oval or egg shape for the body. Add two smaller circles on top of the head to represent the ears. These shapes will provide a framework to guide you as you add details.
Step 3: Outline the Head and Face
Using the basic shapes as a guide, carefully outline the head and face of the warthog. Pay attention to the placement and proportions of the facial features. Use light, gentle strokes to create the outline, as you can refine and darken the lines later.
Step 4: Add the Facial Features
Now it’s time to add the facial features that make a warthog unique. Begin by sketching the eyes, placing them slightly to the sides of the head. Warthogs have small eyes, so keep them relatively small compared to the size of the head. Next, draw the snout, which should be elongated and end in a rounded point. Add the nostrils and a couple of short lines for the whiskers.
Step 5: Draw the Ears and Horns
Warthogs have large, floppy ears and small, curved horns. Use your reference photo to sketch the ears accurately, paying attention to their size and position on the head. Draw the horns as small, curved lines emerging from the top of the head, just behind the ears.
Step 6: Outline the Body and Legs
Move on to sketching the body and legs of the warthog. Start by extending the oval shape you drew earlier to create the body. Then, add the legs, making them thick and muscular. Warthogs have four legs, so be sure to draw them all in the correct proportion.
Step 7: Add Details to the Body and Legs
Now it’s time to add some details to the warthog’s body and legs. Use light, curved lines to indicate the musculature and texture of the animal. Pay attention to the contours of the body and the shape and positioning of the legs. Take your time with this step, as it will contribute to the overall realism of your drawing.
Step 8: Sketch the Tail and Tusks
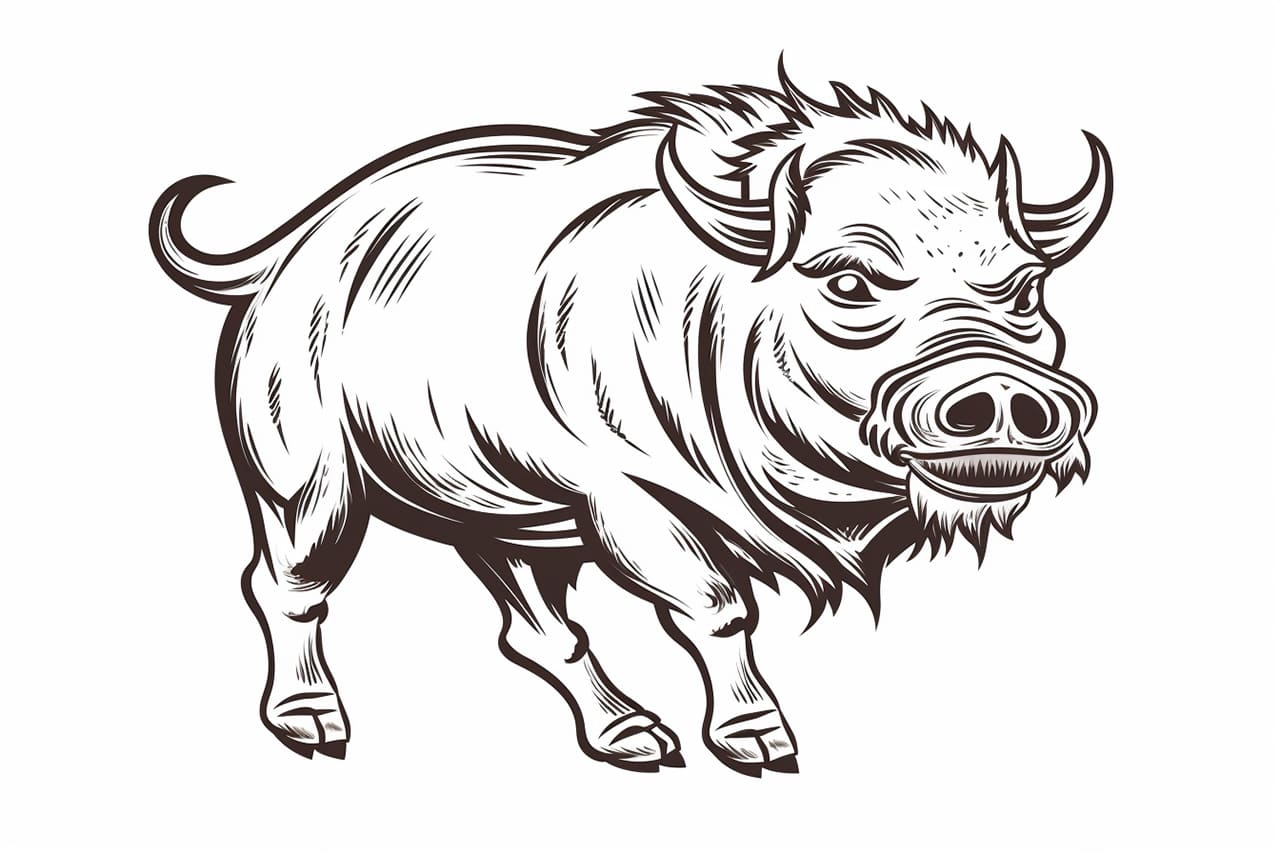
Warthogs have long, thin tails and impressive curved tusks. Add the tail by drawing a thin, curved line extending from the lower back of the warthog. For the tusks, sketch two curved lines that originate from the snout, slightly curving upward. Warthogs’ tusks can be quite long, so adjust the length according to your reference photo.
Step 9: Refine and Darken your Lines
Now that you have sketched all the major features, take a moment to refine and darken your lines. Use an eraser to remove any unwanted guidelines or mistakes, and then go over the outlines with firmer, darker pencil strokes. Pay attention to the contours and details of the warthog’s body, adding depth and dimension to your drawing.
Step 10: Shade and Add Texture
To bring your warthog drawing to life, it’s time to add shading and texture. Observe your reference photo to identify areas of light and shadow on the warthog’s body. Use a range of pencils from H to B to create different values of shading. Start by lightly shading the areas that are in shadow, gradually building up the layers to create depth. For the textures, use short, quick strokes to depict the bristly hair and rough skin of the warthog.
Conclusion
Congratulations! You have successfully learned how to draw a warthog. By following these step-by-step instructions, you have created a realistic and detailed representation of this fascinating animal. Remember, practice is key, so don’t be afraid to keep refining your skills and experimenting with different techniques. Drawing animals can be a rewarding and enjoyable experience, allowing you to capture the beauty of the natural world on paper.
So, grab your pencils and sketchbook, and start exploring the wonderful world of animal drawing. Happy drawing!