Drawing is not just an artistic endeavor; it’s a way to capture the beauty and wonder of the world around us. Have you ever marveled at the intricate design and vibrant colors of a Ferris wheel, wishing you could bring that stunning imagery to life on paper? You’re not alone! Many people find inspiration in the joy and whimsy of amusement parks, and creating your own Ferris wheel illustration can be a rewarding and fulfilling project.
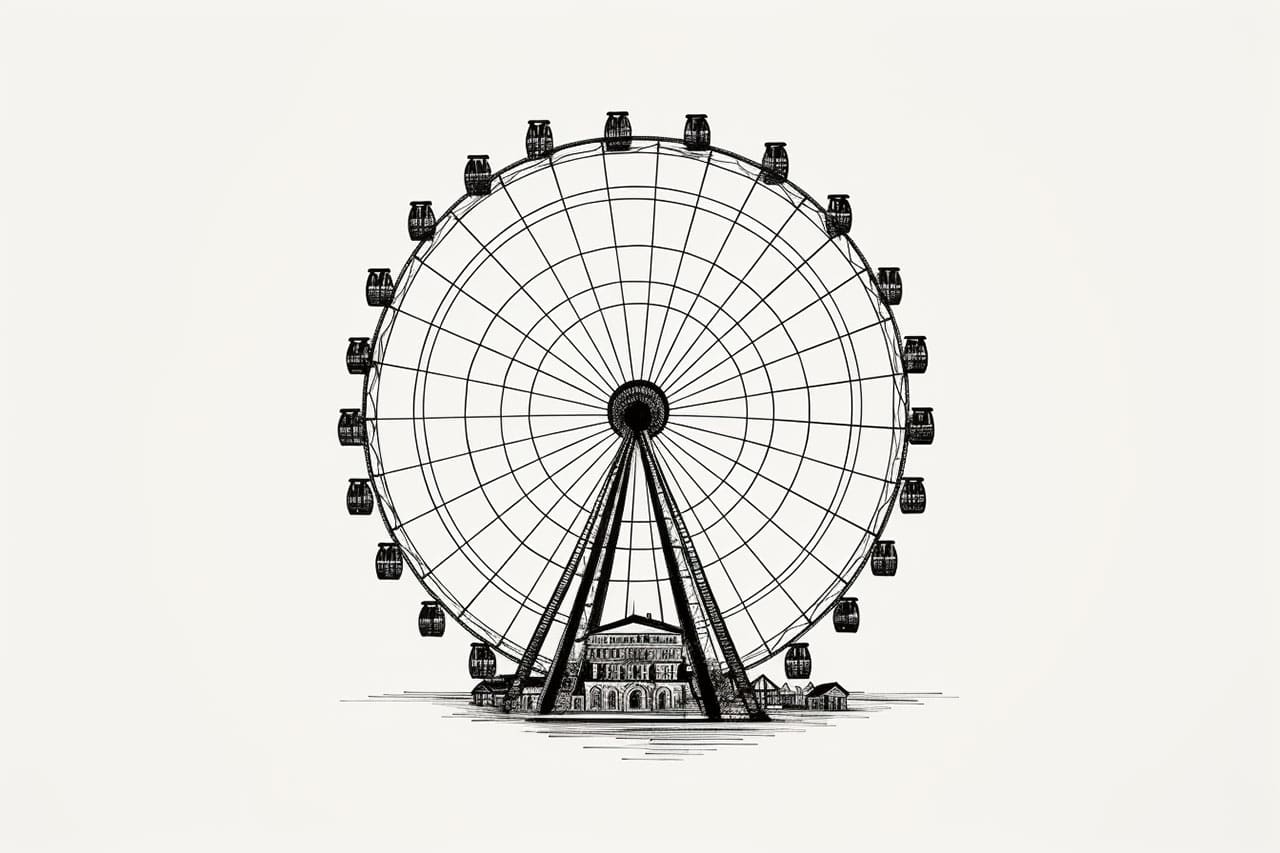
In this step-by-step guide, you’ll learn how to draw a Ferris wheel that reflects its majestic charm, from the circular wheel to the enchanting gondolas. Whether you’re an experienced artist looking to refine your skills or a novice eager to try something new, this tutorial will provide you with the tools and guidance necessary to create an impressive piece of art. So, gather your materials, unleash your creativity, and let’s embark on this exciting journey together!
Prepare to impress your friends and family with your stunning artwork as we break down the drawing process into manageable steps. With just a few pencils, an eraser, and a bit of imagination, you’ll be well on your way to crafting a Ferris wheel masterpiece that captures its beauty and complexity. Ready to get started? Let’s dive in!
Materials Required
Before we dive into the drawing process, it’s important to gather all the necessary materials. Here’s what you’ll need:
- Drawing paper
- Pencils (preferably a range of graphite pencils such as 2B, 4B, and 6B)
- Eraser
- Ruler
- Compass
- Protractor
- Colored pencils (optional for adding texture and vibrancy to your drawing)
Now that we have everything we need, let’s begin the exciting journey of drawing a Ferris wheel!
Step 1: Assemble the Base
Start by drawing a horizontal line towards the bottom of your paper. This will serve as the base of the Ferris wheel. Use a ruler to ensure that the line is straight and even.
Step 2: Add the Stand
Next, draw two vertical lines extending upwards from both ends of the base. These lines will form the stand of the Ferris wheel. Make sure they are parallel to each other and evenly spaced.
Step 3: Create the Wheel Frame
Now, let’s outline the wheel frame of the Ferris wheel. Begin by drawing a large circle at the top of the stand. You can use a compass to achieve a perfect circle. This will be the outer rim of the wheel.
Step 4: Draw the Spokes
Inside the circle you just drew, evenly space several straight lines extending from the center of the circle to the outer rim. These lines will serve as the spokes of the Ferris wheel. Make sure they are all the same length for a symmetrical appearance.
Step 5: Add Support Bars
To make the Ferris wheel more stable, draw diagonal lines connecting the top of the stand to the outer rim of the wheel. These lines will act as support bars. You can add as many bars as you like, depending on the level of detail you desire.
Step 6: Design the Gondolas
Now it’s time to add some life to your Ferris wheel by drawing the gondolas. Draw small rectangles or squares around the outer rim of the wheel, between the spokes. These will represent the seats or compartments where riders sit.
Step 7: Detail the Wheel
To give your Ferris wheel more depth, add shading and texture to the wheel frame. Use a range of graphite pencils to create gradients and shadows. Apply lighter strokes near the top of the wheel and gradually increase the pressure as you move towards the bottom to create a three-dimensional effect.
Step 8: Enhance with Colors
If you want to take your drawing to the next level, consider adding colors to your Ferris wheel. Use colored pencils to bring the gondolas and the wheel itself to life. Pay attention to light and shadow, and blend different colors together to create a realistic and vibrant appearance.
Conclusion
Congratulations, you have successfully learned how to draw a stunning Ferris wheel from scratch! I hope you enjoyed this step-by-step guide and found it helpful in developing your artistic skills. Remember, practice makes perfect, so don’t be discouraged if your first attempt doesn’t turn out exactly as you envisioned. Keep exploring and experimenting with different techniques, and soon you’ll be creating masterpieces that capture the beauty of the world around you.
So what are you waiting for? Grab your pencils and start drawing your own magnificent Ferris wheel today!
Fun Facts About Ferris Wheels
- Ferris Wheels are named after George Washington Gale Ferris Jr., who designed the original one for the 1893 World’s Columbian Exposition in Chicago.
- The original Ferris Wheel stood 264 feet (80 meters) tall and had 36 cars, each capable of holding up to 60 people.
- Today, the tallest Ferris Wheel in the world is the Ain Dubai in the United Arab Emirates, reaching a height of 820 feet (250 meters).
- Ferris Wheels are sometimes referred to as observation wheels, as they offer expansive views of the surrounding area.
- One of the oldest operating Ferris Wheels is the Vienna Giant Ferris Wheel, opened in 1897 in Austria’s Wurstelprater amusement park.
- Some Ferris Wheels, like the London Eye, never stop rotating, making it necessary for passengers to board the slowly moving cabins.
- Ferris Wheels have become a staple attraction at carnivals, fairs, and theme parks around the world.
- The Spinning Wheel of Paris, once the world’s tallest Ferris Wheel, was dismantled in 1920 and sold for scrap.
- Some unique Ferris Wheels feature closed capsules with glass floors and air-conditioned cabins for extra comfort.
- Ferris Wheels have been depicted in numerous films and are often used to symbolize whimsy and romance.
Suggestions for Scenes and Settings for Ferris Wheel Drawings
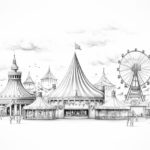
- Carnival Night: Illuminate a Ferris Wheel under a starry sky, with vibrant colored lights and joyful fairgoers enjoying the ride.
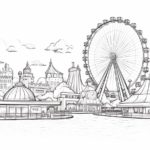
- City Skyline: Set a Ferris Wheel against a sunset backdrop, with a city’s silhouette visible in the distance for an urban vibe.
- Winter Wonderland: Imagine a Ferris Wheel surrounded by snow, with frosty gondolas and a festive holiday market below.
- Fantasy Land: Create a whimsical scene with a Ferris Wheel adorned with mythical creatures and magical decorations.
- Seaside Stroll: Show a Ferris Wheel on a pier, overlooking the ocean and dotted with seagulls and boardwalk games.
- Festival Dawn: Capture the moment at sunrise when the Ferris Wheel is silhouetted, and festivity banners flutter in the morning breeze.
- Historical Fair: Illustrate an old-fashioned Ferris Wheel with classic wooden cars and people in period attire from the early 1900s.
- Spring Fair: Draw a Ferris Wheel surrounded by blooming flowers and green meadows, under a clear blue sky.
- Horror Theme: Depict a spooky Ferris Wheel with a ghostly aura, perhaps as part of a haunted amusement park.
- Underwater Adventure: Envision an ocean-themed Ferris Wheel with gondolas shaped like sea creatures, submerged in a vibrant coral reef setting.