How to Draw a Flamingo in 6 Simple Steps
Learn how to draw with this step-by-step tutorial.
Materials You'll Need
- Drawing paper
- Pencil (HB or 2B)
- Eraser
- Colored pencils
- Markers
- Blending stump
Are you ready to embark on a colorful artistic journey? Welcome to this comprehensive tutorial on how to draw a flamingo! These stunning, elegant birds are cherished for their striking pink plumage and graceful posture. By following the techniques outlined here, you'll be able to bring the beauty of these unique creatures to life on your canvas. Each step will guide you, ensuring a balance between precision and creativity.
Whether you're a seasoned artist or a beginner exploring your artistic skills, this step-by-step guide will make drawing a flamingo an enjoyable experience. You'll delve into the intricate shapes and lines that compose their form, from their elongated legs to their distinctive curved beaks. We'll focus on observation, allowing you to appreciate the subtle details that make flamingos so captivating.
So, gather your supplies, open your sketchbook, and prepare to let your creativity flourish! It's time to take your pencil for a vibrant ride and capture the elegance of flamingos in a way that's uniquely yours. Let's dive into the delightful world of flamingos and get started on this artistic adventure!
Materials Required
Before we begin, make sure you have the following materials at hand:
-
Pencils (preferably graphite pencils of varying hardness)
-
Sharpener
-
Fine-tip black pen or marker (optional)
-
Colored pencils or markers (optional)
Now that you have everything ready, let's dive into the step-by-step process of drawing a flamingo.
Step 1: Basic Shapes
Start by drawing a large oval shape for the body of the flamingo, slightly tilted at an angle. This oval will serve as a foundation for the body structure.
Next, draw a long, curved line extending from the bottom of the oval to represent the neck. At the end of this line, draw a smaller oval shape for the head. Finally, sketch a small oval or circle for the eye on the side of the head, facing forward.
Step 2: Beak and Eye
Flamingos are known for their distinctive long, curved beaks. To draw the beak, start by extending a slightly curved line from the bottom of the head. Then, add a smaller curved line that meets the first line to form the shape of the beak.
Once the beak is complete, add some details to the eye. Draw a small circle inside the eye and shade it to represent the pupil. Leave a small area unshaded to create a highlight, giving the eye a more realistic appearance.
Step 3: Wings and Leg
To draw the wings, start by extending a curved line from the upper part of the body oval towards the back. Then, draw a few curved lines within this shape to indicate the feathers on the wings. Remember to keep the lines soft and flowing to maintain the graceful look.
Next, draw a long, slender leg extending from the bottom of the body oval, bending slightly as it reaches the ground. Pay attention to the proportions, as flamingos have long legs compared to their body size. Add some curved lines to represent the toes at the end of the leg.
Step 4: Feathers and Body Details
Now, let's add some details to the body and feathers of the flamingo. Start by sketching a few curved lines on the neck and body to represent the feathers. Flamingo feathers are soft and fluffy, so make the lines gentle and wavy.
Next, draw a line from the beak down the neck, curving it slightly towards the back. This line represents the division between the pink and white feathers on the flamingo's face.
Step 5: Coloring and Shading
To achieve a realistic look, it's time to add some color and shading. Flamingos are famously known for their pink feathers, so use your colored pencils or markers to fill in the body, wings, and head with a soft pink hue. Leave the beak and legs white, as they are usually lighter in color.
Once you've added the base color, use a darker shade of pink to add some shading to the body and wings. Start by lightly applying the darker color along the underside of the body and the bottom edges of the wings, gradually building up the intensity. Then, use a blending tool or a cotton swab to blend the colors smoothly.
Step 6: Final Touches
Lastly, it's time to refine and add any additional details to your drawing. Use a fine-tip black pen or marker to trace over the pencil lines, emphasizing the outline and important features of the flamingo. Be careful and steady with your lines, ensuring they are clean and precise.
If you prefer working in pencil, you can achieve a similar effect by carefully darkening the desired lines and erasing any unwanted pencil marks.
Tip: As you start your flamingo drawing, pay close attention to the shapes that make up the bird's form. Begin with light pencil strokes to outline the basic structure, focusing on the elongated neck and curved beak, which are key characteristics of flamingos. Use a reference image to help you capture the unique angles and proportions, and don't hesitate to adjust your lines as you go—this is the time to refine. Once you're satisfied with the outline, gradually build in details like the feathers and the legs, using varying pressure on your pencil to create texture. Finally, remember to leave some areas lighter to suggest highlights, enhancing the vibrant look of your flamingo!
Conclusion
Congratulations on completing this step-by-step tutorial on how to draw a flamingo. By following these simple instructions and practicing regularly, you'll soon be able to capture the grace and beauty of these fascinating birds in your drawings.
Remember to be patient with yourself and observe the intricate details of the subject. With time and practice, your skills as an artist will continue to grow and flourish. So, keep on drawing and let your creativity soar!
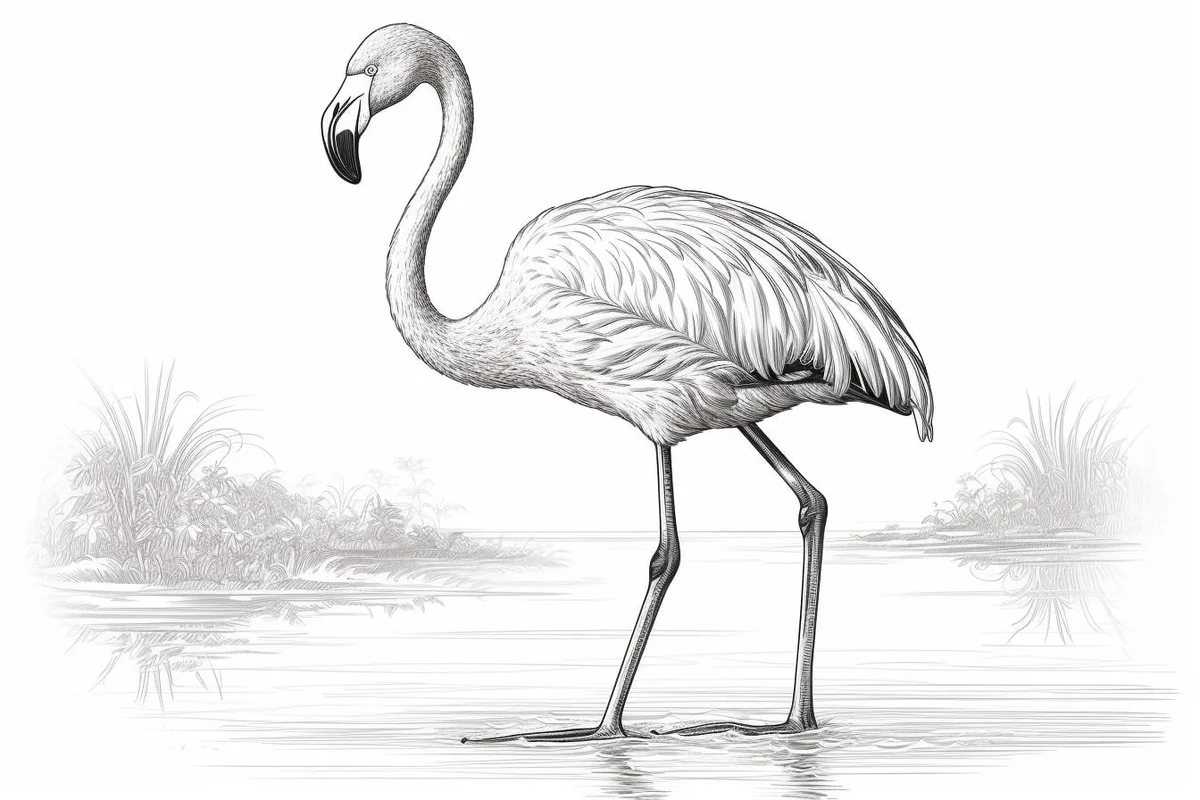
Galley of Flamingo Drawings


Fun Facts About Flamingoes
Here are some fun facts about flamingos:
-
Pink Perfection – Flamingos aren't born pink! They hatch with gray or white feathers, and their famous pink color comes from the beta-carotene in their diet of algae, shrimp, and crustaceans.
-
One-Legged Wonders – They often stand on one leg while resting. Scientists believe this helps them conserve body heat and energy.
-
Milk Makers – Both male and female flamingos produce a special red-colored "crop milk" in their digestive tracts to feed their young.
-
Built-in Sunglasses – Their eyes have special filters that help them see well in bright sunlight, much like built-in sunglasses.
-
Social Butterflies – Flamingos live in large colonies, sometimes numbering in the tens of thousands, to help protect against predators.
-
Strange Drinking Habits – Unlike most birds, flamingos can drink boiling-hot water from geysers and even salty seawater by filtering out the salt.
-
Backward Beaks – Their beaks are uniquely shaped to filter food from water, and they eat with their heads upside-down!
-
Super Speed – Flamingos can fly up to 35 miles per hour and travel long distances in search of food.
-
Lifelong Love? – Many flamingos form strong pair bonds and stay together for years.
-
A Special Dance – They perform synchronized group dances as part of their mating rituals—flamingo flash mobs, anyone?
Suggestions for Scenes and Settings for Flamingo Drawings
-
Tropical Lagoon: Draw a pair of flamingos wading in turquoise water, surrounded by palm trees, hibiscus flowers, and reflected skies.
-
Flamingo at Sunset: Illustrate a flamingo standing in a shallow pond with a glowing orange-pink sky behind it, mirroring the bird's feathers.
-
Funky Flamingo Float: Create a fun pool party scene with a flamingo-shaped float and the real bird strutting by in sunglasses (why not?).
-
Flamingo Flock: Draw a group of flamingos gathered in a shallow salt flat, all in slightly different poses—preening, walking, or standing on one leg.
-
Stylized Pop Art Flamingo: Use bold colors, graphic lines, and a vibrant background to turn your flamingo into a modern pop art statement.
-
Flamingo and the Moon: Design a nighttime scene with a lone flamingo silhouetted against a full moon, stars glimmering over a peaceful lake.
-
Jungle Hideaway: Picture a flamingo peeking through lush tropical plants like monstera, banana leaves, and orchids.
-
Elegant Ballet Flamingo: Anthropomorphize your flamingo into a ballerina on one leg, complete with tutu and soft stage lighting for a whimsical twist.
-
Flamingo Nesting Ground: Show a parent flamingo tending to a fluffy gray chick on a muddy nest mound in a vibrant wetland.
-
Retro Flamingo Vibe: Create a fun, 1950s-inspired illustration with flamingo lawn ornaments, pink sunglasses, and pastel colors galore.