Welcome to this step-by-step tutorial on how to draw a poinsettia. Poinsettias are beautiful flowering plants that are often associated with the holiday season. Learning how to draw these festive flowers will allow you to create stunning artwork or add a touch of holiday spirit to your cards and decorations. In this guide, I will walk you through the process of drawing a poinsettia in a clear, clean, and concise manner. So grab your drawing materials, and let’s get started!
Materials Required
Before we begin, make sure you have the following materials ready:
- Pencil
- Eraser
- Paper
- Colored pencils or markers (optional)
Now that you have all the necessary materials, let’s dive into the step-by-step process of drawing a poinsettia.
Step 1: Draw the Center
Start by drawing a small circle or oval shape in the center of your paper. This will be the center of the poinsettia.
Step 2: Add the Petals
Around the center, draw several large petals that radiate outwards. Poinsettia petals are typically pointy at the ends, so keep that in mind as you draw them. You can draw between five to eight petals, depending on the size of your poinsettia.
Step 3: Draw the Bracts
Poinsettias are known for their vibrant colored bracts, which are often mistaken for petals. These bracts are actually modified leaves and come in various shades of red, pink, white, and even yellow. Draw several bracts around the petals, making sure they overlap slightly to create a realistic effect.
Step 4: Add Veins and Details
To give your poinsettia a more realistic look, add veins to both the petals and bracts. These veins are thin, curved lines that run along the length of each petal and bract. You can also add some texture or small lines on the petals to make them appear more textured.
Step 5: Outline and Refine
Once you are satisfied with the basic shape and proportions of your poinsettia, carefully outline the entire drawing with a darker pencil or pen. This will make your artwork stand out and give it a finished look. Take this opportunity to refine any details and make any necessary adjustments.
Step 6: Color (Optional)
If you wish to add color to your poinsettia drawing, now is the time! Poinsettias are typically red, but you can experiment with different colors to create unique variations. Use colored pencils or markers to carefully fill in the petals and bracts with your chosen colors. Remember to blend and shade where needed to add depth and dimension to your artwork.
Step 7: Final Touches
Once your drawing is complete, take a moment to review and make any final adjustments. Erase any unnecessary lines or smudges, and ensure that your poinsettia looks clean and polished.
And there you have it! Your very own drawing of a poinsettia. I hope you enjoyed this tutorial and found it helpful in creating your artwork. Poinsettias are not only beautiful flowers to draw, but they also symbolize joy and celebration during the holiday season.
Remember, practice makes perfect, so don’t hesitate to create multiple poinsettia drawings and experiment with different styles and techniques. This will allow you to improve your skills and develop your artistic voice.
So go ahead and spread the holiday cheer by sharing your poinsettia drawings with friends and family. Happy drawing!
Conclusion
In this tutorial, we explored the step-by-step process of drawing a poinsettia. We started by drawing the center and petals, then added the bracts and details. We also discussed optional coloring techniques to make your poinsettia drawing even more vibrant. Remember to practice, have fun, and let your creativity flourish. Now go ahead and create beautiful poinsettia drawings to bring joy to the holiday season!
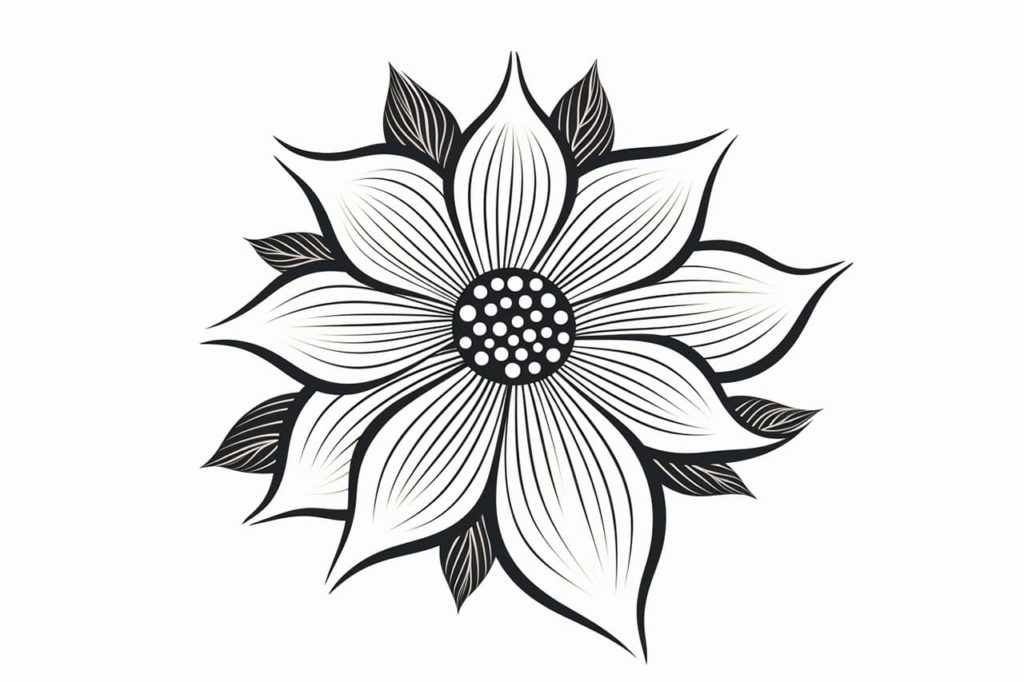
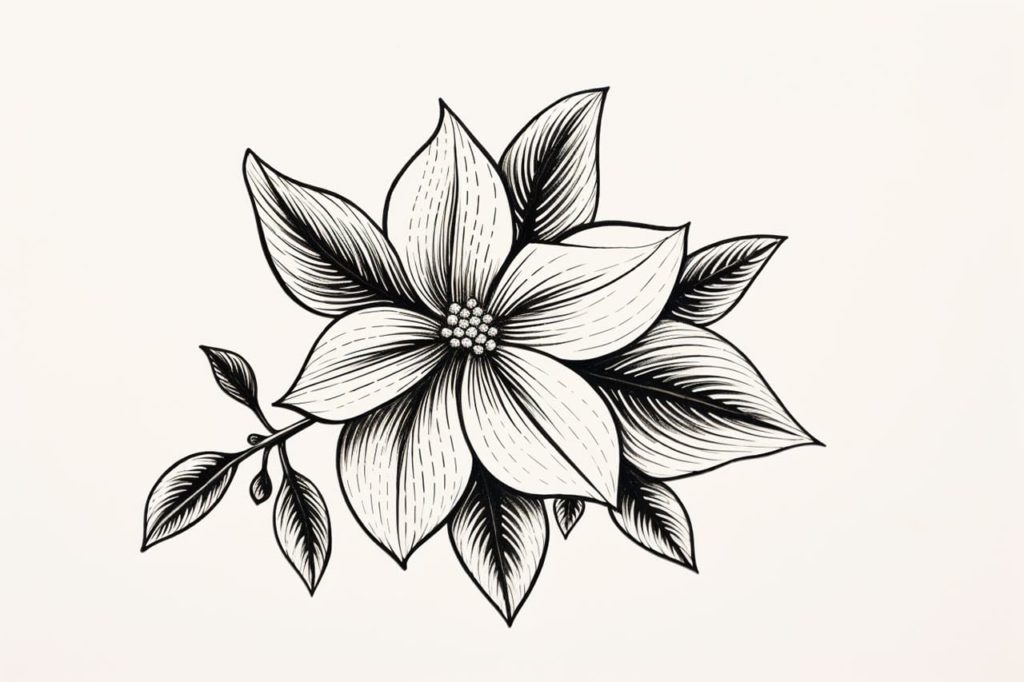
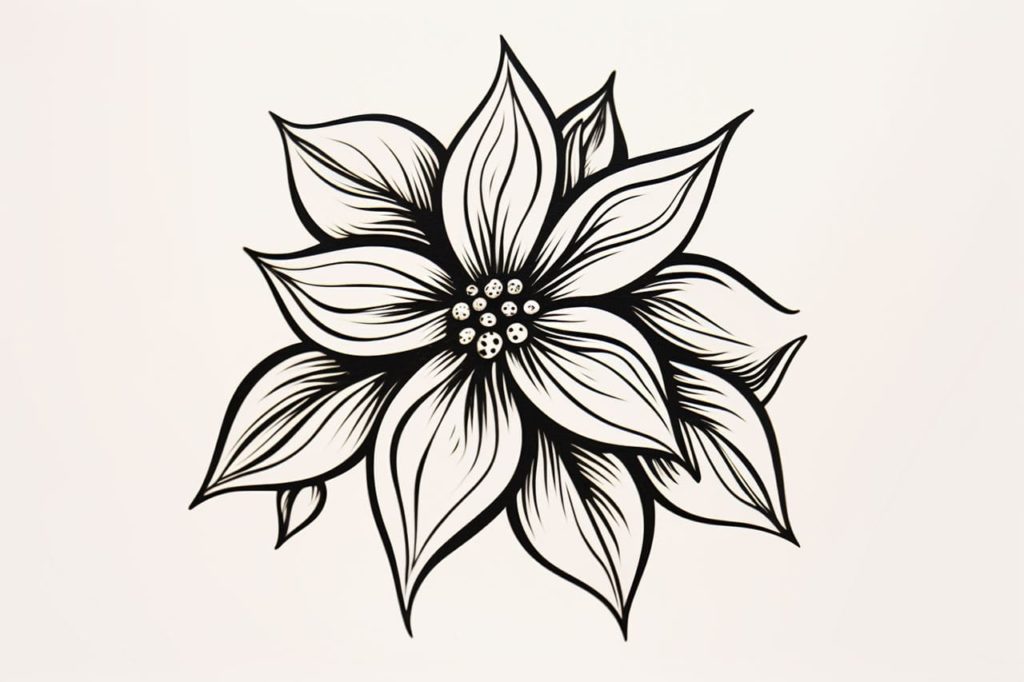
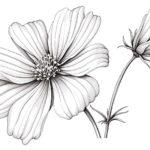
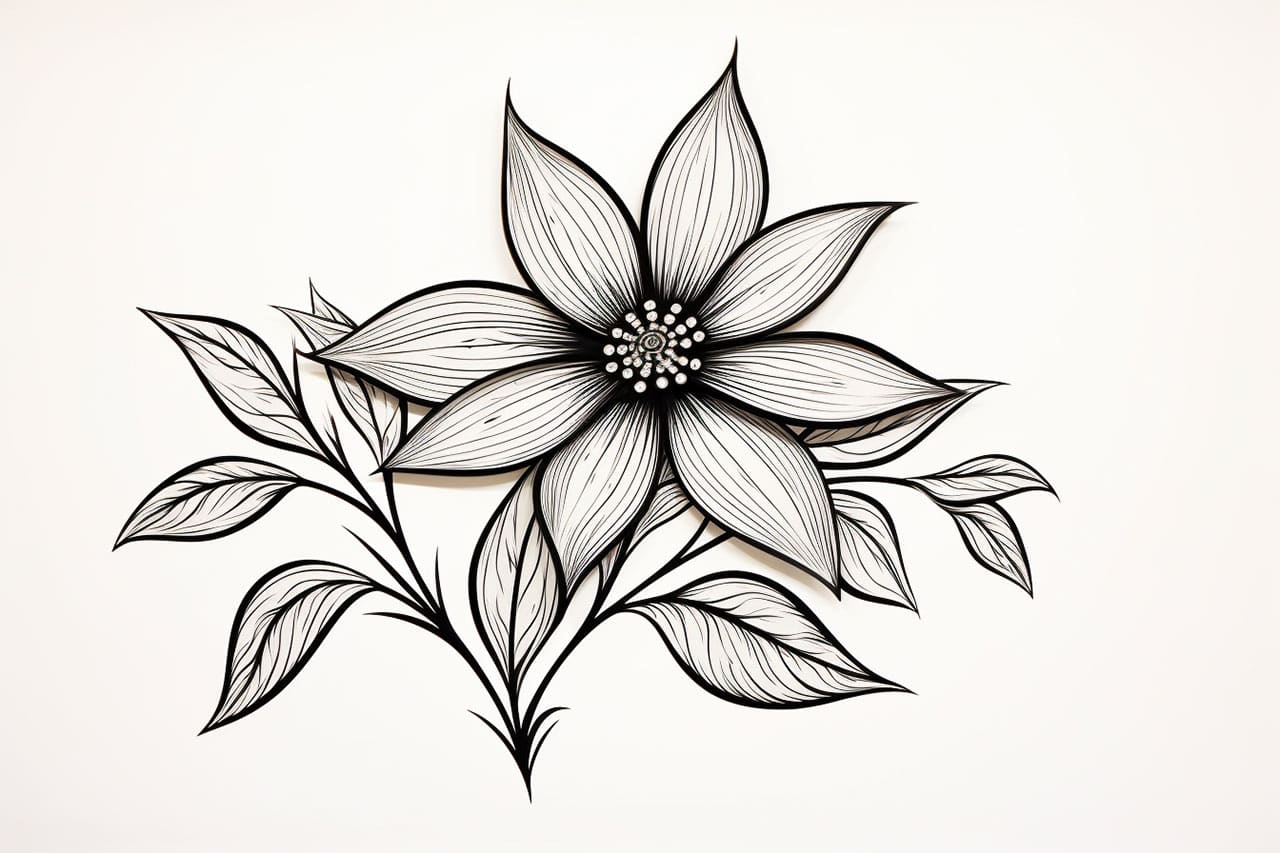
Gallery of Poinsetta Drawings