Have you ever admired the beauty and complexity of a Ferris wheel and wished that you could capture its essence on paper? Well, you’re in luck! In this step-by-step guide, I will show you how to draw a Ferris wheel that will amaze your friends and family. So grab your pencils and let’s get started!
Materials Required
Before we dive into the drawing process, it’s important to gather all the necessary materials. Here’s what you’ll need:
- Drawing paper
- Pencils (preferably a range of graphite pencils such as 2B, 4B, and 6B)
- Eraser
- Ruler
- Compass
- Protractor
- Colored pencils (optional for adding texture and vibrancy to your drawing)
Now that we have everything we need, let’s begin the exciting journey of drawing a Ferris wheel!
Step 1: Assemble the Base
Start by drawing a horizontal line towards the bottom of your paper. This will serve as the base of the Ferris wheel. Use a ruler to ensure that the line is straight and even.
Step 2: Add the Stand
Next, draw two vertical lines extending upwards from both ends of the base. These lines will form the stand of the Ferris wheel. Make sure they are parallel to each other and evenly spaced.
Step 3: Create the Wheel Frame
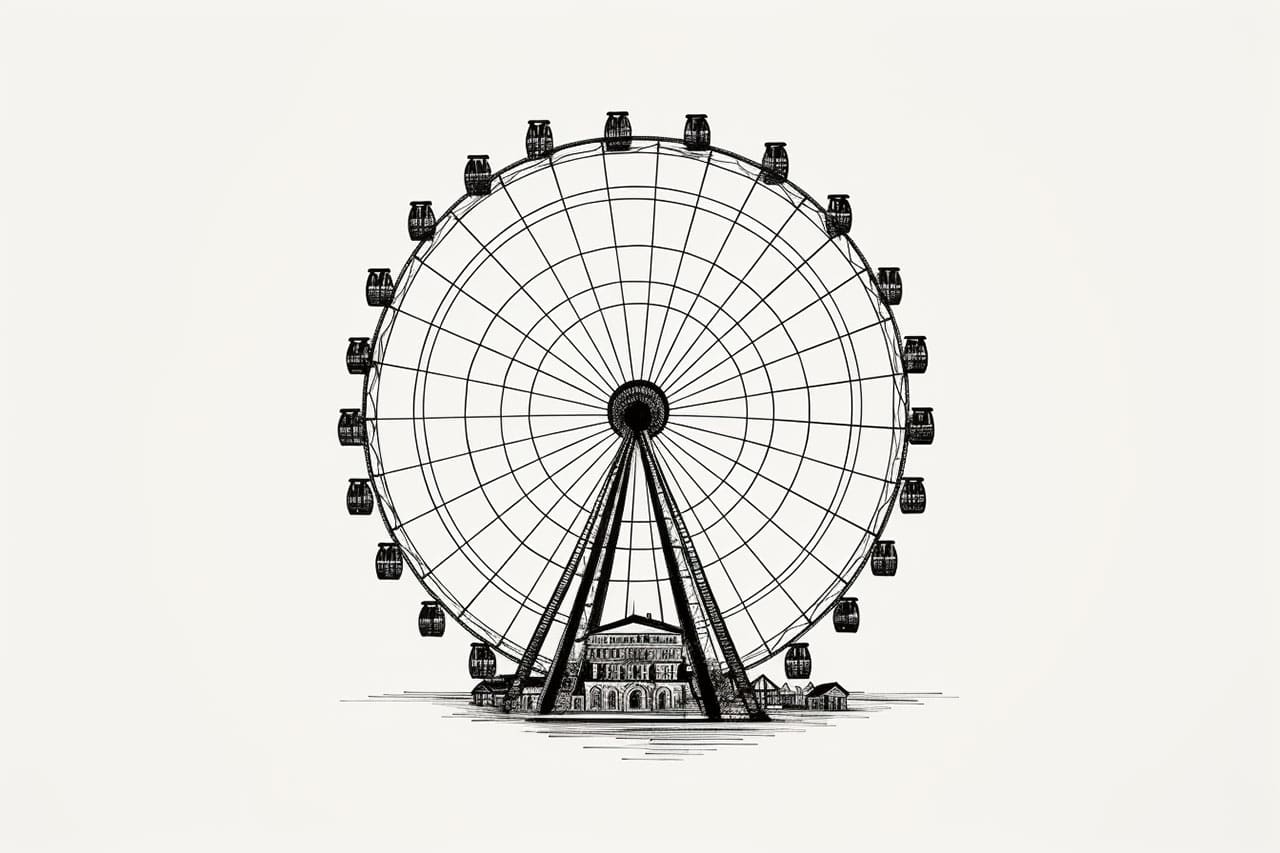
Now, let’s outline the wheel frame of the Ferris wheel. Begin by drawing a large circle at the top of the stand. You can use a compass to achieve a perfect circle. This will be the outer rim of the wheel.
Step 4: Draw the Spokes
Inside the circle you just drew, evenly space several straight lines extending from the center of the circle to the outer rim. These lines will serve as the spokes of the Ferris wheel. Make sure they are all the same length for a symmetrical appearance.
Step 5: Add Support Bars
To make the Ferris wheel more stable, draw diagonal lines connecting the top of the stand to the outer rim of the wheel. These lines will act as support bars. You can add as many bars as you like, depending on the level of detail you desire.
Step 6: Design the Gondolas
Now it’s time to add some life to your Ferris wheel by drawing the gondolas. Draw small rectangles or squares around the outer rim of the wheel, between the spokes. These will represent the seats or compartments where riders sit.
Step 7: Detail the Wheel
To give your Ferris wheel more depth, add shading and texture to the wheel frame. Use a range of graphite pencils to create gradients and shadows. Apply lighter strokes near the top of the wheel and gradually increase the pressure as you move towards the bottom to create a three-dimensional effect.
Step 8: Enhance with Colors
If you want to take your drawing to the next level, consider adding colors to your Ferris wheel. Use colored pencils to bring the gondolas and the wheel itself to life. Pay attention to light and shadow, and blend different colors together to create a realistic and vibrant appearance.
Conclusion
Congratulations, you have successfully learned how to draw a stunning Ferris wheel from scratch! I hope you enjoyed this step-by-step guide and found it helpful in developing your artistic skills. Remember, practice makes perfect, so don’t be discouraged if your first attempt doesn’t turn out exactly as you envisioned. Keep exploring and experimenting with different techniques, and soon you’ll be creating masterpieces that capture the beauty of the world around you.
So what are you waiting for? Grab your pencils and start drawing your own magnificent Ferris wheel today!