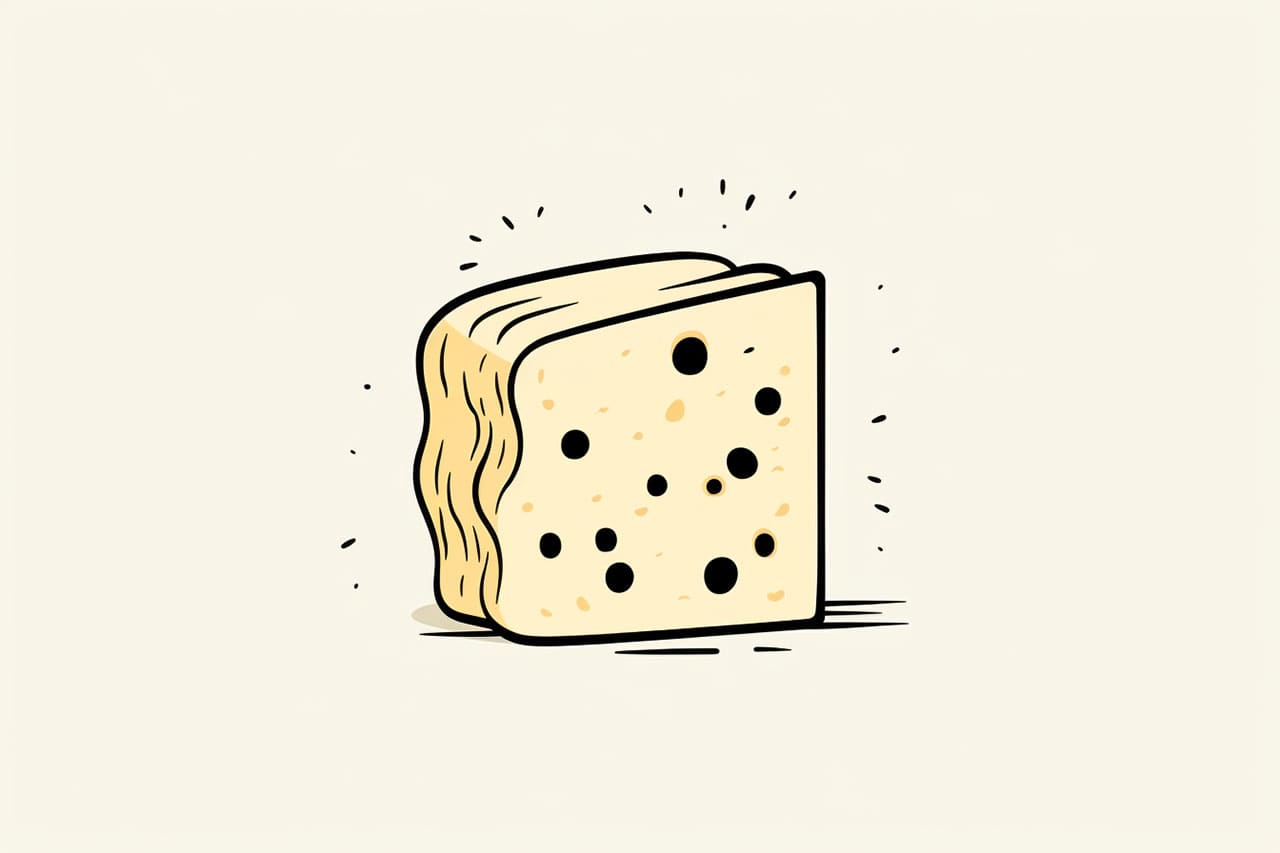
Welcome to this step-by-step guide on how to draw cheese! Whether you are a beginner or an experienced artist, this tutorial will teach you the techniques to create a realistic and mouthwatering cheese drawing. Grab your drawing supplies and let’s get started!
Materials Required
Before we dive into the drawing process, make sure you have the following materials:
- Drawing paper: Choose a smooth, heavyweight paper that is suitable for your preferred drawing medium.
- Pencil: Use a mechanical pencil or a set of graphite pencils with different grades (2H, HB, 2B, etc.) to achieve various shading effects.
- Eraser: Have a kneaded eraser or a soft eraser handy for correcting mistakes and refining details.
- Blending tool: A blending stump or a tortillon can be used to soften and blend pencil marks for a smoother texture.
- Reference image: Find a reference photo of cheese that you would like to draw. This will help you visualize the shape and texture while working on your drawing.
Now that you have your materials ready, let’s start drawing!
Step 1: Sketch the Basic Shape
Begin by lightly sketching the basic shape of the cheese using your pencil. Start with an oval shape that will serve as the main body of the cheese. Remember, cheese comes in various forms, so feel free to modify the shape based on the type of cheese you want to depict.
Step 2: Add Texture and Rind
Next, add the texture and rind of the cheese. Take a close look at your reference image and observe the patterns and lines on the surface of the cheese. Use your pencil to create these irregular patterns, making sure to vary the pressure to achieve different levels of darkness and depth.
For the rind, add some rough and uneven edges to the cheese’s outer layer. This will give it a more realistic appearance.
Step 3: Define the Edges and Contours
Now, it’s time to define the edges and contours of the cheese. Use darker pencil grades to add depth and dimension to your drawing. Pay attention to the areas where the light hits the cheese and where shadows are cast. By carefully shading these areas, you can create a three-dimensional effect and make the cheese appear more realistic.
Step 4: Work on the Highlights
To make your cheese drawing truly stand out, you need to add highlights. These are the areas where the light is reflected the most. Leave small sections untouched or lightly shade them to indicate the presence of light. This will give your cheese a shiny and appetizing look.
Step 5: Blend and Soften
To achieve a smooth and realistic look, blend and soften the pencil marks on your drawing using a blending stump or tortillon. This will help create a seamless transition between light and shadow areas, giving your cheese a more polished appearance.
Step 6: Refine Details
Now that the basic structure and shading of your cheese drawing are complete, it’s time to refine the details. Add any additional texture or patterns that you may have missed, paying close attention to the intricacies of your reference image. Take your time to ensure that every detail adds to the overall realism of your drawing.
Step 7: Finalize and Evaluate
Take a step back and evaluate your drawing. Look for any areas that could use further refinement or adjustment. Make any necessary changes to improve the overall composition and accuracy of your cheese drawing.
Conclusion
Congratulations! You have successfully created a realistic cheese drawing. By following these step-by-step instructions and paying attention to details, you can improve your drawing skills and create captivating cheese illustrations. Keep practicing and exploring different types of cheese to further enhance your artistic abilities.
Remember, drawing is about unleashing your creativity and having fun along the way. So, go ahead and enjoy the process of creating your delicious cheese artwork!
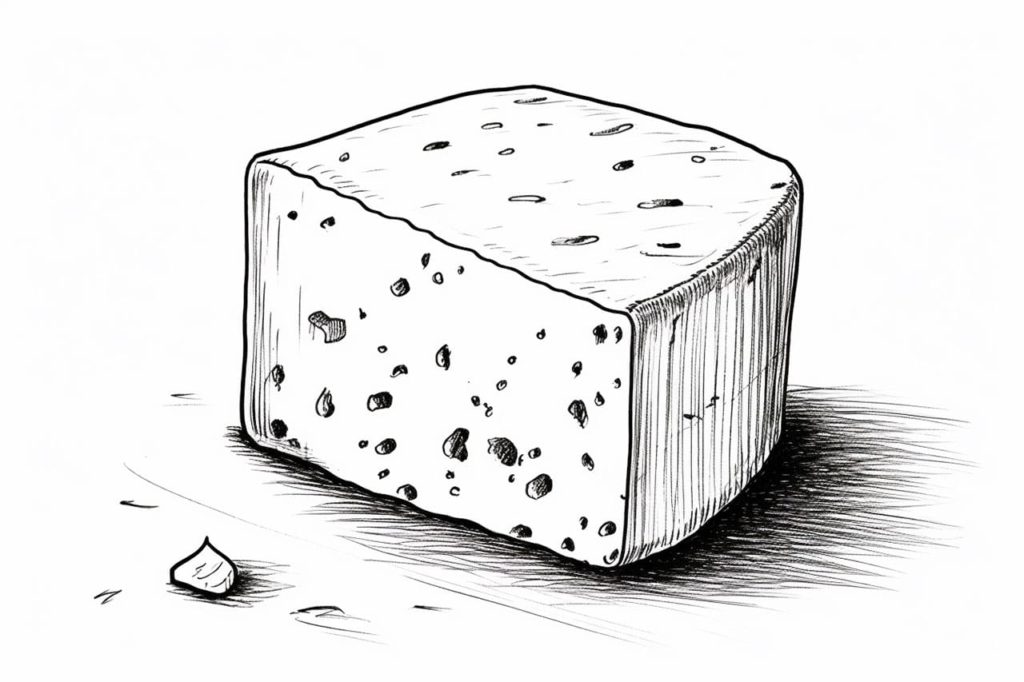
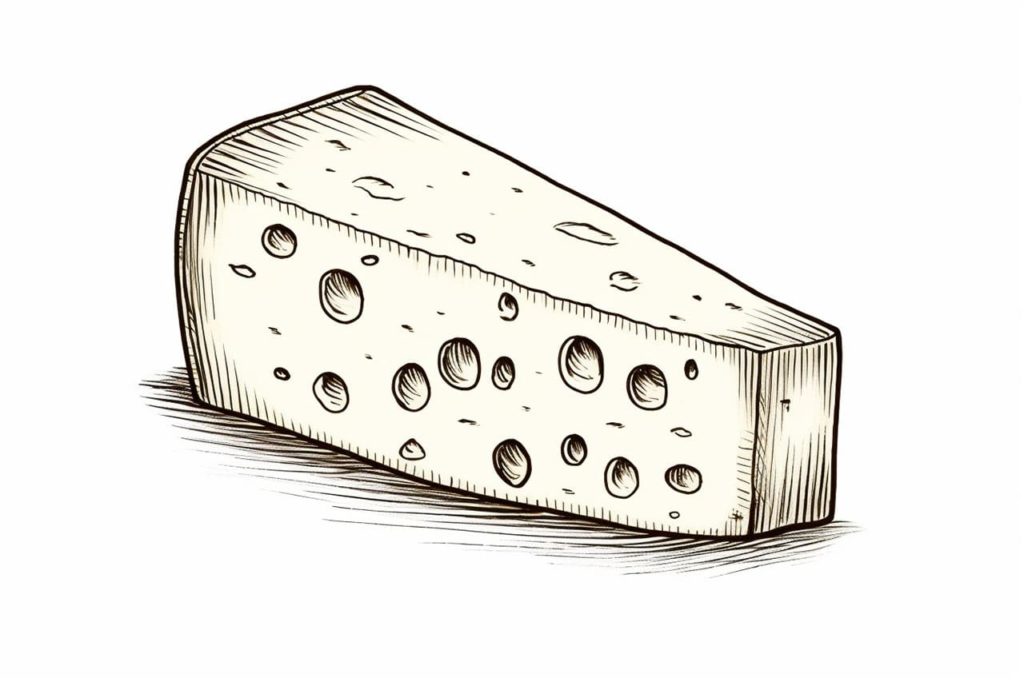
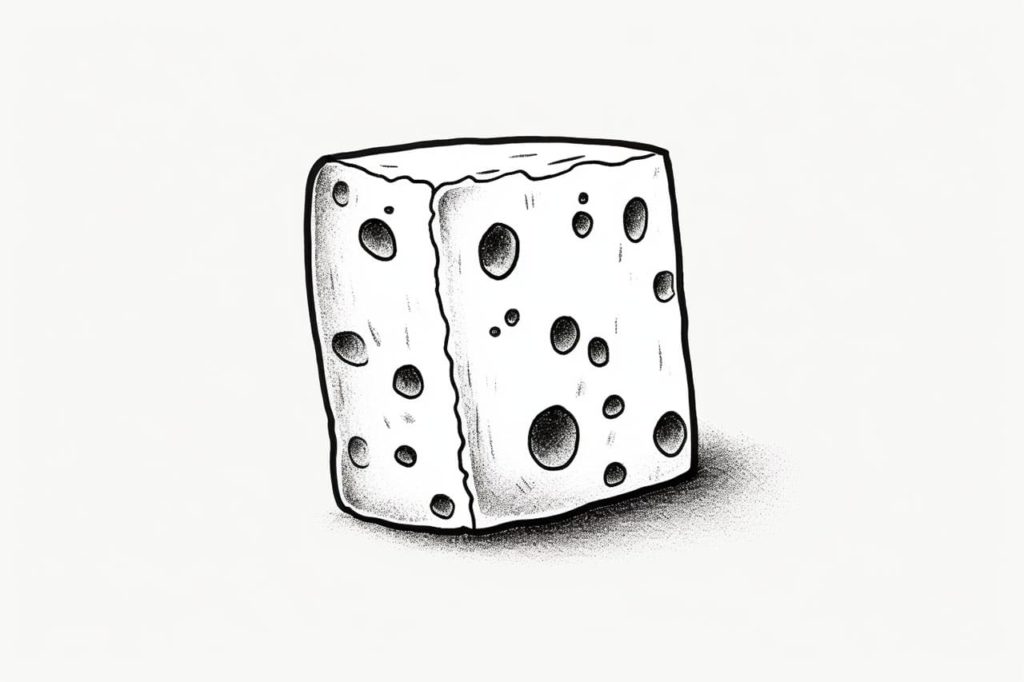
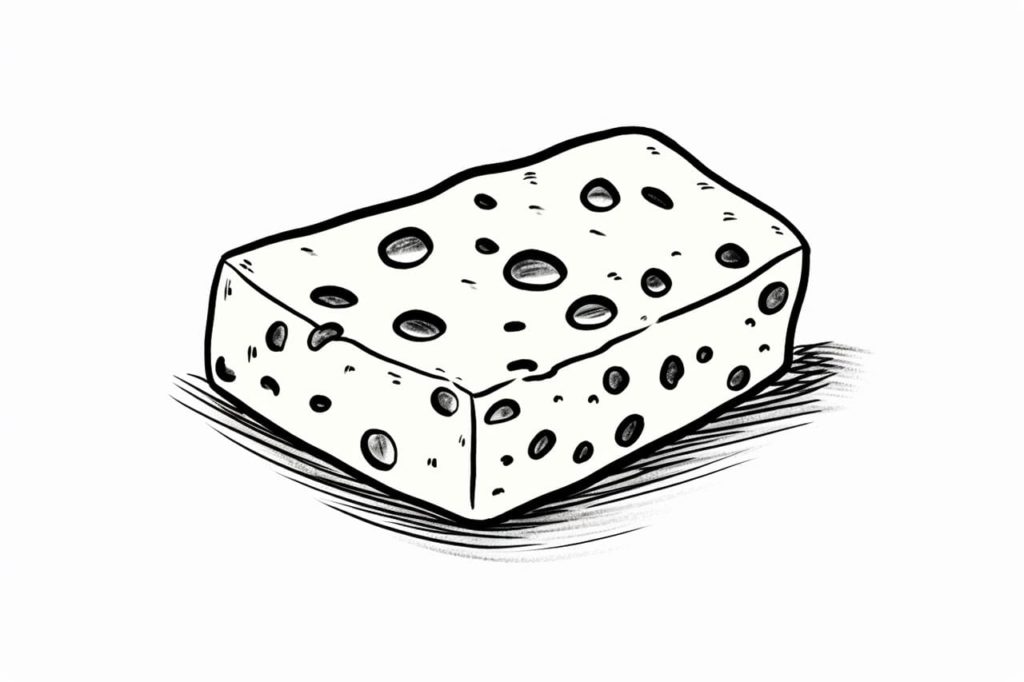
Gallery of Cheese Drawings