Welcome to this step-by-step guide on how to draw a donut. Sounds delicious, right? Whether you are a beginner or an experienced artist, this tutorial will break down the process into simple and easy-to-follow instructions. By the end, you will be able to create a mouthwatering donut drawing that looks good enough to eat!
Materials Required
Before we begin, make sure you have the following materials ready:
- A piece of paper
- Pencil
- Eraser
- Ruler
- Colored pencils or markers (optional)
These basic materials will be sufficient for creating a fantastic donut drawing. Feel free to use any additional coloring tools or mediums to enhance your artwork.
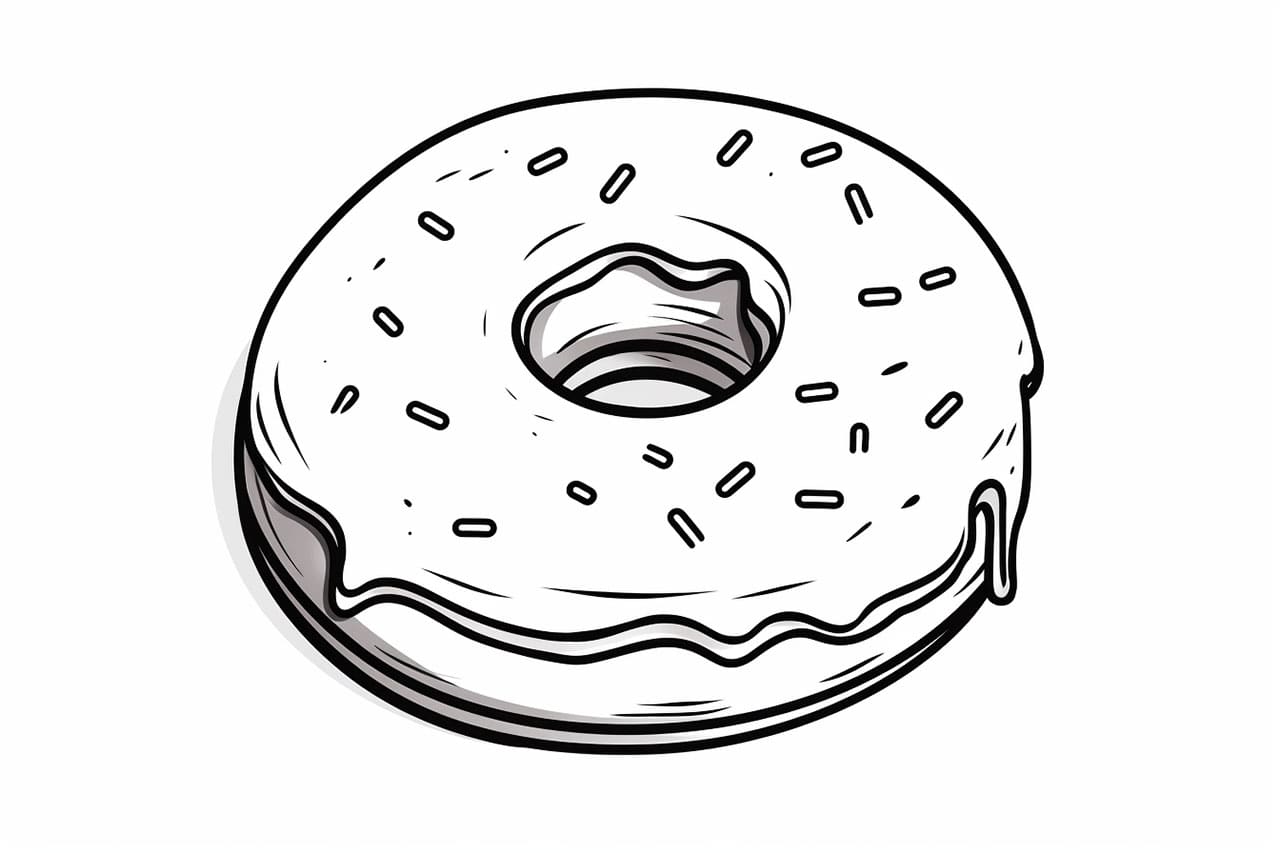
Step 1: Draw the Donut Shape
Start by drawing a large circle in the center of your paper. Use a pencil and try to make it as smooth as possible. This will be the outline of your donut.
Step 2: Add the Inner Circle
Inside the large circle, draw a smaller circle that is slightly off-center. This will represent the hole in the middle of the donut. Make sure it is not too big or too small, but proportional to the size of the larger circle.
Step 3: Create a Thickness to the Donut
To give the donut a realistic appearance, we need to add some thickness. Start by drawing a curved line, following the outer edge of the larger circle. This will create the outer rim of the donut. Repeat the process for the inner circle, creating the inner rim.
Step 4: Texture the Donut
Now it’s time to add some texture to our donut. Start by drawing curved lines across the larger circle, following its shape. These lines will represent the ridges and folds on the surface of the donut. Be creative and vary the length and direction of the lines to make it look more realistic.
Step 5: Shade the Donut
To give our donut drawing more depth, we need to add shading. Imagine a light source coming from one direction and create shadows accordingly. Shade the outer rim of the donut slightly darker than the inner rim. Add some shading to the ridges and folds as well, to make them stand out.
Step 6: Color Your Donut (Optional)
If you want to add color to your drawing, grab your colored pencils or markers and have some fun! Choose your favorite donut flavor and color the donut accordingly. Remember to blend colors for a smoother look and add highlights to create contrast.
Conclusion
Congratulations on completing your donut drawing! By following these step-by-step instructions, you have learned how to draw a mouthwatering donut from scratch. Remember, practice makes perfect, so keep honing your skills and experimenting with different styles and colors to create your own unique donut artwork.
So grab your pencil, paper, and let your imagination soar as you draw more delectable donuts. Who knows, maybe someday you’ll be able to sell your artwork or even design your own donut shop logo!