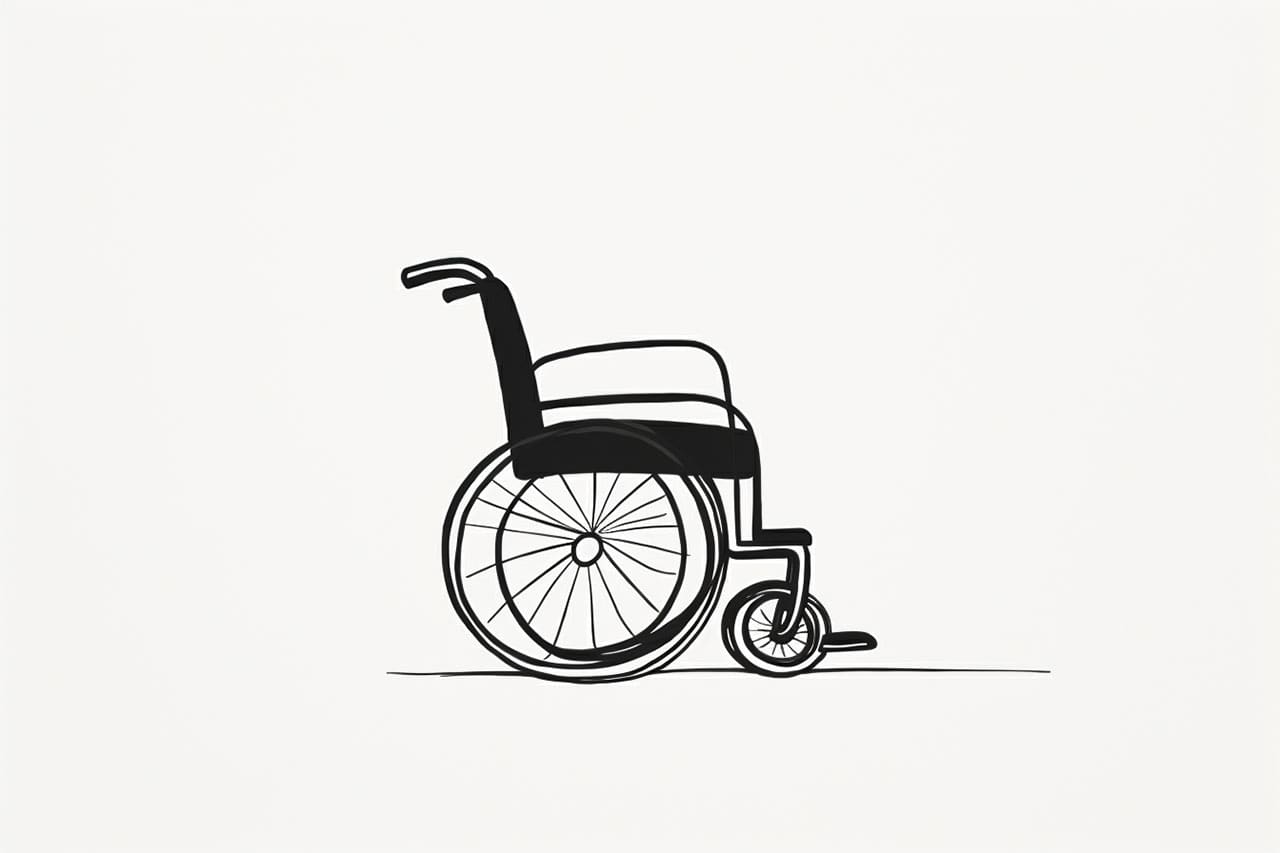
Drawing a wheelchair may seem challenging at first, but with the right techniques and guidance, anyone can create a realistic representation. In this step-by-step guide, I will walk you through the process of drawing a wheelchair, starting with the basic shape and gradually adding details to bring it to life. So grab your drawing materials and let’s get started!
Materials Required
To draw a wheelchair, you will need the following materials:
- A pencil
- A good quality eraser
- Drawing paper
- Ruler
- Compass (optional)
- Fine-tip markers or colored pencils (optional)
Now that you have your materials ready, let’s begin drawing a wheelchair!
Step 1: Start with Basic Shapes
Begin by drawing a large rectangle for the seat of the wheelchair. This will be the foundation of our drawing. Next, draw two vertical lines extending downwards from the bottom of the rectangle. These lines will represent the sides of the chair.
Step 2: Add the Wheels
On each side of the rectangle, draw a large circle to represent the main wheels of the wheelchair. Make sure the circles are aligned and proportionate to the seat. You can use a compass or trace circular objects to help you achieve the perfect shape.
Step 3: Draw the Axles and Footrests
To connect the wheels to the chair, draw two straight lines horizontally from the bottom of each wheel to the sides of the seat. These lines represent the axles. Then, draw a small rectangle or oval-shaped footrest at the front of the wheelchair, between the two axles.
Step 4: Create the Wheelchair Frame
Extend two lines upwards from the front of the footrest to the top of the chair’s backrest. These lines will serve as the frame supports. Now, draw a curved line from the top of each support, arching slightly towards the back of the chair. Connect these lines at the top to form the curved handle of the wheelchair.
Step 5: Add the Armrests
Draw two short, horizontal lines extending from the sides of the backrest, near the top. These lines will represent the armrests of the wheelchair. Make sure they are parallel to the ground and slightly curved for comfort.
Step 6: Refine the Wheelchair Seat
To add dimension to the seat, draw two diagonal lines connecting the sides of the seat to the bottom of the backrest. This will create a slight incline for better support. You can also add some padding or details to the seat to make it more realistic.
Step 7: Add Details to the Wheels
To make the wheels more realistic, draw several straight lines that run parallel to the outer edge of each wheel. These lines represent the spokes. You can also shade the inner portion of the wheel to create depth. Don’t forget to erase any unnecessary lines from the wheels.
Step 8: Finishing Touches
Now that the basic structure of the wheelchair is complete, take a moment to review your drawing and make any necessary adjustments. Add any additional details you wish, such as textures, patterns, or shading. Once you’re satisfied with the overall appearance, you can outline your drawing with a fine-tip marker or color it with colored pencils if you prefer a more finished look.
Conclusion
Congratulations, you have successfully drawn a wheelchair! By following these step-by-step instructions, you have learned how to create a realistic representation of this essential mobility aid. Remember to practice regularly and experiment with different styles and techniques to enhance your drawing skills. Drawing a wheelchair may seem challenging, but with patience and persistence, you can master it. So keep exploring the world of art and discover the joy of creating visually stunning representations. Happy drawing!


