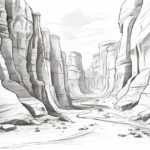
Welcome to this step-by-step guide on how to draw a cliff. Whether you are a beginner or an experienced artist, this article will provide you with clear instructions on how to create a realistic and visually stunning representation of a cliff. By following these steps and using the right materials, you will be able to capture the ruggedness and grandeur of a cliff in your artwork.
Materials
To begin drawing a cliff, you will need the following materials:
- Paper: Use a high-quality drawing paper that can handle various drawing techniques and erasing.
- Pencil: Choose a range of pencils with different graphite grades, such as 2H, HB, 2B, 4B, and 6B. These will allow you to create subtle shading and detailing.
- Eraser: Have a kneaded eraser for removing and lightening pencil marks, and a regular eraser for precise erasing.
- Blending tools: Use a blending stump or tortillon to smudge and blend graphite, creating smooth transitions and textures.
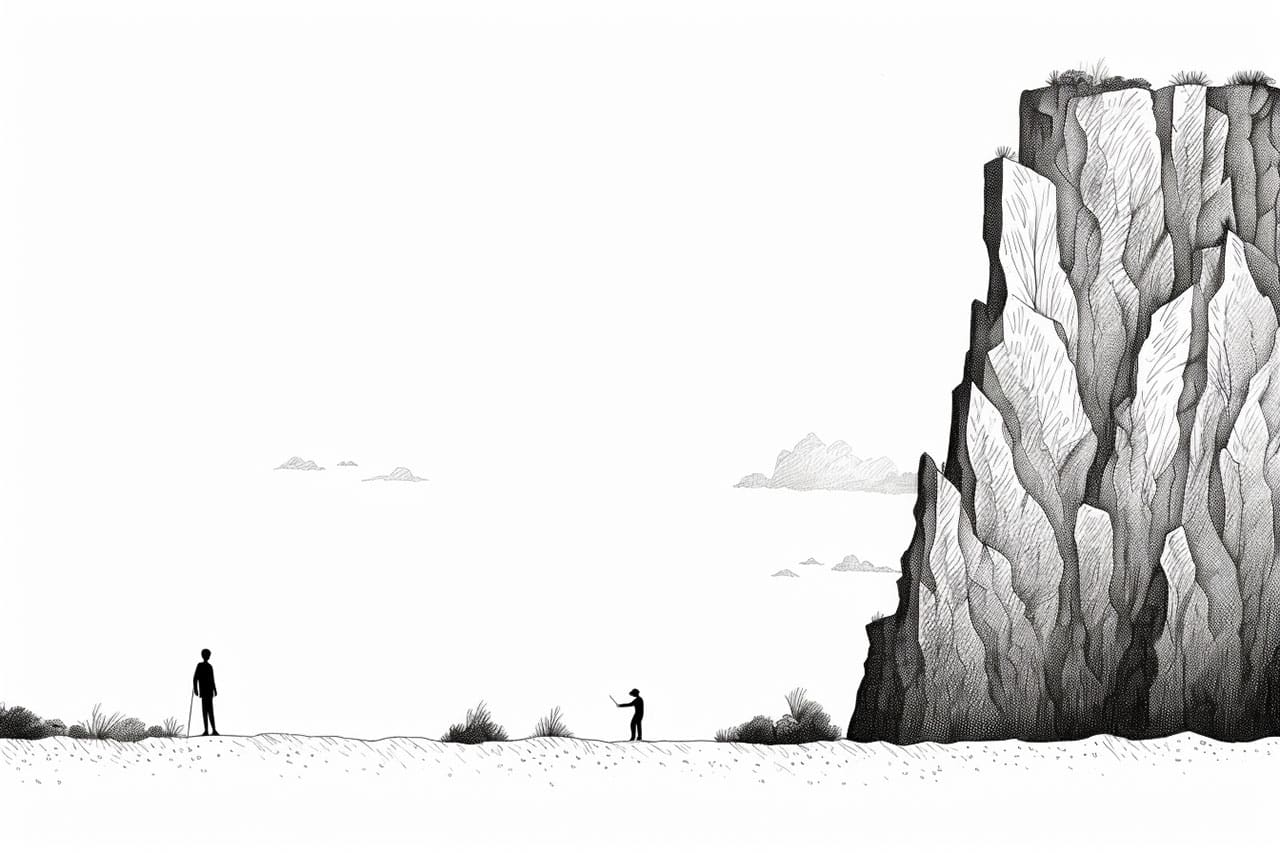
- Reference image: Find a high-resolution photograph or picture of a cliff that inspires you. This will serve as your visual guide throughout the drawing process.
- Optional: Colored pencils or pastels for adding color to your artwork.
Step 1: Sketch the Basic Shape of the Cliff
Start by lightly sketching the basic shape of the cliff using a 2H or HB pencil. Pay attention to the angles, curves, and overall structure of the cliff. Use light, loose lines to avoid making mistakes that are difficult to erase later. Remember, this is just the initial framework of your drawing.
Step 2: Add Details and Texture
Now, carefully observe your reference image and start adding details to your sketch. Focus on the different layers, cracks, crevices, and the texture of the cliff. Use a combination of different pencils with varying graphite grades to create depth and contrast. For darker areas, use soft pencils like 4B or 6B, and for lighter areas, use harder pencils like 2H or HB.
Step 3: Shade and Create Shadows
To make your cliff look three-dimensional, you need to add shading and shadows. Identify the main light source in your reference image and imagine where the shadows would fall on the cliff. Use cross-hatching or shading techniques to create the illusion of depth and volume. Remember to blend the shading using a blending stump or tortillon for a smooth and realistic effect.
Step 4: Refine the Details
Take a closer look at your reference image and refine the details of the cliff. Pay attention to smaller cracks, rocks, vegetation, and any other distinctive features. Use a sharp pencil or a mechanical pencil for precise detailing. Take your time and work patiently, adding these details will bring your cliff to life.
Step 5: Add Color (Optional)
If you want to add color to your drawing, now is the time to do so. Use colored pencils or pastels to enhance the natural hues and tones of the cliff. Refer to your reference image for color guidance and layer the colors gradually for a realistic effect. Blend the colors smoothly using a blending stump or your fingertips. Remember to work from light to dark and maintain the overall balance of colors.
Step 6: Final Touches and Highlights
To finish your drawing, evaluate your artwork as a whole and make any necessary adjustments. Add highlights to the cliff by carefully erasing small areas or using a white colored pencil or pastel. This will create a sense of light reflecting off the surfaces. Use your eraser to lighten certain areas and enhance the contrast if needed. Take a step back and observe your drawing from a distance to ensure its overall balance and harmony.
Conclusion:
Congratulations! You have successfully learned how to draw a cliff. By following these step-by-step instructions and using the right materials, you have created a realistic and visually striking representation of this majestic natural feature. Keep practicing, experimenting, and exploring different techniques to further develop your artistic skills. With time and dedication, you will continue to improve and create even more impressive artwork.