Welcome to this step-by-step guide on how to draw a fall tree! As an expert artist and drawing instructor, I will walk you through the process of creating a beautiful autumn scene that captures the essence of this colorful season. Follow along and let your creativity flow!
Materials Required
Before we begin, gather the following materials:
- Drawing paper or sketchbook
- Pencil (preferably an HB or 2B)
- Eraser
- Colored pencils or markers (optional)
- Reference images of fall trees (optional)
Now that you have your materials ready, let’s dive into the exciting world of drawing a fall tree!
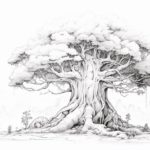
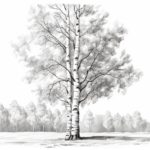
Step 1: Sketch the Trunk and Branches
Start by lightly sketching the trunk of the tree using your pencil. Imagine the shape and size of the tree you want to draw. Is it tall and slender or short and stout? Draw a vertical line to indicate the main trunk and add curved lines branching out from it to represent the branches. Don’t worry about making it perfect just yet; this is just the initial sketch.
Step 2: Add the Big Branches
Now, let’s add some more branches to give the tree a fuller appearance. Start from the trunk and extend the lines outward in different directions. Vary the thickness of the branches to create a natural look. Use light, flowing strokes to make the branches appear organic and avoid making them too symmetrical.
Step 3: Draw the Smaller Branches
With the bigger branches in place, add smaller branches that connect to the main ones. These branches should be thinner and more delicate. Remember that trees in the fall lose their leaves, so the branches will be more visible. Make sure the smaller branches are attached at different angles to create a sense of depth and dimension.
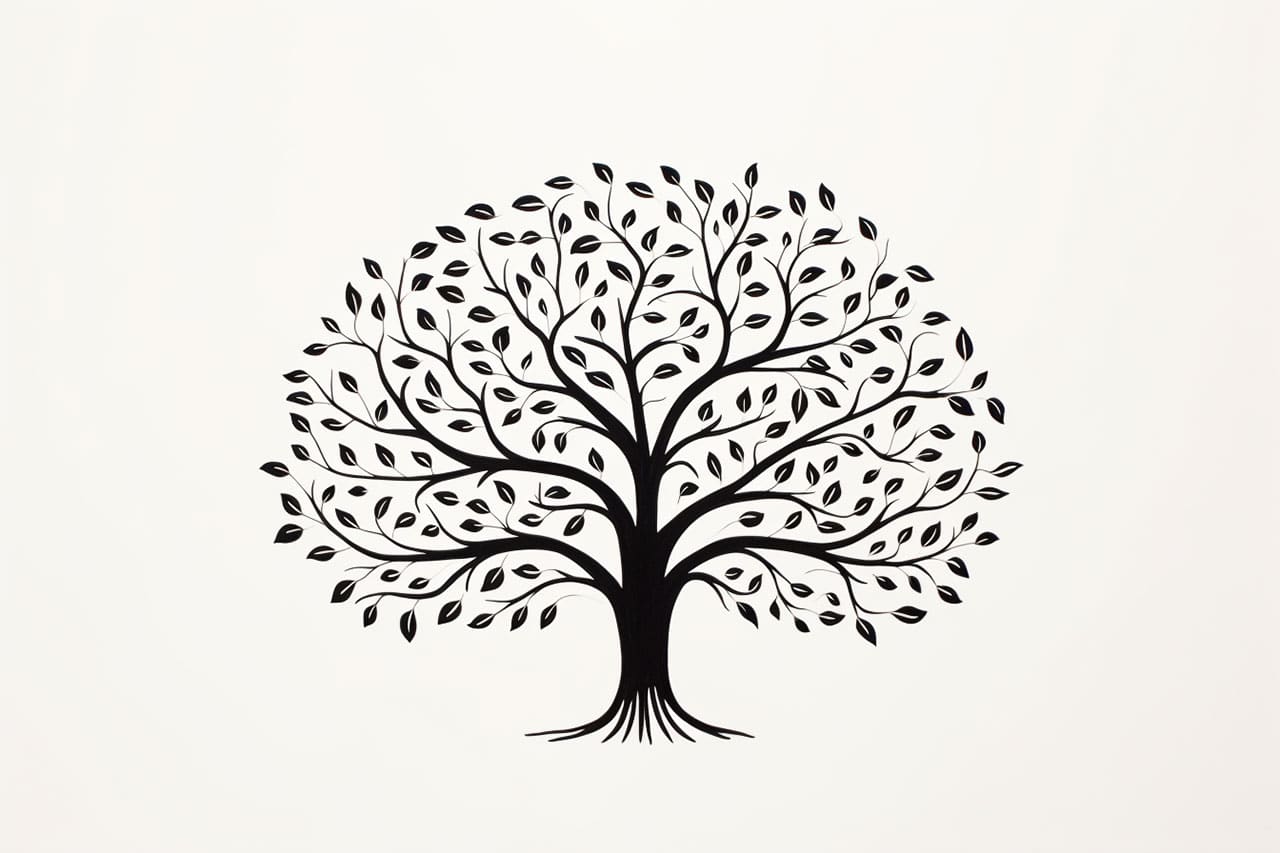
Step 4: Shape the Crown
Next, it’s time to create the crown of the tree. Start by lightly sketching the general shape of the foliage. In the fall, trees tend to have irregular and asymmetrical crowns. Imagine the tree as a cloud-like shape and use flowing lines to outline it. Don’t be afraid to experiment with different shapes and sizes to give your fall tree a unique personality.
Step 5: Add the Tree Bark
Now that the basic structure is complete, let’s add some texture to the trunk. Fall trees often have rough and textured bark. Use short, curved lines in varying directions to create the appearance of bark. Keep the lines closer together at the base of the tree and gradually space them out towards the top. This will give the trunk a realistic texture.
Step 6: Sketch the Leaves
Since it’s fall, our tree will be adorned with beautiful leaves in rich hues of orange, yellow, and red. Start by lightly sketching the general shape of the leaves on the branches. They can be oval, pointed, or even irregularly shaped. Remember, fall leaves are often jagged and asymmetrical. Use short, slightly curved lines to give the leaves a sense of movement.
Step 7: Add Color to the Leaves (optional)
At this point, you can decide if you want to add color to your drawing. Colored pencils or markers can bring your fall tree to life. Use warm colors like oranges, yellows, and reds to capture the vibrant hues of autumn. Start with a light layer of color and gradually build up the intensity. Experiment with layering different shades to create depth and dimension.
Step 8: Finalize the Details
To complete your fall tree drawing, take a step back and assess the overall composition. Add any final details or adjustments to enhance the realism of your artwork. Darken the trunk and branches, refine the shape of the leaves, and add any additional textures or highlights that you feel are necessary. Take your time and trust your instincts.
Conclusion
Congratulations! You have successfully learned how to draw a fall tree. By following these step-by-step instructions, you have created a beautiful autumn scene that captures the essence of this colorful season. Remember to practice and experiment with different techniques to further develop your drawing skills.
Now go ahead and create your own fall tree masterpiece! Whether you choose to use colored pencils or stick with a monochromatic sketch, the choice is yours. Combine several fall tree drawings to create a beautiful and colorful forest. Embrace the beauty of fall and let your creativity flourish in your artwork.