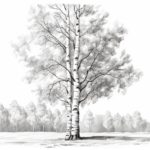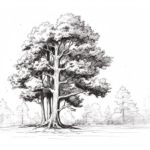
Drawing trees can be a fun and rewarding experience, and it’s a great way to improve your artistic skills. In this tutorial, I will guide you through the step-by-step process of how to draw a small tree. Whether you’re a beginner or an experienced artist, these instructions will help you create a beautiful tree on paper. So let’s get started!
Materials Required
Before we begin, gather the following materials:
- Pencil
- Eraser
- Drawing paper
- Colored pencils or markers (optional)
Now that you have everything you need let’s move on to the steps of drawing a small tree.
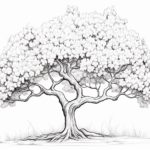
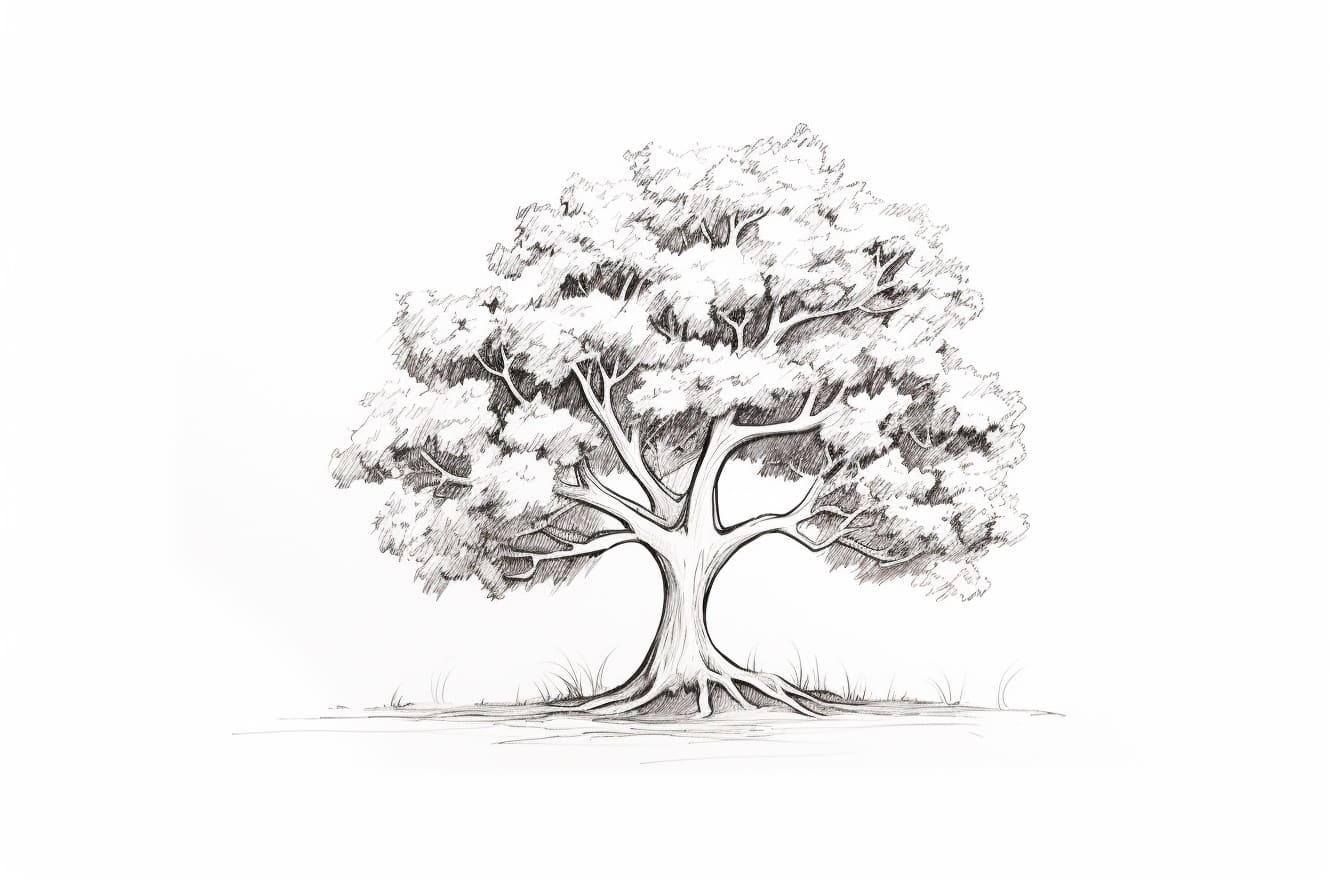
Step 1: Draw the Trunk
Start by drawing a vertical line in the middle of your paper. This line will serve as the trunk of the tree. Make sure the line is straight and extends from the bottom to the top of the paper.
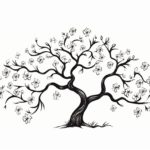
Step 2: Add Branches
From the top of the trunk, draw several diagonal lines branching out in different directions. These lines represent the tree’s branches. Vary the length and angle of the branches to give your tree a natural look. Remember, trees in nature are not symmetric, so don’t worry about making them perfectly balanced.
Step 3: Sketch the Leaves
Draw small oval or circular shapes at the end of each branch to represent the leaves. Again, try to make them different sizes and shapes to achieve a more realistic effect. You can also add some details such as veins or lines inside the leaves to give them more texture.
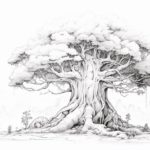
Step 4: Define the Trunk and Branches
Now, go back to the trunk and branches and make them thicker and more defined. Add some irregularities to mimic the texture of bark. You can do this by drawing short, curved lines along the length of the trunk and branches. Be creative and experiment with different patterns and thicknesses.
Step 5: Shade the Bark
To add depth and dimension to your tree, shade the trunk and branches. Start by identifying the direction of the light source. Then, using a pencil or shading tool, add darker shadows on one side of the trunk and branches. Gradually blend the shadows into the lighter areas using smooth, even strokes. This shading technique will make your tree look more three-dimensional.
Step 6: Color the Leaves (optional)
If you want to add some color to your drawing, now is the perfect time. Use colored pencils or markers to fill in the oval or circular shapes you drew in Step 3. Choose shades of green for a natural look, or experiment with different colors for a more whimsical tree. Remember to add some variation in color and shading to make the leaves look more realistic.
Conclusion
Drawing a small tree is a great way to practice your artistic skills and unleash your creativity. Following these step-by-step instructions, you can create a beautiful tree on paper. Take your time, experiment, and have fun with the process. Happy drawing!