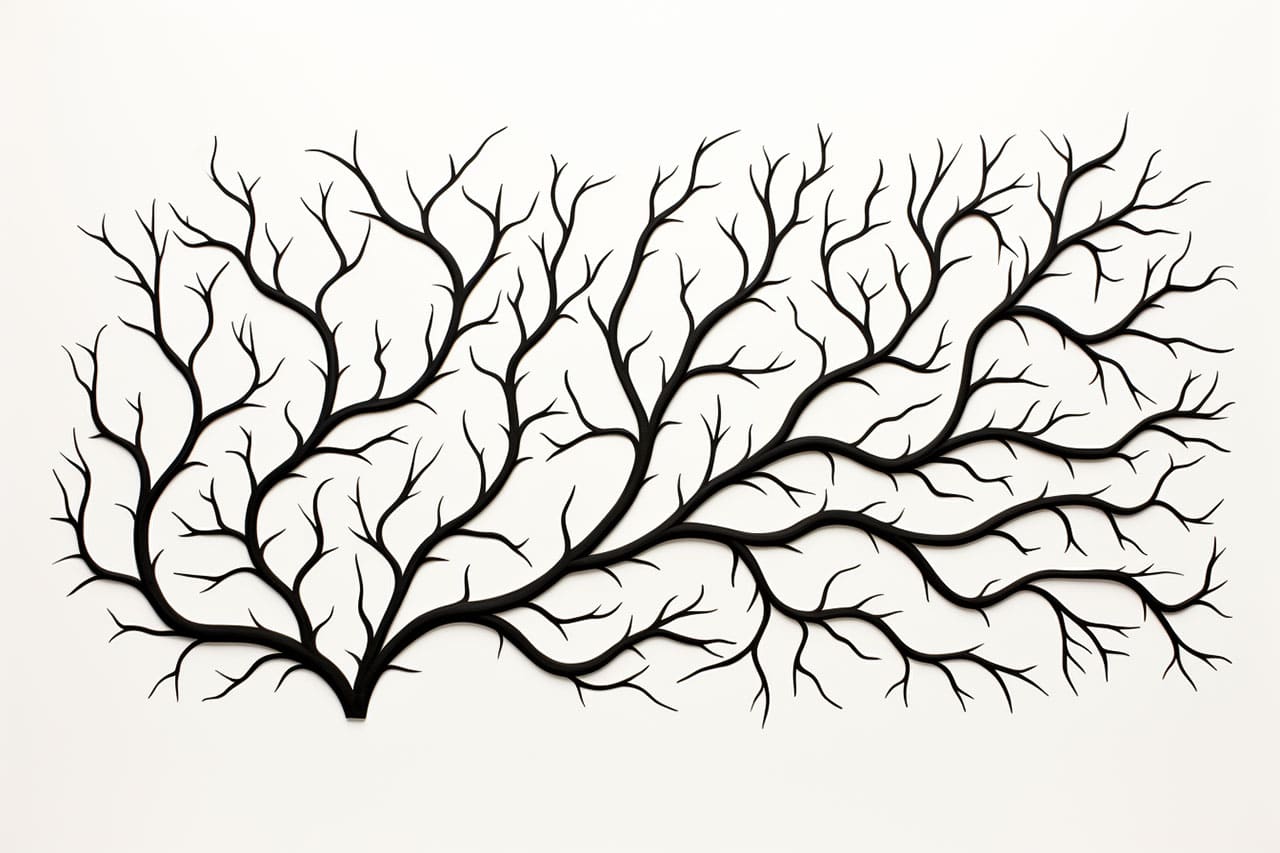
Drawing tree branches can add depth and texture to your artwork, whether you are creating a landscape or a detailed study of nature. While it may seem challenging at first, with the proper techniques and some practice, you can easily master the art of drawing tree branches. In this step-by-step guide, we will go through the process of drawing realistic tree branches, taking you from the initial sketch to the final details.
Step 1: Start with a Basic Sketch
Begin by lightly sketching the basic shape of the tree trunk and branches using a pencil. Keep in mind that tree branches typically extend in different directions, so vary their lengths and angles for a more natural look. Don’t worry about making it perfect at this stage; it’s just a guideline for the branches.
Step 2: Define the Branch Structure
Start by focusing on the main branches. Look at reference images or observe trees in nature to get an idea of how branches grow and connect to the trunk. Use your pencil to draw the main branches, making sure to vary their thickness and angles. Remember, branches closer to the trunk are usually thicker and taper as they extend outward.
Step 3: Add Secondary Branches
Now it’s time to add smaller branches that connect to the main ones. These branches also taper as they get farther away from the trunk. Use a lighter touch with your pencil to create thinner and more delicate branches. Ensure that the placement and angles of the secondary branches complement the overall structure of the tree.
Step 4: Create Branch Offshoots
Next, add smaller offshoots that sprout from the main and secondary branches. These offshoots can twist and turn in various directions, so don’t be afraid to experiment with different shapes and angles. Remember to keep them in proportion to the overall branch structure to maintain a realistic appearance.
Step 5: Refine the Shapes
Now that you have the basic framework of the tree branches, it’s time to refine the shapes. Use your pencil to add more definition, paying attention to the curves, twists, and bumps that give branches their unique character. Smooth out any rough lines or inconsistencies to make your drawing look more polished.
Step 6: Add Texture
To make your tree branches appear more realistic, it’s important to add texture. Start by lightly sketching short, irregular lines along the branches to represent the bark. Focus on areas of the branches that are exposed and where the bark texture is more pronounced. Vary the length, thickness, and direction of these lines to create a sense of depth and dimension.
Step 7: Shade the Branches
Shading is crucial for adding depth and dimension to your tree branches. Determine the direction of your light source and use a pencil or shading tool to darken areas that are farther from the light. Pay attention to the curves and contours of the branches, adding shadows where they naturally fall. Gradually build up the shading, starting with lighter strokes and gradually increasing the darkness as needed.
Step 8: Emphasize Highlights
To make your tree branches stand out, highlight areas that catch the light. Use an eraser or a kneaded eraser to lift off small sections of the shaded areas. This technique will create a contrast between light and shadow, adding a three-dimensional effect to your drawing. Be careful not to overdo the highlights, as they should appear natural and subtle.
Step 9: Add Final Details
To bring your tree branches to life, add some final details. Pay attention to any unique characteristics of the tree species you are drawing, such as thorns, berries, or moss. Use your pencil or fine-tipped pens to add these details, ensuring that they are in proportion to the overall composition of your drawing.
More Tips on Drawing Realistic Tree Branches
Conclusion
Drawing tree branches may seem daunting at first, but with practice and patience, you can master this fundamental skill. By following these step-by-step instructions and observing the beauty of nature, you will soon be able to create realistic and captivating tree branch drawings. So grab your pencil and paper, and start exploring the intricate world of tree branches!

