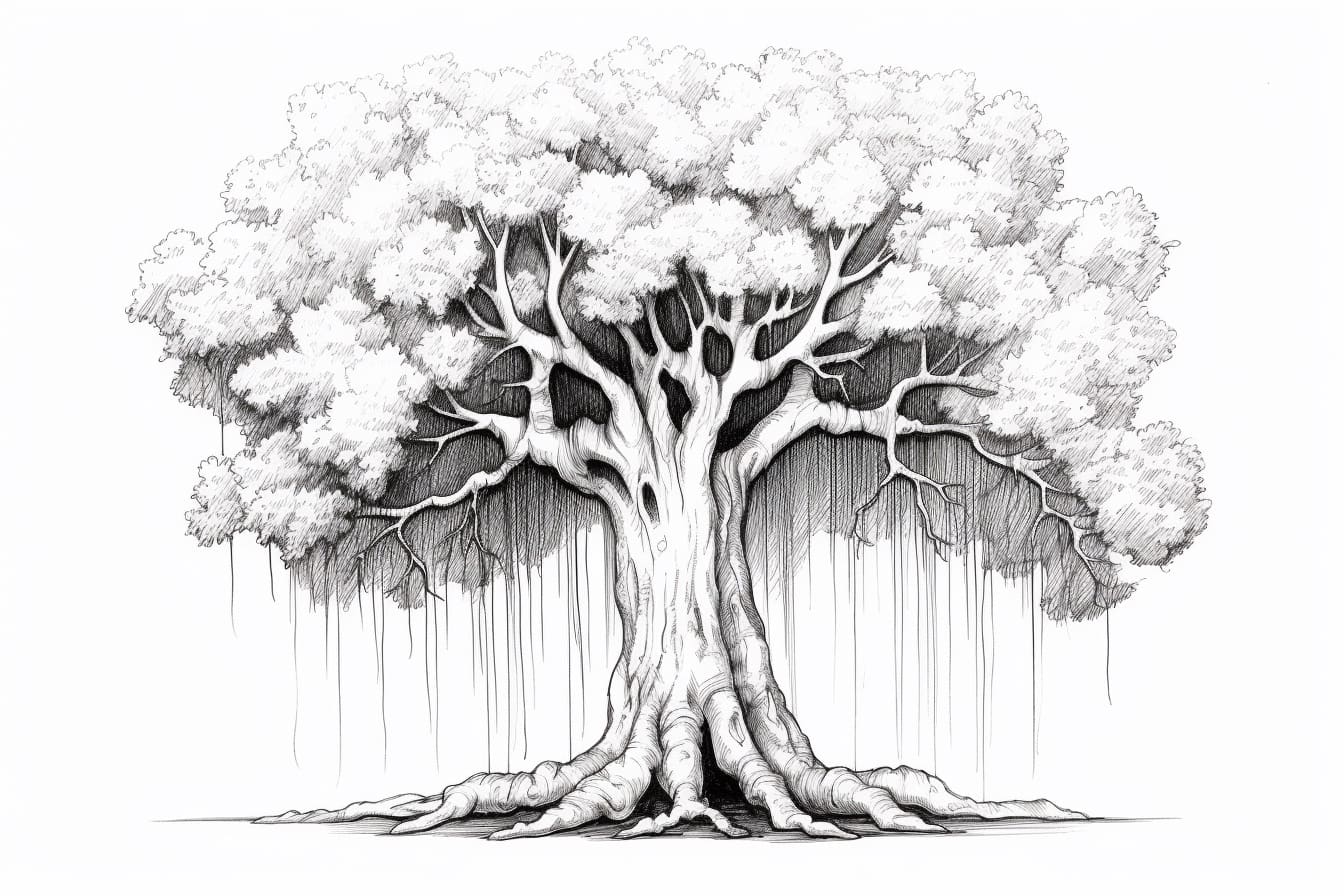
Welcome to this step-by-step tutorial on how to draw a rainforest tree. Rainforests are known for their lush and diverse vegetation, including magnificent trees that reach great heights and create a stunning canopy overhead. In this tutorial, I will guide you through the process of drawing a rainforest tree, capturing its unique features and intricate details. So grab your drawing materials and let’s get started!
Materials Required
Before we begin, make sure you have the following materials at hand:
- Paper: Choose a high-quality drawing paper that is suitable for the medium you’ll be using.
- Pencil: A set of drawing pencils with varying degrees of hardness (e.g., HB, 2B, 4B).
- Eraser: A kneaded eraser works best for easily correcting mistakes and lightening pencil marks.
- Sharpener: Keep your pencils sharp for precise lines and details.
- Colored pencils (optional): If you want to add color to your drawing, have a set of colored pencils ready.
Now that you have gathered your materials, let’s dive into the step-by-step process of drawing a rainforest tree.
Step 1: Outline the Trunk
Start by lightly sketching the basic outline of the tree trunk. Rainforest trees often have irregular shapes, so don’t worry about creating a perfect outline. Use a medium-hard pencil like 2B to make your initial sketch. Consider the height and width of the tree and adjust your sketch accordingly.
Step 2: Add Branches
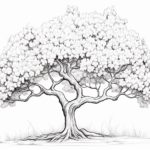
Next, add branches to your tree. Rainforest trees have a complex network of branches that spread out in multiple directions. Start by drawing larger branches coming out from the trunk and then gradually add smaller branches. Vary the thickness of the branches to give your tree a more organic and natural look.
Step 3: Define the Tree Bark
Focus on adding texture and details to the tree trunk and branches. Rainforest tree bark can be rough, cracked, or covered in distinctive patterns. Use short, curved lines to represent the bark texture, following the natural contours of the trunk and branches. Experiment with different pencil pressures to create various shades and highlights.
Step 4: Draw Leaves
Now it’s time to draw the leaves of the rainforest tree. Start by sketching the basic shape of the leaves using light pencil strokes. Rainforest leaves are often broad and vibrant green. Add jagged edges to the leaves to mimic their natural appearance. Fill the branches with leaves, varying the sizes and angles to create a dense foliage effect.
Step 5: Refine the Details
Take a step back and observe your drawing. Identify areas that need refinement and add more details. Pay attention to the intricate patterns on the leaves, the subtle shading on the trunk, and any other distinguishing features of the tree you are drawing. Use a softer pencil like 4B or 6B to create darker shades and make certain areas stand out.
Step 6: Optional: Add Color
If you want to give your drawing a pop of color, grab your colored pencils and carefully fill in the leaves. Rainforest trees have a wide range of lush greens, so feel free to experiment with different shades and hues. Use light strokes and build up the colors gradually to create a realistic and vibrant effect.
Conclusion
Congratulations on completing your rainforest tree drawing! Capturing the essence and beauty of rainforest trees can be both challenging and rewarding. By following these step-by-step instructions, you have learned how to sketch the main elements of a rainforest tree, add depth and texture, and even incorporate color if desired. Keep practicing and exploring different techniques to enhance your artistic skills. With time and dedication, you will continue to improve and create stunning drawings of rainforest trees!

