Welcome to this step-by-step guide on how to draw a maple tree! Whether you’re an experienced artist or just starting out, drawing trees can be a fun and rewarding exercise. In this tutorial, we will focus on drawing a beautiful maple tree with its distinctive leaves and bark. So let’s grab our pencils and get started!
Materials Required
Before we begin, make sure you have the following materials:
- Pencil (preferably HB or 2B)
- Eraser
- Drawing paper
- Reference image of a maple tree (optional, but highly recommended)
- Colored pencils (optional, for adding more detail and depth to your drawing)
Now that we have everything we need, let’s start drawing our maple tree!
Step 1: Draw the Trunk
Begin by lightly sketching a vertical line to represent the trunk of the tree. The length of the line will depend on the size of the tree you want to draw. Use the tip of your pencil and make sure to keep the line straight.
Step 2: Add Branches
From the top of the trunk, draw several curved lines branching out to represent the tree’s main branches. These lines should radiate outwards and vary in length and direction. Keep in mind that maple trees have a rounded shape, so try to capture that in the overall structure of the branches.
Step 3: Sketch the Leaves
Now it’s time to draw the characteristic maple leaves. Start by drawing a small circle at the end of each branch. Then, using short, curved lines, connect the circle to the branch to form the shape of the leaf. Maple leaves typically have three to five lobes, so try to incorporate that into your drawing. Don’t worry about making them perfect – the natural irregularities will add to the realism of your tree.
Step 4: Refine the Trunk and Branches
Using the basic outline as a guide, go back and add more definition to the trunk and branches. Add some texture to the bark by drawing small vertical lines or irregular shapes along the length of the trunk. For the branches, use curved lines to indicate the rough texture and add some thickness to them.
Step 5: Detail the Leaves
Next, focus on adding more detail to the leaves. Maple leaves are known for their distinct veining, so carefully draw these lines from the base of each leaf towards the tips. The veins should radiate outwards from the center of the leaf, following its shape. Take your time and make sure the veins are not too straight or too thick.
Step 6: Shade the Trunk and Branches
To give your tree more depth and dimension, it’s time to add some shading. Start by shading the trunk and branches. You can do this by lightly applying the side of your pencil and gradually building up the darkness. Use short, horizontal strokes to mimic the texture of the bark. Pay attention to where the light source is coming from and shade accordingly to create highlights and shadows.
Step 7: Shade the Leaves
Now let’s add some shading to the leaves. Start by shading the base of each leaf, where it connects to the branch. Then, using a lighter touch, add some shading along the edges of the lobes to create a sense of volume. Remember to leave some areas lighter to represent highlights. Experiment with different shading techniques to achieve a natural and realistic look.
Step 8: Add Final Details
Take a step back and evaluate your drawing. Are there any areas that need more definition or refinement? If so, now is the time to make those adjustments. Add any necessary details to the trunk, branches, and leaves to make them look more realistic. Don’t be afraid to experiment and make changes until you’re satisfied with the result.
Conclusion
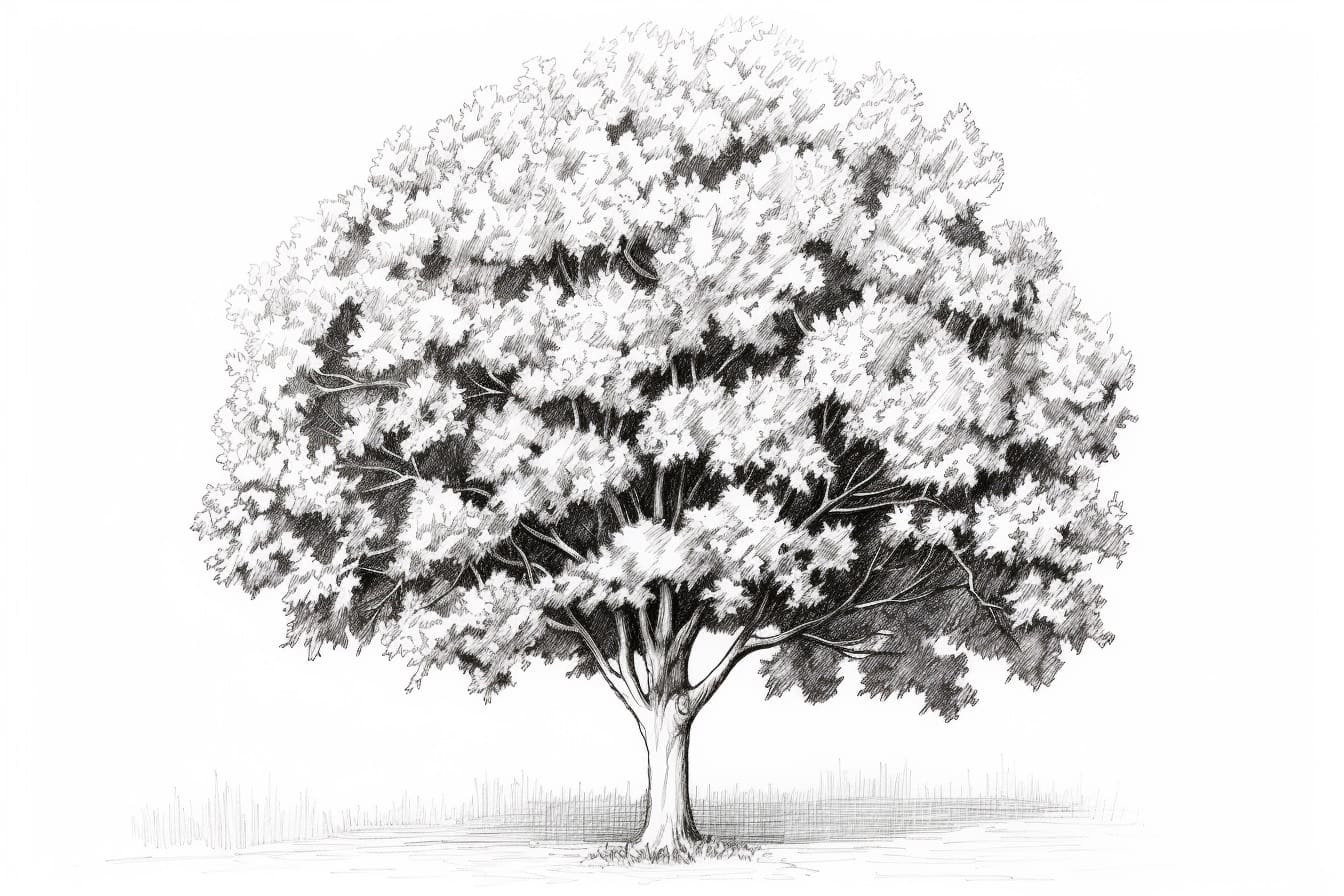
Congratulations! You have successfully drawn a beautiful maple tree. Drawing trees can be a wonderful way to relax and connect with nature while honing your artistic skills. Remember, practice makes perfect, so keep drawing and exploring different techniques to improve your abilities.
We hope you found this step-by-step guide helpful in capturing the essence of a maple tree. Enjoy your artistic journey, and keep creating!