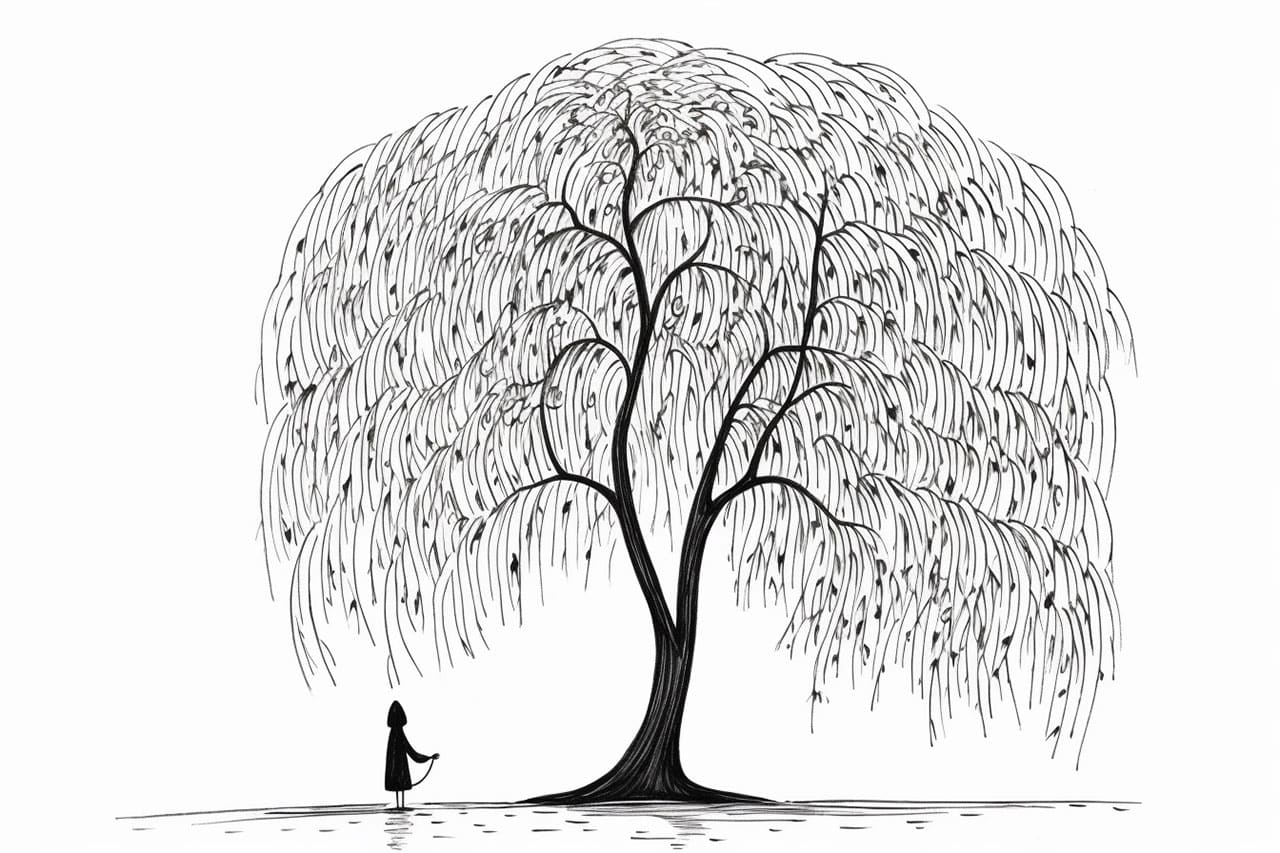
Welcome to this step-by-step guide on how to draw a willow tree. Whether you are a beginner or an experienced artist, this tutorial will help you capture the grace and beauty of this iconic tree. So grab your art supplies, and let’s get started!
Materials Required
Before we begin, make sure you have the following materials handy:
- A pencil (preferably HB or 2B)
- Drawing paper or sketchbook
- Eraser
- Fine-tip black marker or pen
- Colored pencils or watercolor paints (optional)
Now that you have your materials ready, let’s dive into creating a beautiful illustration of a willow tree.
Step 1: Sketch the Basic Shape
Start by lightly sketching a long, curved line slightly slanting to one side. This will serve as the main trunk of the willow tree. Next, draw several thin and slightly curved lines branching out from the main trunk. These will be the primary branches.
Step 2: Add the Secondary Branches
Now, let’s add more branches to give our willow tree a fuller look. Extend thin lines from the primary branches, curving them in various directions. Remember to make the branches thinner as they get farther from the trunk. Add as many branches as you like, but be mindful of not overcrowding the tree.
Step 3: Define the Contours
Using the initial sketch as a guide, darken the outlines of the trunk and branches. You can also add some irregularities to give them a more natural and organic feel. The key is to keep the lines fluid and expressive, mimicking the graceful nature of a willow tree.
Step 4: Create the Foliage
The foliage of the willow tree is characterized by long, slender leaves that droop downwards. Begin by drawing small, curved lines emanating from the branches, pointing downwards. These lines should be slightly longer near the tips of the branches and gradually get shorter as they approach the trunk.
Step 5: Add Texture to the Leaves
To add more depth and texture to the leaves, draw tiny wavy lines along each leaf. This will simulate the veining pattern that is often seen in willow leaves. Take your time with this step, as it can significantly enhance the realism of your drawing.
Step 6: Define the Tree Trunk
With the foliage in place, it’s time to add details to the trunk. Darken the main trunk and primary branches, adding texture and irregularities to mimic the bark. You can achieve this by drawing thin, vertical lines along the trunk, gradually getting closer together near the base of the tree.
Step 7: Refine the Branches
Now, let’s refine the branches by making them look more natural and realistic. Use your eraser to carefully lighten some areas of the branches, creating highlights and adding dimension. Remember, trees in nature are rarely uniform, so embrace the organic imperfections.
Step 8: Finalize the Details
At this stage, take a moment to evaluate your drawing and make any necessary adjustments. Pay close attention to the overall balance and symmetry of the tree. Darken any areas that need more contrast and erase any stray lines or smudges.
Conclusion
Congratulations! You have successfully learned how to draw a stunning willow tree. Remember to practice regularly to refine your skills and develop your own unique style. Experiment with different shading techniques or even adding color to bring your willow tree to life. Enjoy the process and have fun creating beautiful works of art.


