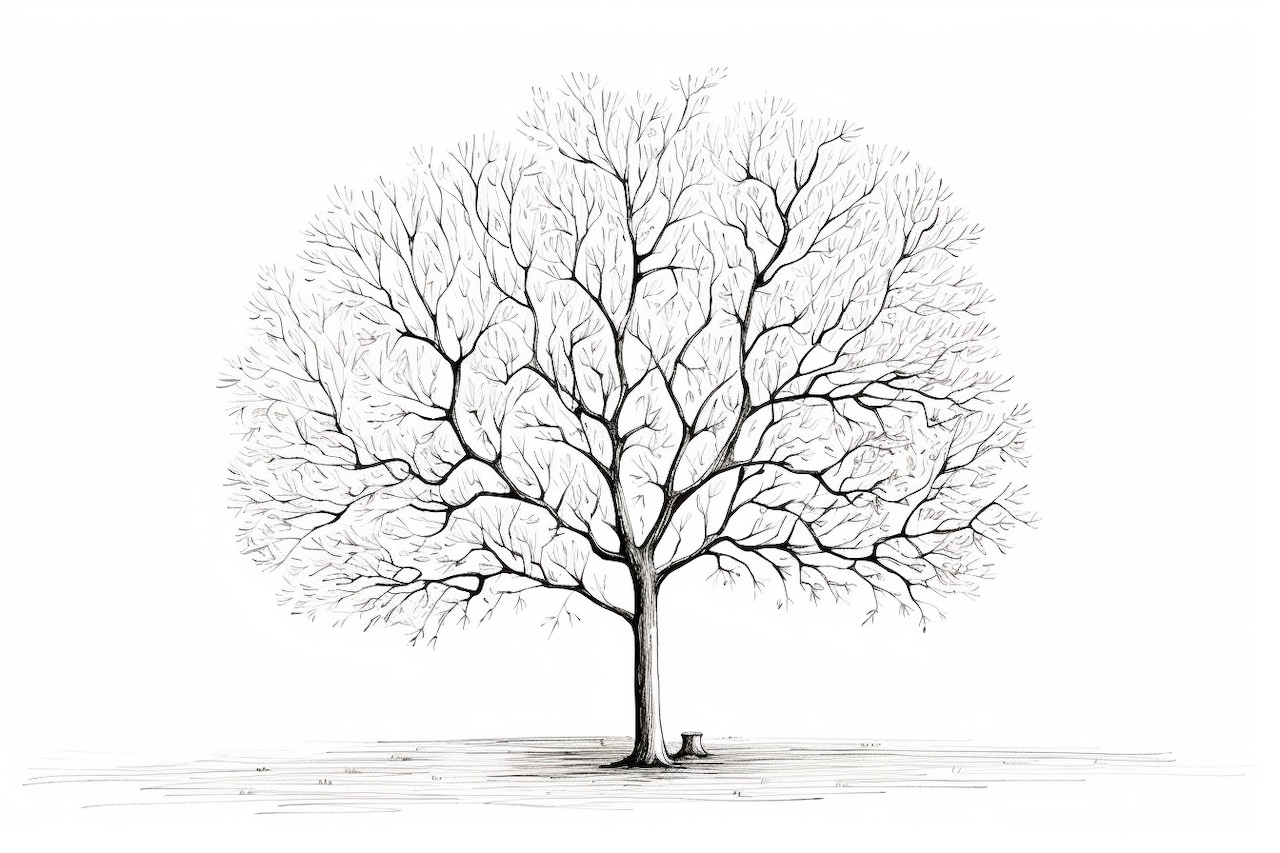
Are you interested in drawing a tree without leaves to showcase its intricate structure and beauty? Drawing a tree without leaves can be a wonderful way to explore the underlying form and shape of nature’s artwork. In this step-by-step guide, I will show you how to create a stunning representation of a tree without leaves. So, grab your sketchbook and pencils, and let’s get started!
Materials Required
- Sketchbook or drawing paper
- Pencils (HB, 2B, 4B)
- Eraser
- Fine-tip black pen (optional)
- Reference image of a tree without leaves
Step 1: Start with Basic Guidelines
To begin, lightly sketch a vertical line for the tree trunk. Then, draw a horizontal line at the bottom to represent the ground. These basic guidelines will help you place the tree in the desired position on your paper.
Step 2: Outline the Trunk and Branches
Using your reference image, carefully observe the shape and direction of the tree trunk and branches. Start by drawing the main trunk, ensuring it is wider at the bottom and tapers towards the top. Then, add branches that extend outward, using varying angles and lengths. Remember that trees in nature are rarely perfectly symmetrical, so embrace the organic and irregular shapes.
Step 3: Add Branch Details
Now, focus on adding more details to the branches. Begin by drawing smaller branches stemming from the main ones. Vary the thickness of the branches to create a more realistic effect. As you move outward, make the branches thinner and more delicate.
Step 4: Sketch the Smallest Branches
Zoom in on the smaller branches and twigs that appear towards the tips of the larger branches. Use lighter pencil strokes to indicate their presence. Be mindful of the overall shape and direction of the tree as you add these intricate details.
Step 5: Create Texture for the Bark
To add texture to the tree trunk and branches, lightly shade along their lengths using short, irregular lines. This mimics the natural texture of bark. Remember to keep your pencil strokes following the direction of the branches, as this will enhance the realism of your drawing.
Step 6: Define the Roots
Extend the trunk downward, creating a few roots that anchor the tree to the ground. These roots should be thicker at the base and taper off as they branch out. Use curved lines to indicate their shape and allow them to disappear partially into the ground.
Step 7: Sketch the Ground
To complete the composition, add some texture to the ground. Use curved, horizontal lines to represent the grass or any other vegetation around the tree. This will provide a sense of context to your drawing and make it feel more realistic.
Step 8: Refine and Shade
Take a step back and assess your drawing so far. Look for any areas that need refinement or adjustment. Erase any unnecessary guidelines or mistakes, and make any necessary corrections. Once you are satisfied with the overall structure, it’s time to add shading.
Start by determining the direction of the light source in your reference image. Shade the areas of the tree that would naturally be in shadow, using a softer pencil like 4B. Gradually build up the shading, focusing on creating depth and volume. Use lighter pencil strokes for the highlighted areas of the tree.
Step 9: Add Final Details
To enhance the realism of your drawing, pay attention to the smaller details. Add more texture and shading to the bark of the tree trunk and branches. Darken the shadows and add highlights to create contrast. You can also use a fine-tip black pen to outline certain areas of the tree, if desired.
Step 10: Evaluate and Sign Your Artwork
Once you are satisfied with your drawing, take a moment to evaluate the final result. Appreciate the details and the effort you put into creating the tree without leaves. Lastly, sign your artwork with pride!
Conclusion
Drawing a tree without leaves can be a rewarding artistic endeavor. By following these step-by-step instructions and utilizing the right techniques, you can create a beautiful representation of nature’s masterpiece. Remember to be patient, observe the trees around you, and allow your creativity to flow. Happy drawing!