Welcome to this step-by-step guide on how to draw a drone! Whether you are an aspiring artist or simply want to explore your creativity, drawing a drone can be a fun and rewarding experience. Drones have become increasingly popular in recent years and learning how to draw one will not only enhance your artistic skills but also allow you to capture the essence of this modern technological marvel. In this tutorial, I will walk you through the process of drawing a drone, from sketching the basic shapes to adding details and shading. So, grab your materials and let’s get started!
Materials Required
Before we begin, gather the following materials:
- A pencil or pen
- Drawing paper or sketchbook
- Eraser
- Ruler (optional, for precise measurements)
- Colored pencils or markers (optional, for adding color)
Now that you have your materials ready, let’s dive into the step-by-step process of drawing a drone.
Step 1: Sketch the Basic Shapes
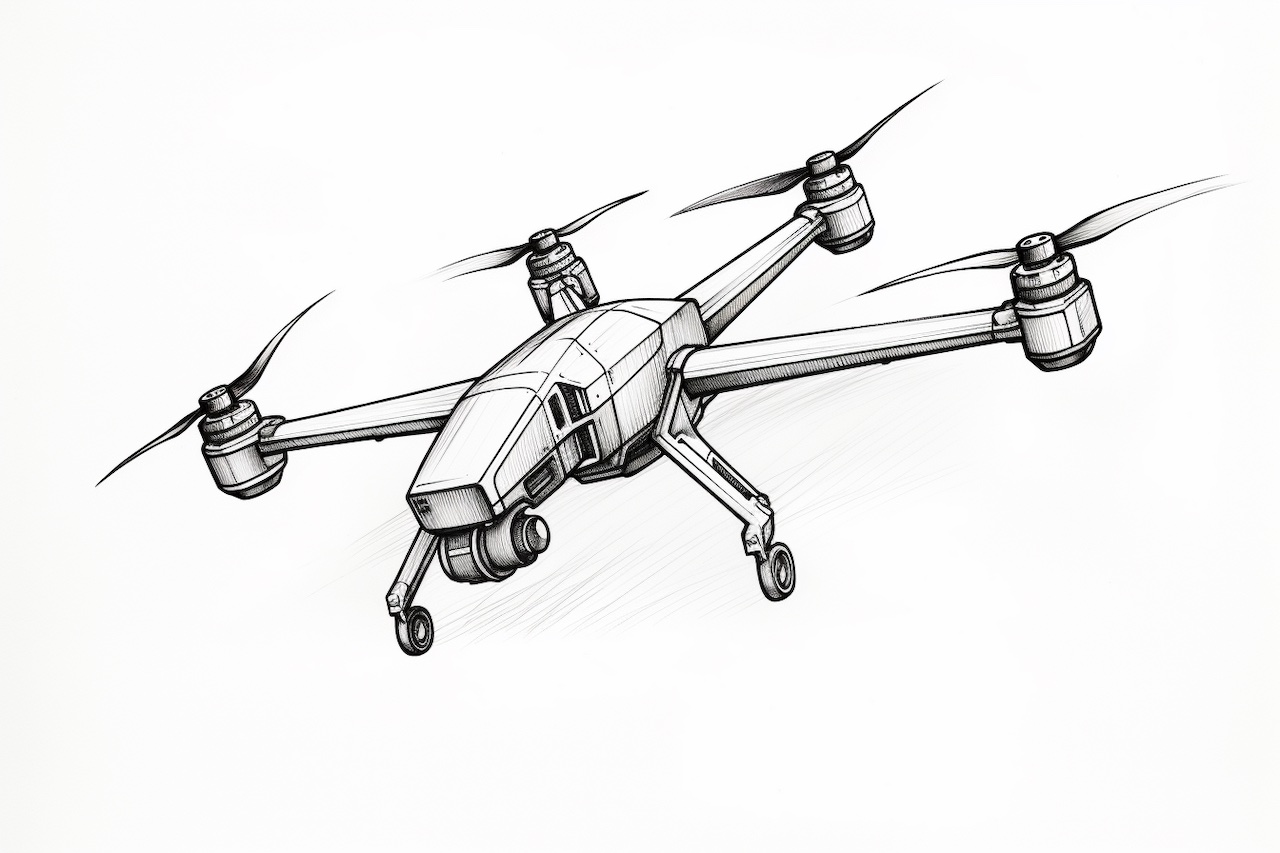
Start by drawing a small oval shape slightly tilted to the left. This oval will serve as the main body or fuselage of the drone. Next, draw a larger trapezoid shape attached to the bottom of the oval. This will represent the camera or sensor housing. Finally, draw two small rectangles on either side of the oval, aligning them vertically. These rectangles will serve as the drone’s landing gears.
Step 2: Add Wings and Propellers
Now, let’s add wings to our drone. Draw two long, thin rectangles extending horizontally from the sides of the main body. These will be the drone’s wings. Next, draw four small circles on the ends of the wings to represent the propellers. Make sure the propellers are evenly spaced and aligned with the wings.
Step 3: Refine the Shape and Proportions
Using the basic shapes as a guide, refine the outline of the drone’s body and wings. Smooth out any rough lines and make adjustments to ensure the proportions look balanced. Pay attention to the curvature of the fuselage, the angles of the wings, and the symmetry of the propellers. Use a ruler if needed to achieve precise measurements.
Step 4: Add Details
Now, let’s add some details to our drone. Draw a small rectangle on the front of the fuselage to represent the camera lens or front sensors. Next, draw a horizontal line across the fuselage, slightly below the wings. This line will divide the body into two sections and give the illusion of depth. You can also add small rectangular shapes on the wings to represent additional sensors or lights.
Step 5: Shading and Texturing
To give our drone drawing more depth and dimension, let’s add shading and texturing. Begin by identifying the primary light source. Imagine the light coming from a specific direction and shade the opposite side of the drone accordingly. Add shadows under the wings, propellers, and any other areas that would naturally be in shadow. You can also apply cross-hatching or stippling techniques to create texture on the body, wings, and propellers.
Step 6: Clean Up and Finalize
Take a moment to review your drawing and clean up any stray lines or smudges using an eraser. Pay attention to the overall composition and make any necessary adjustments to ensure a polished final result. Once you are satisfied with your drawing, you can outline the main lines with a pen or darken them with a pencil to make them stand out.
Congratulations! You have successfully drawn a drone.
Conclusion
Drawing a drone allows you to explore your artistic skills while immersing yourself in the fascinating world of technology. By following this step-by-step guide, you have learned how to sketch the basic shapes, add details, and incorporate shading and texturing to create a realistic and visually appealing drone drawing. Remember, practice makes perfect, so don’t be afraid to experiment with different styles and techniques. Now you can showcase your drone drawing skills to others and continue to expand your artistic horizons.