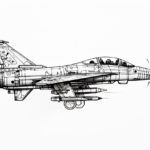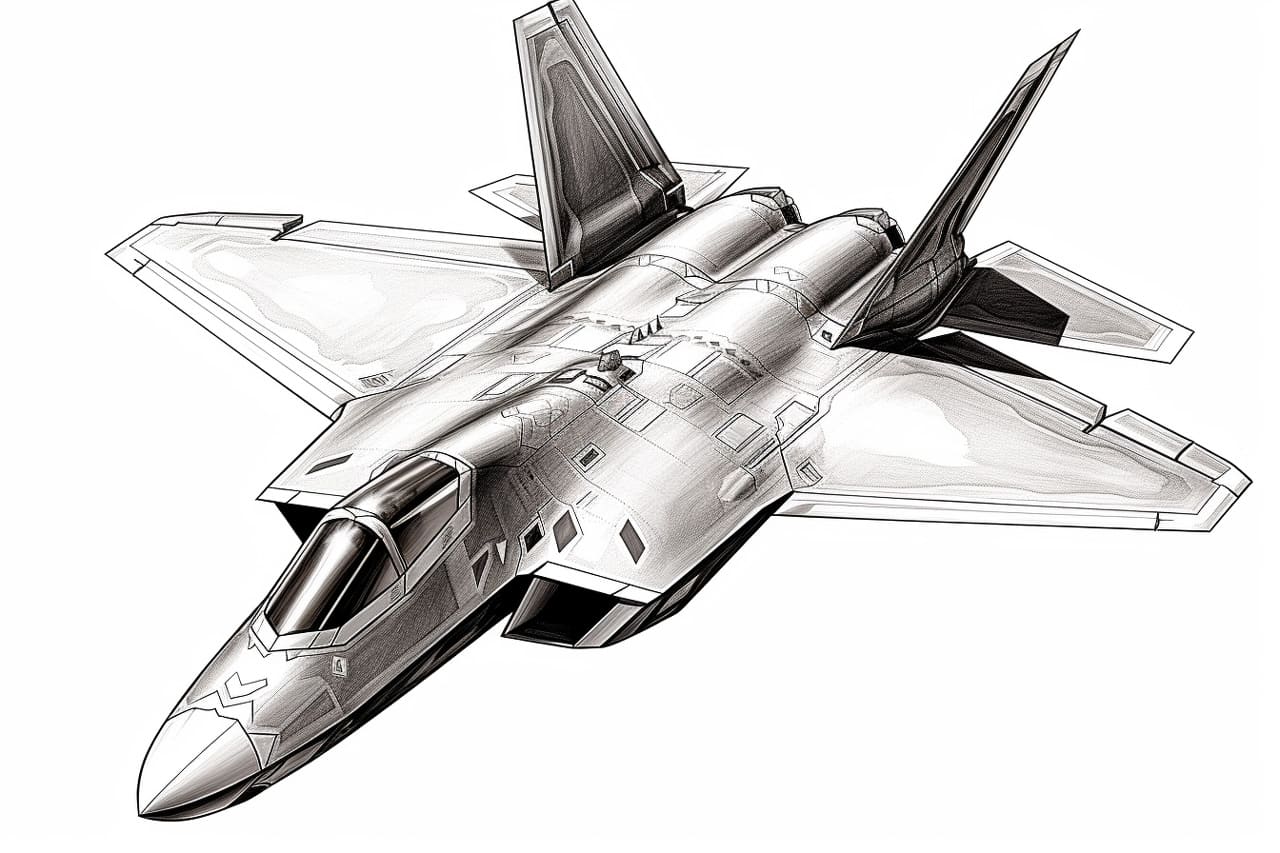
Drawing airplanes can be a rewarding and exciting experience, especially when it comes to capturing the sleek and powerful design of the F22. In this step-by-step guide, we will walk you through the process of drawing an F22, from the initial sketch to the final details. So, grab your pencils and let’s get started!
Materials Required
Before we begin, make sure you have the following materials ready:
- Drawing paper
- Pencils (HB, 2B, 4B)
- Eraser
- Ruler
- Reference image of an F22 (optional but recommended)
Now let’s dive into the drawing process!
Step 1: Basic Outline
Start by lightly sketching the basic outline of the F22 using your HB pencil. Begin with a simple oval shape for the body, slightly tilted to suggest a 3D perspective. Add a small rectangle shape on top for the cockpit area.
Step 2: Wings and Tail
Using your reference image as a guide, sketch the wings of the F22 on either side of the body. Pay attention to the angles and proportions, as these are key elements in capturing the essence of the aircraft. Add a tail at the back, extending it slightly downwards.
Step 3: Fuselage and Tail Fins
Now, let’s add more details to the body of the F22. Sketch the fuselage, which is the main body of the aircraft, by drawing two long, curved lines connecting the cockpit to the tail. Next, add two small triangular shapes at the top of the tail for the tail fins.
Step 4: Engine Intakes
Moving on to the front of the F22, sketch the engine intakes on either side of the cockpit area. These are large, rectangular shapes that help give the aircraft its distinct appearance. Pay attention to the perspective and make sure they look symmetrical.
Step 5: Cockpit and Canopy
Now it’s time to focus on the cockpit. Sketch a curved windshield shape at the front of the cabin, and add a few lines to suggest the canopy. Remember to keep it proportional to the rest of the aircraft.
Step 6: Landing Gear
Let’s draw the landing gear of the F22. Sketch two sets of wheels on either side of the body, towards the front and back parts. Use simple circular shapes and connect them to the body with small rectangles.
Step 7: Details and Panel Lines
To add more realism to your drawing, start adding details and panel lines. These are the small geometric shapes that cover the surface of the F22. Use your reference image to help guide you in placing these details accurately.
Step 8: Shading and Highlights
Now, it’s time to add depth and dimension to your drawing through shading and highlights. Start by identifying the light source in your reference image and imagine how it interacts with the aircraft. Use your 2B and 4B pencils to darken shadows and create highlights on the aircraft’s surfaces.
Step 9: Refine and Erase
Take a step back and review your drawing so far. Use your eraser to make any necessary adjustments or corrections. Pay attention to proportions, angles, and details that may need refining. Take your time with this step, as it will greatly enhance the overall quality of your drawing.
Step 10: Final Details
In this final step, add any remaining details to your drawing. This could include intricate panel lines, decals, or any other markings specific to the F22. Take your time and enjoy the process of bringing your drawing to life.
Conclusion
Congratulations! You have successfully learned how to draw an F22, capturing its unique design and powerful presence on paper. Remember, drawing is not only about replicating a subject but also about expressing your creativity and enjoying the process. So keep practicing and exploring new subjects to draw. Happy sketching!