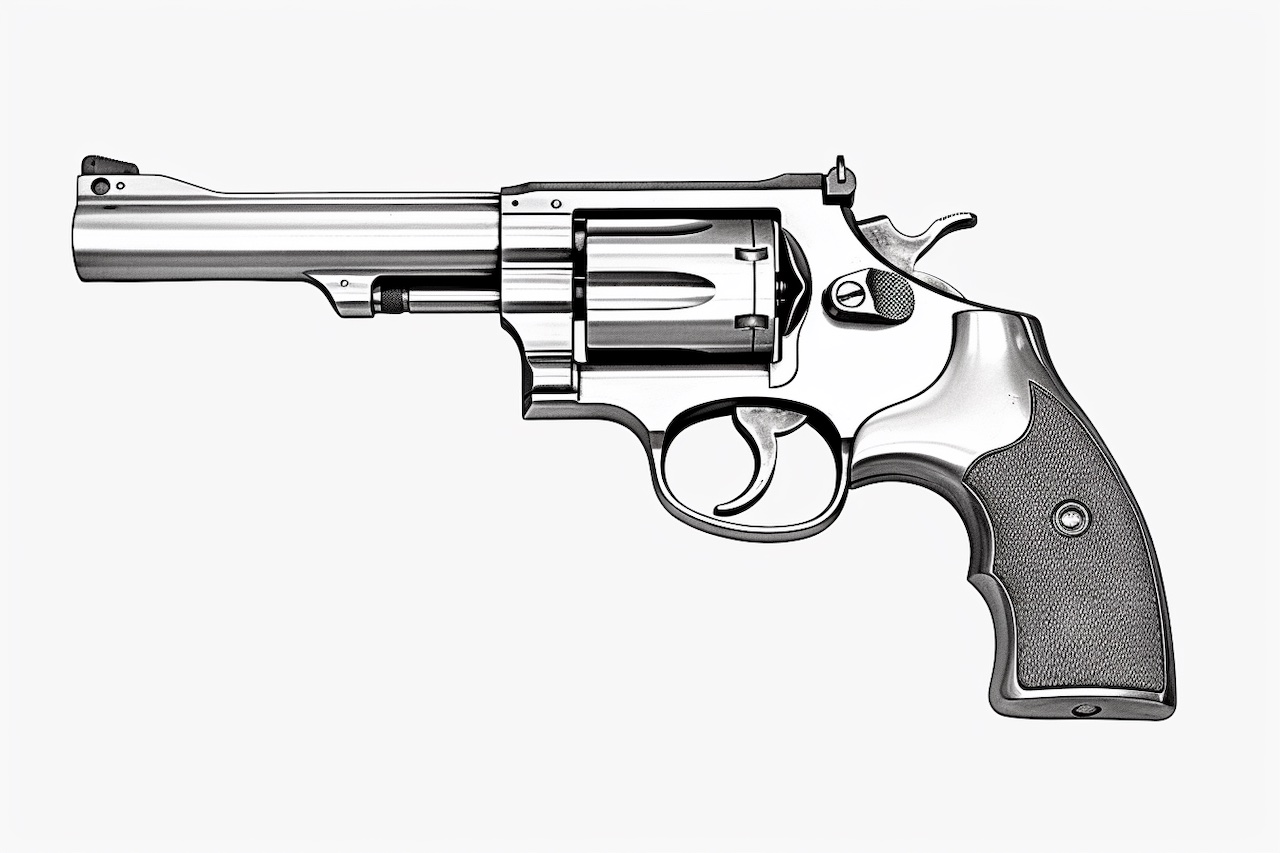
Drawing a revolver can be a challenging task, but with a little practice and attention to detail, you can create a realistic and eye-catching illustration. In this step-by-step guide, we will walk you through the process of drawing a revolver, from the initial sketch to the final shading. So grab your pencils and let’s get started!
Materials Required
Before we begin, gather the following materials:
- A pencil (preferably an HB or 2B)
- A good quality eraser
- A sharpener
- Drawing paper or sketchbook
- A ruler
- Reference image of a revolver (optional, but strongly recommended)
Having these materials handy will ensure that you have a smooth drawing experience and achieve the best possible results.
Step 1: Start with Basic Shapes
Begin by lightly sketching the basic shapes that form the structure of the revolver. Start with a rectangular shape for the main body, slightly tapering towards the front. On top of this rectangle, draw a smaller rectangle for the barrel. Add a circle or ellipse for the cylinder and a smaller rectangle for the handle.
Step 2: Refine the Outline
Using the initial shapes as a guide, carefully refine the outline of the revolver. Pay close attention to the proportions and angles. Ensure that the lines are clean and smooth. Use a ruler where necessary to achieve straight lines and parallel edges.
Step 3: Add Details
Next, it’s time to add the finer details to your revolver drawing. Start by sketching the trigger guard, making sure it is properly aligned with the handle. Then, draw the trigger itself, a small rectangle located beneath the guard. Move on to the cylinder, adding the chambers and any other distinguishing features. Don’t forget to include the front and rear sights on the barrel.
Step 4: Erase Unnecessary Lines
Now that you have added the details, carefully erase any unnecessary construction lines and guidelines. Be gentle to avoid smudging or damaging your drawing. Use a kneaded eraser for better control over the erasing process.
Step 5: Define Shadows and Shading
To give your revolver drawing depth and dimension, it’s important to define the shadows and shading. Begin by identifying the primary light source in your reference image (or imagine one if you don’t have a reference). Once you determine the light source, visualize where the shadows would fall on the revolver.
Using your pencil, start shading the areas that are in shadow. Apply more pressure to create darker tones and gradually build up the shading. Pay close attention to the contours and curves of the revolver to accurately depict the three-dimensional form.
Step 6: Add Texture and Details
To make your revolver drawing appear more realistic, add texture and additional details. Pay attention to the different materials and surfaces of the revolver, such as the metal body and the grip. Use your pencil to create the illusion of texture by adding light lines or hatching.
Enhance the details further by including small screws, engravings, or any other intricate elements that your reference image may show. These details will add character and make your drawing stand out.
Step 7: Finalize the Shading
Once you are satisfied with the overall look of your revolver drawing, go back and refine the shading. Pay close attention to the transitions between light and shadow. Use a blending stump or a tissue to blend the graphite and achieve a smoother appearance.
Conclusion
Drawing a revolver requires careful observation and attention to detail. By following the step-by-step instructions outlined in this guide, you can create a realistic and impressive illustration. Remember to start with basic shapes, refine the outline, add details, define shadows and shading, and finalize the drawing with texture and additional details. With practice, your revolver drawings will become more refined and showcase your artistic skills.
So get inspired by the intricacies of revolvers and start drawing! With patience and practice, you’ll be able to create stunning revolver illustrations that capture the eye. Happy drawing!