Drawing is a wonderful way to express your creativity, and learning how to draw different objects can be both challenging and rewarding. In this article, we will guide you through the process of how to draw a small airplane. Whether you are a beginner or an experienced artist, these step-by-step instructions will help you create a realistic and detailed illustration. So grab your pencils, and let’s get started!
Materials Required
To begin drawing a small airplane, you will need the following materials:
- Drawing paper: Choose a smooth and sturdy paper that is suitable for sketching and shading.
- Pencils: A set of graphite pencils ranging from 2H (light) to 6B (dark) will give you a variety of tones to work with.
- Eraser: A kneaded eraser is recommended as it can be shaped to erase small details.
- Sharpener: Keep your pencils sharp to achieve clean lines and precise details.
- Ruler: A straight edge will help you draw accurate lines and proportions.
Now that you have gathered your materials, let’s move on to the step-by-step instructions.
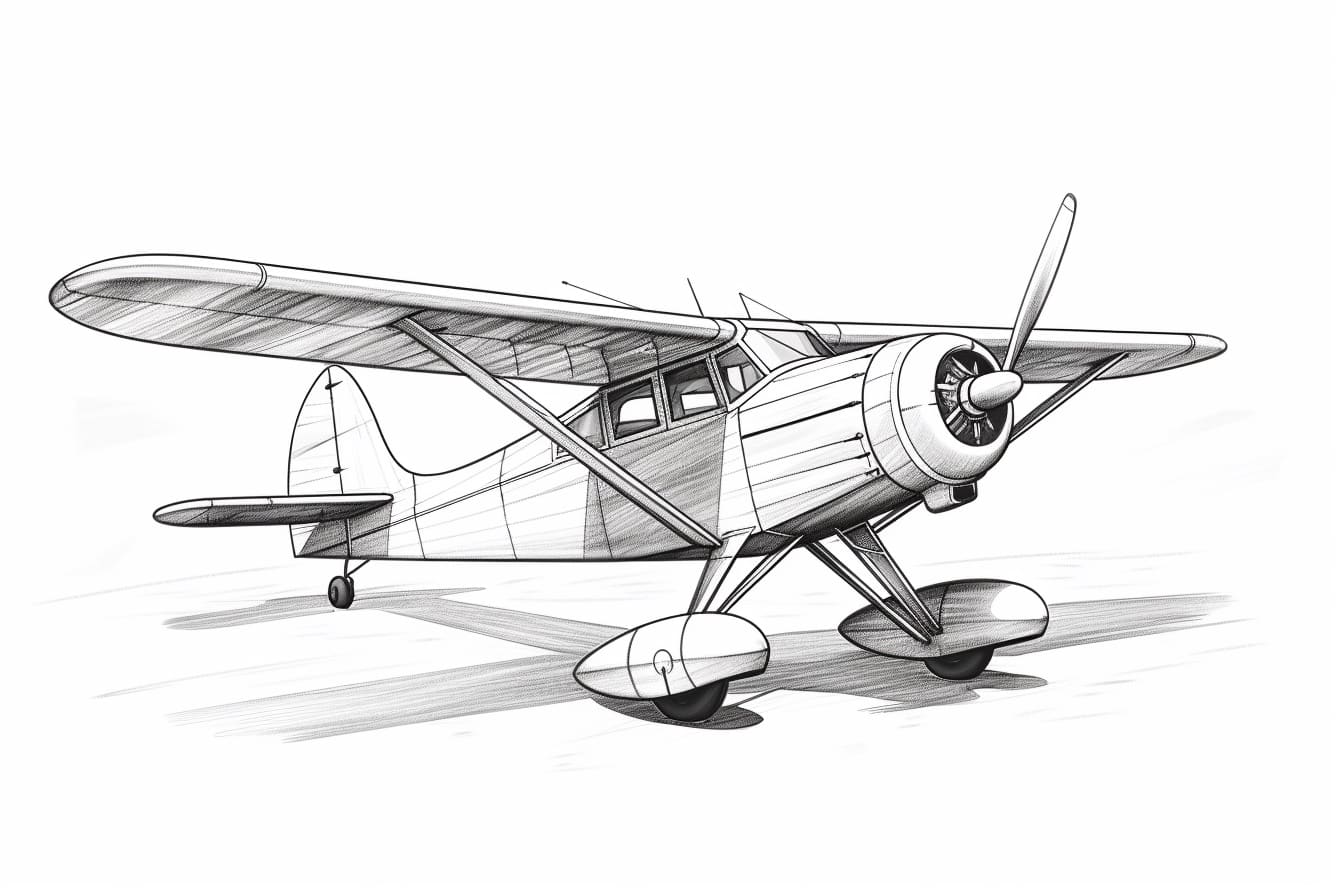
Step 1: Sketch the Basic Shapes
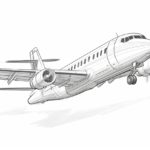
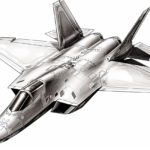
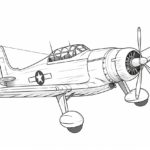
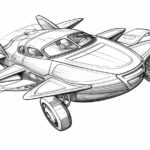
Start by lightly sketching the basic shapes of the airplane. Draw a large oval shape for the fuselage (the main body of the airplane). Then, add a smaller oval shape on top of the fuselage to represent the cockpit. Next, draw two long rectangles on each side of the fuselage to form the wings. Finally, add a small triangle shape at the back for the tail.
Step 2: Refine the Shapes
Using your initial sketches as a guide, refine the shapes of the airplane. Make the fuselage slightly narrower towards the tail and round off any sharp corners. Add curved lines to define the windows and doors of the cockpit. For the wings, taper them slightly towards the tips and add some curved lines to represent the aircraft’s structure. Don’t forget to refine the tail by adding a vertical stabilizer and a horizontal stabilizer.
Step 3: Add Details
Now it’s time to add some details to your airplane drawing. Start by drawing the propeller at the front of the fuselage. Use curved lines to depict the rotating blades. Then, add the engine intake and exhaust ports beneath the wings. Draw the landing gears by adding small rectangles under the fuselage and the wings. Add more details such as antennas, navigation lights, and the cockpit windshield.
Step 4: Shade and Highlight
To give your airplane drawing depth and dimension, it’s important to add shading and highlights. Determine the direction of the light source and shade the areas that are in shadow. Use your pencils to create different tones, from light to dark, to achieve a realistic effect. Leave some areas white or lightly shade them to represent highlights. Pay attention to the contours of the airplane and the way light interacts with its surfaces.
Step 5: Finalize the Drawing
Take a step back and assess your drawing. Make any necessary adjustments to the proportions or shapes. Darken the lines that define the airplane’s structure, such as the edges of the wings and tail. Erase any remaining guidelines or construction lines so that your drawing looks clean and polished.
Conclusion
Drawing a small airplane can be a challenging but enjoyable experience. By following these step-by-step instructions and using your creativity, you can create a realistic and detailed illustration. Remember to start with basic shapes, refine them, add details, and bring your drawing to life with shading and highlights. With practice and patience, you can achieve impressive results. So grab your drawing materials and start sketching your own small airplane today!